Home >Software Tutorial >Office Software >What to do if word illustrations are not fully displayed
What to do if word illustrations are not fully displayed
- 王林forward
- 2024-03-19 18:52:06882browse
php editor Baicao has an answer for you: When using Word, sometimes the inserted picture may not be fully displayed. This may be because the picture is hidden or exceeds the page range. There are many ways to solve this problem, such as resizing the image, modifying the document layout, or checking whether the image is set to "embedded" instead of "floating." Through these methods, you can easily solve the problem of incomplete display of Word illustrations and ensure that the document content is fully displayed.
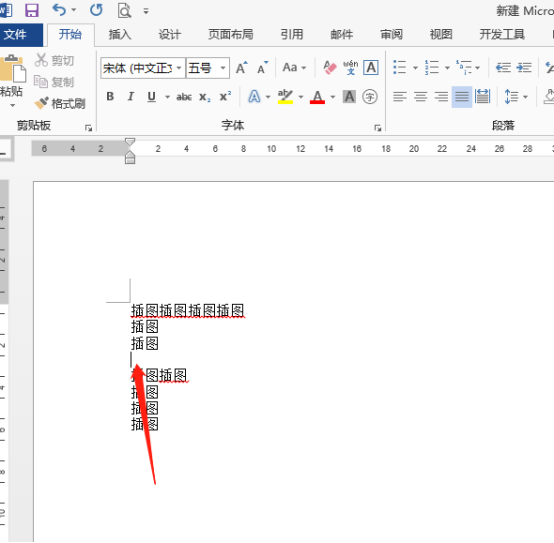
First, we open a new Word document and edit some text content. Next, try inserting an image in the margin between the text.

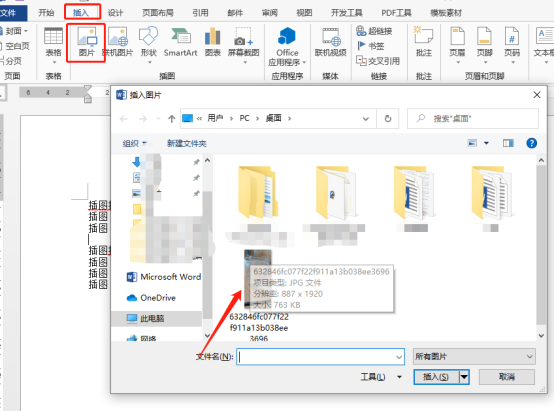
#2. To insert a picture, you need to click the [Insert] button in the top menu bar, and then select [Picture]. We find the location of the picture, click on the picture and confirm the insertion. As shown in the picture below:

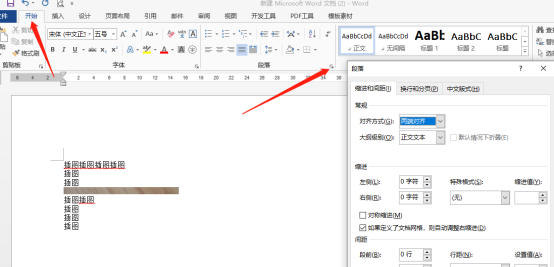
3. At this time, we found that the inserted picture only displayed a small strip and did not display the complete picture. To solve this problem, we need to click Right-click the mouse and select [Paragraph] in the pop-up shortcut menu. You can also select the [Start]-[Paragraph] tool in the menu bar to set it. As shown in the figure below:

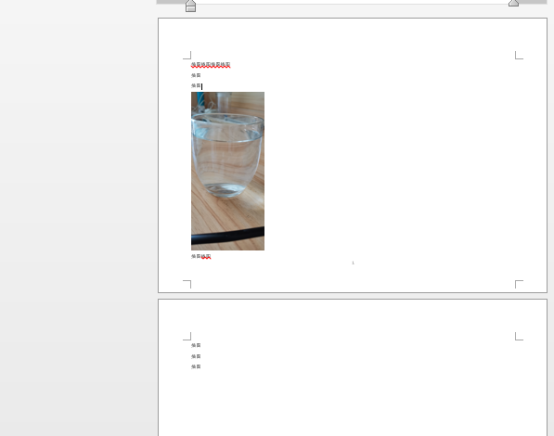
4. In the paragraph settings, [Line Spacing] selects [Single spacing or 1.5 times spacing] to display all the images, and then click "OK" button.

#5. If the above operation does not display all the pictures, you can set the paragraphs and re-insert them to display them all.
Isn’t it easy to display all word illustrations? Of course, there are other adjustment methods to choose from. I won’t go into details here. I hope you can explore more and find more flexible solutions.
The above is the detailed content of What to do if word illustrations are not fully displayed. For more information, please follow other related articles on the PHP Chinese website!

