Home >Software Tutorial >Computer Software >How to use graphics movement in AutoCAD2007-How to use graphics movement in AutoCAD2007
How to use graphics movement in AutoCAD2007-How to use graphics movement in AutoCAD2007
- PHPzforward
- 2024-03-05 18:19:04902browse
php Xiaobian Xigua will introduce to you how to use graphics movement in AutoCAD2007. Graphic movement is a commonly used function in AutoCAD, which can help users quickly adjust the position of design graphics and improve work efficiency. This article will introduce in detail the steps to use the graphics movement function in AutoCAD2007 to help readers better master this technique.
First, open the AUTOCAD2007 drawing software on your computer, as shown in the figure below.
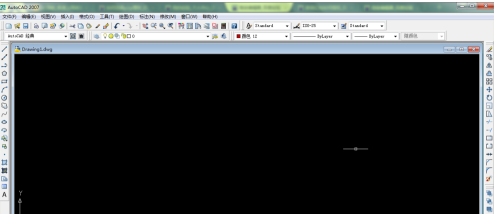
Draw a random shape on the drawing panel, as shown in the figure below.

Then use the mouse to select the entire graph, click the [Modify] function key in the upper menu bar, and a drop-down menu will pop up, as shown in the figure below.
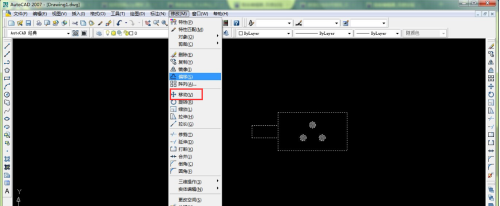
Click the [Move] option in the drop-down menu. At this time, the command window below prompts you to specify the base point, and there is also a prompt to specify the base point on the mouse button, as shown in the figure below.

Specify a base point arbitrarily on the drawing panel, and then move the mouse. At this time, you can see the graphics start to move on the drawing panel, as shown in the figure below.
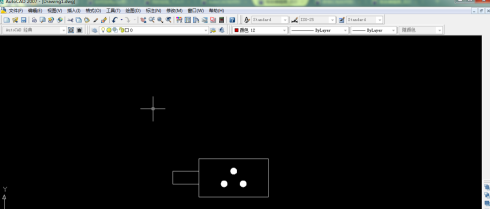
After specifying the second base point, click the left mouse button to complete the movement of the graphic.
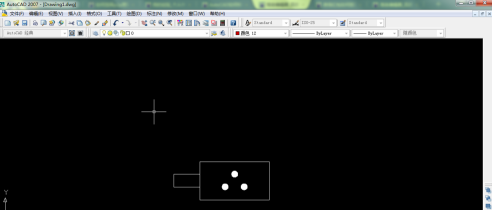
In addition to using the menu bar command keys, you can also use shortcut keys to quickly complete the graphic movement function. First, select the graphic and enter the letter m. As shown below.
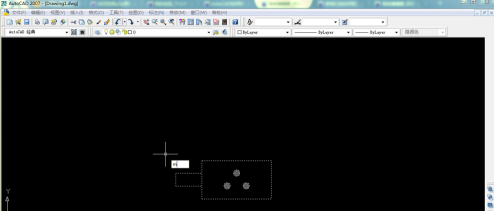
Then click the [enter] key to move the graphics.

The above is the detailed content of How to use graphics movement in AutoCAD2007-How to use graphics movement in AutoCAD2007. For more information, please follow other related articles on the PHP Chinese website!
Related articles
See more- How to set the extraction code for network disk? -Network disk setting extraction code method
- Iterative production operation method within the square of the geometric sketchpad
- Detailed method of constructing textured cones with geometric sketchpad
- Beyond Compare compares table data to display row numbers
- How to find all files in Everything How to find all files in Everything

