Home >Software Tutorial >Computer Software >How to add nodes to CorelDRAW gradient. Explanation of adding method
How to add nodes to CorelDRAW gradient. Explanation of adding method
- PHPzforward
- 2024-02-14 21:00:21840browse
php editor Xinyi brings you an explanation on how to add nodes to CorelDRAW gradients. CorelDRAW is a powerful vector graphics design software, in which gradient is one of the commonly used design elements. During the design process, gradients sometimes need to be adjusted, and adding nodes is a common operation method. This article will introduce in detail the method of adding nodes to gradients in CorelDRAW, helping you better master this technique and achieve more accurate design effects.
The specific operation is as follows:
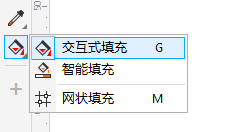
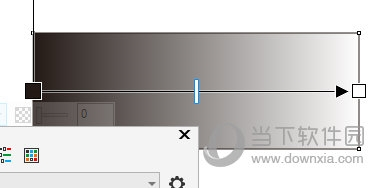
First, open the software and create a gradient line. Then, switch to "Interactive Fill" on the left toolbar, and select "Gradient Fill" on the upper toolbar.


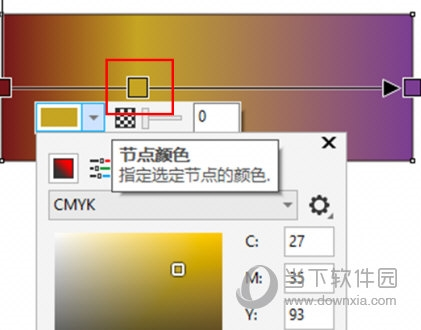
2. Double-click on the gradient line to add a node at the double-clicked position. Click the node to set the color

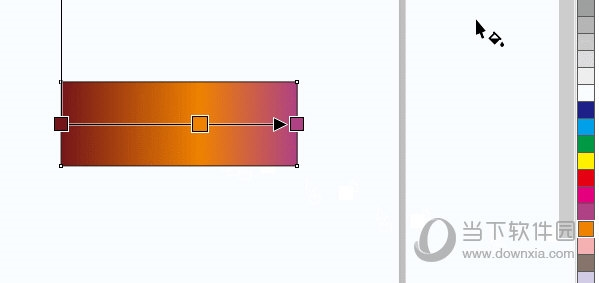
3. Another method is to [drag] the color of the color palette on the right to the gradient line. After completing the addition of the color block, the gradient Nodes of the corresponding color will be automatically added online

The second method should pay attention to | "Drag the color block" instead of clicking "Select the color block" , if the color block is selected, the existing gradient color will be directly changed instead of adding a new gradient node. The above is the CorelDRAW related guide brought to you by the editor, I hope it can help you.
The above is the detailed content of How to add nodes to CorelDRAW gradient. Explanation of adding method. For more information, please follow other related articles on the PHP Chinese website!

