Home >System Tutorial >Windows Series >How to set up active cooling in win11? Win11 active cooling setting tutorial
How to set up active cooling in win11? Win11 active cooling setting tutorial
- 王林forward
- 2024-02-14 18:00:111262browse
php editor Xigua brings you a tutorial on setting up Win11 active cooling. With the release of Windows 11, many users have questions about how to optimize system cooling performance. In this tutorial, we will introduce you to the active cooling setting method of Win11 in detail to help you improve the cooling effect of the system, ensure that the computer maintains a stable temperature when running under high load, and avoid overheating and damaging the hardware. Whether you're a gaming enthusiast or a daily office user, these settings will have a positive impact on your computer's performance and experience. Let’s take a look at how to set up active cooling in Win11!
win11 active cooling setting tutorial
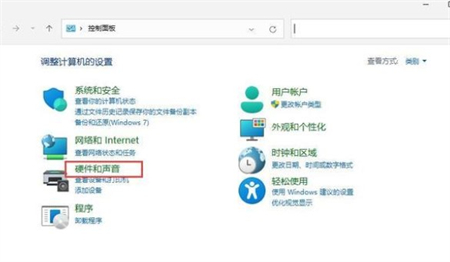
1. First open the start menu and click on the control panel in the windows system.

#2. Then in the window that opens, click Hardware and Sound.

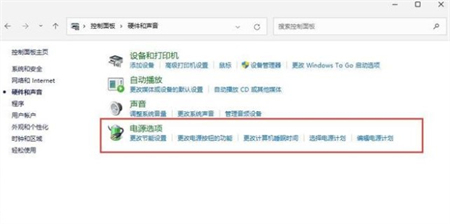
#3. After entering, click on the power option.

#4. Then click Change plan settings after using the plan.

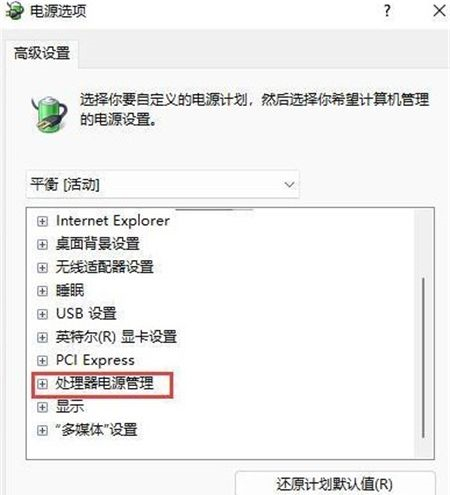
#5. After entering, click Change Advanced Power Settings.

#6. A dialog box pops up and expands processor power management.

#7. There are two system cooling methods to choose from. Modify the cooling method. Click OK to complete the setting.
The above is the detailed content of How to set up active cooling in win11? Win11 active cooling setting tutorial. For more information, please follow other related articles on the PHP Chinese website!

