Home >Common Problem >Detailed introduction to the tutorial of changing win11 to win10 system
Detailed introduction to the tutorial of changing win11 to win10 system
- PHPzforward
- 2023-07-08 21:21:0714091browse
Microsoft officially announced the win11 system on June 24. You can see that the user interface, start menu, etc. are very similar to those found in Windows 10X. Some friends found that they were not used to using the preview version and wanted to change it to win10 system. So how do we do it? Let’s take a look at the tutorial on changing win11 to win10 system and learn it together.
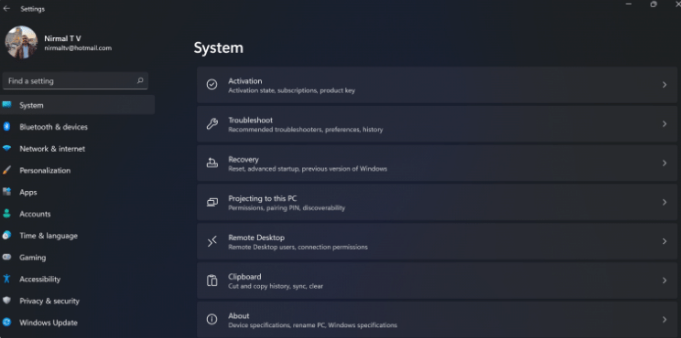
1. The first step is to open new settings from Windows 11. Here you need to go to the system settings shown in the image.
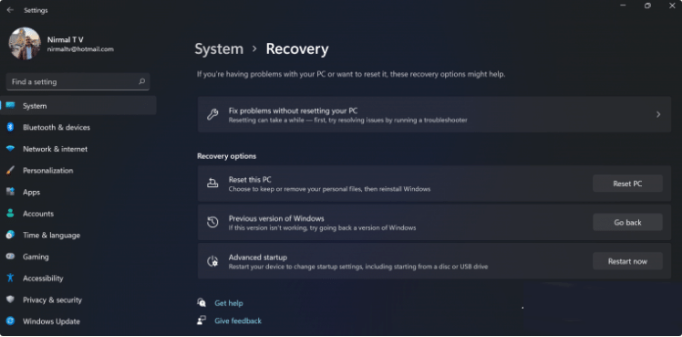
#2. Under system settings, select the "Restore" option. Here, you will be able to see the “Previous versions of windows” option. You will also see a "Back" button next to it, click this button.
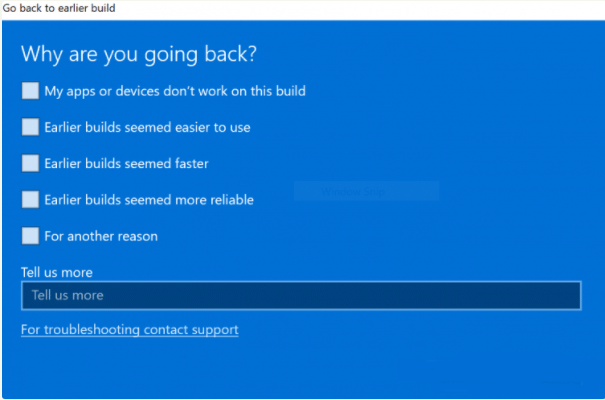
#3. You can specify the reason why you want to return to Windows 10 or an older version of Windows. Select any reason and click Next.
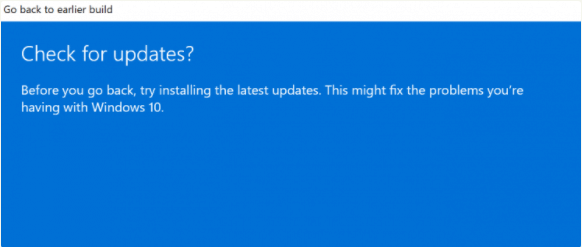
4. In the next step, you can choose to check for updates or skip this step.
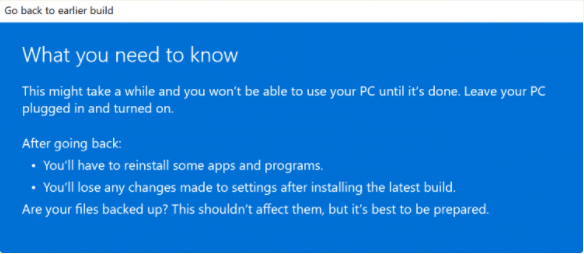
5. In the next step, Settings will tell you if you are sure to downgrade to the previous version after reinstalling several applications.
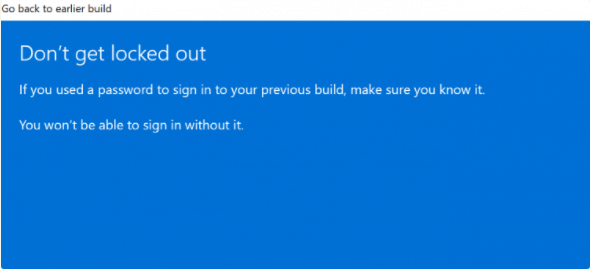
#6. Please make sure you know the password to log in to the previous version, because you will need the password after downgrading.
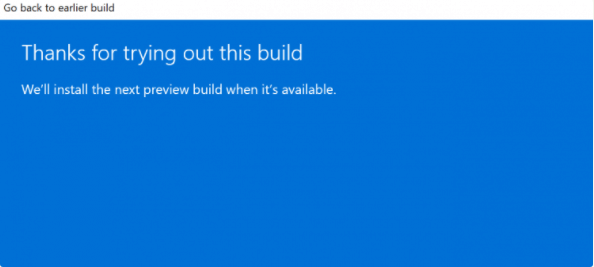
#7. The last step is to click the "Back" to earlier build button and Windows will downgrade your PC from Windows 11 to the previous version.
The above is the introduction to the tutorial on changing the win11 to win10 system. I hope it can help everyone.
The above is the detailed content of Detailed introduction to the tutorial of changing win11 to win10 system. For more information, please follow other related articles on the PHP Chinese website!

