Home >Software Tutorial >Computer Software >How to add special effects to bitmaps in CorelDRAW with just a few simple steps
How to add special effects to bitmaps in CorelDRAW with just a few simple steps
- WBOYWBOYWBOYWBOYWBOYWBOYWBOYWBOYWBOYWBOYWBOYWBOYWBforward
- 2024-02-11 19:39:221039browse
php Editor Apple introduces you a powerful graphic design software - CorelDRAW, which can not only edit and design vector images, but also add various special effects to bitmaps. In this article, we will briefly introduce how to use CorelDRAW to add special effects to bitmaps, which can be easily done in just a few simple steps. Whether you are a beginner or someone with some design experience, you can learn some practical skills and methods from this article to make your design works better. Let’s take a look!
The specific operations are as follows:
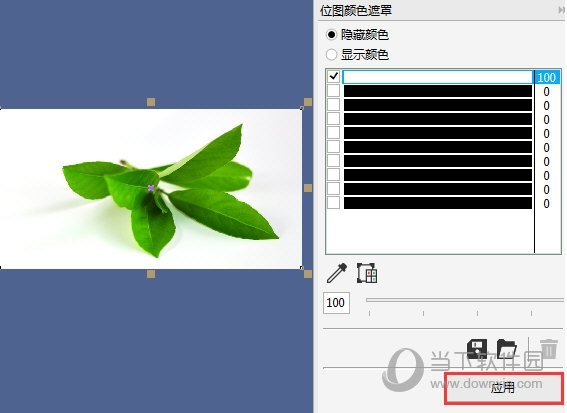
After opening the software, import the bitmap and select the picture. Click [Bitmap] and [Bitmap Color Mask], and select the [Hide Color] option in the pop-up window. Then, select the top color bar in the color list and check it. Next, click the [Eyedropper] button and use the eyedropper tool to select the color part of the bitmap that needs to be masked. If you need to adjust the mask range, you can move the [Tolerance] value slider. After completing the above steps, you can continue with subsequent operations.

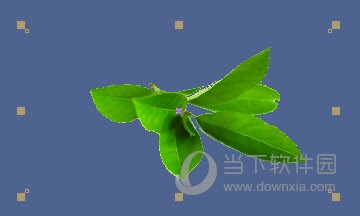
2. At this time, you will find that the background has become transparent

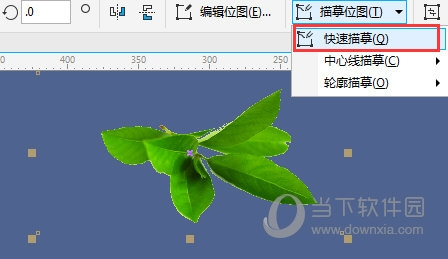
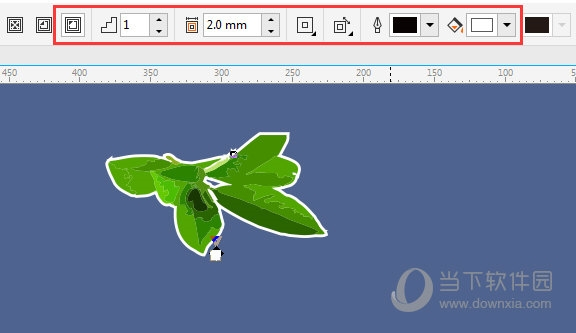
3. Then execute in the property bar [Quick Trace] command, select [Quick Trace] from the pop-up drop-down list


The above is the detailed content of How to add special effects to bitmaps in CorelDRAW with just a few simple steps. For more information, please follow other related articles on the PHP Chinese website!

