Home >System Tutorial >Windows Series >How to disable the use of the camera on the lock screen in Windows 10?
How to disable the use of the camera on the lock screen in Windows 10?
- 王林forward
- 2024-02-11 18:21:321223browse
php editor Xigua will give you the answer: If you want to disable the use of the camera on the lock screen of Win10, you can follow the steps below to turn it off. First, click on the Start menu and select the "Settings" option. Then, click "Personalization" in the settings interface, and then select the "Lock Screen" option. Next, find the “Camera” option in the lock screen settings and turn it off. In this way, you will not be able to use the camera function on the lock screen. Hope this simple method can help you. If you have any other questions, please feel free to consult us.
How to disable the use of the camera on the lock screen in Win10
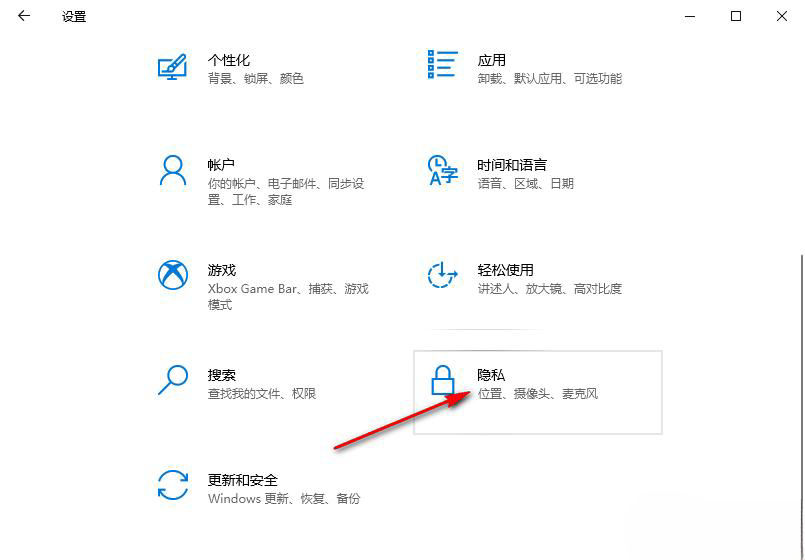
1. In the first step, we open the "Start" button in the lower left corner of the computer desktop, and then open "Settings" in the menu list options.
2. In the second step, after entering the settings page, we find the "Privacy" setting on the page and click to open the setting.

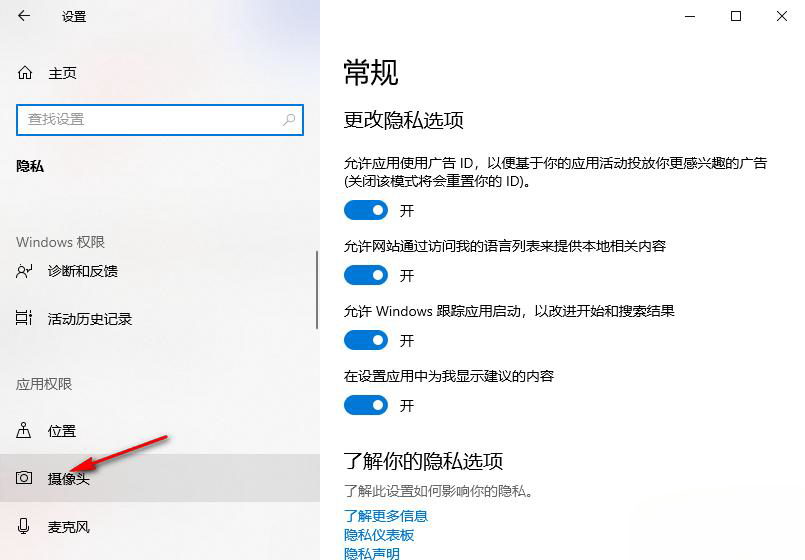
3. Step 3. After entering the privacy settings page, we swipe down on the left list to find the "Camera" option, and click to open this option.

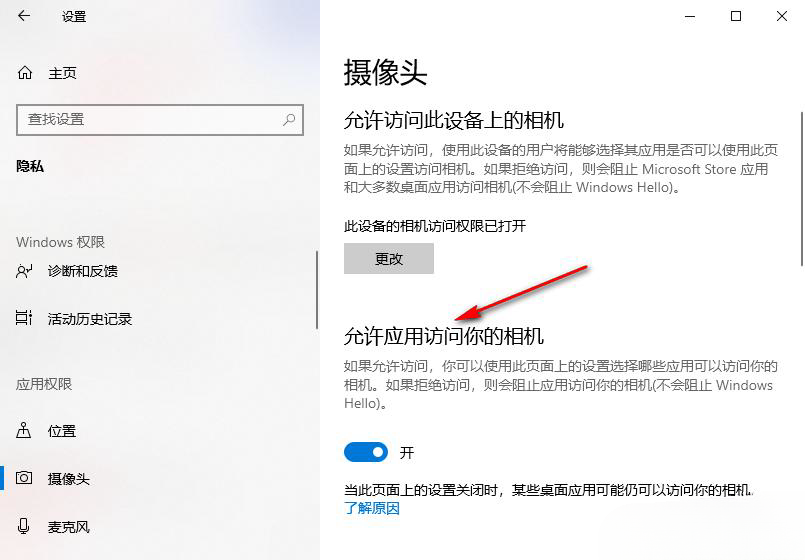
#4. Step 4. On the camera page, we find the "Allow apps to access your camera" option.

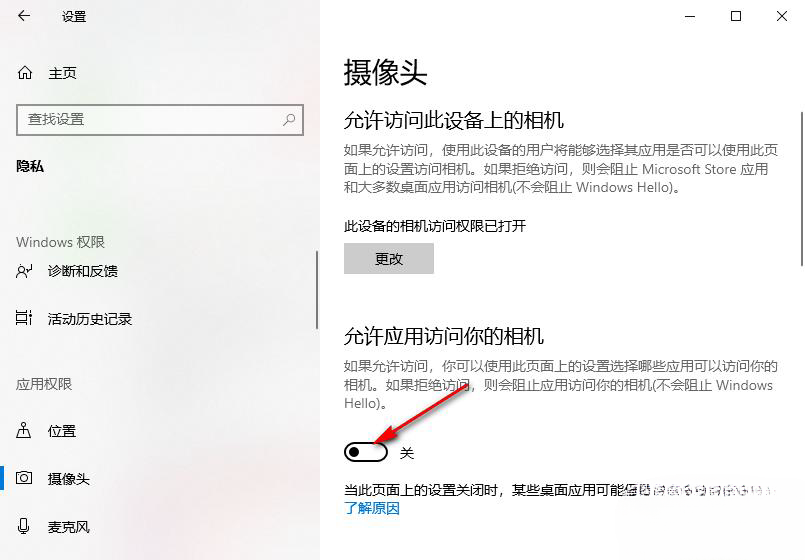
5. Step 5. Click the switch button under the "Allow apps to access your camera" option to turn it off so that it turns gray.

The above is the detailed content of How to disable the use of the camera on the lock screen in Windows 10?. For more information, please follow other related articles on the PHP Chinese website!

