
 System TutorialWindows SeriesHow to temporarily close the virtual disk in win7? How to delete virtual disk space in win7 system
How to temporarily close the virtual disk in win7? How to delete virtual disk space in win7 system

php editor Xigua introduces you to a simple and effective method for temporarily closing the virtual disk and deleting the virtual disk space in win7 system. When using a virtual disk, sometimes we need to shut it down temporarily or delete disk space when it is no longer needed. This article will answer these questions for you in detail and provide steps to help you master these techniques easily. Whether you are a newbie or an experienced user, you can gain practical knowledge and tips from this article. Let’s find out together!
How to delete virtual disk space in win7 system:
Temporarily close the virtual disk:
1. After entering the computer, click the computer icon, then right-click and select the management option to open the disk management page.

#2. Then click the Disk 1 option, then right-click and select the offline function to temporarily turn off the virtual disk.

Delete virtual disk:
1. After entering the computer, click the computer icon, then right-click and select the management option to open the disk management page.

#2. Then click the Disk 2 option, then right-click and select the detach function to delete the virtual disk.

The above is the detailed content of How to temporarily close the virtual disk in win7? How to delete virtual disk space in win7 system. For more information, please follow other related articles on the PHP Chinese website!

 Windows 10 Won't Lose Microsoft 365 Apps in 2025May 14, 2025 am 06:01 AM
Related When Will Microsoft Stop Supporting Windows 10? According to Microsoft's lifecycle
 Kingston Launches the Ultra-Fast FURY Renegade G5 SSDMay 14, 2025 am 04:58 AM
Related Samsung 9100 PRO NVMe SSD Review: Blazing a New Speed Trail So much speed, but I ha
 Cooler Master's Hyper 612 Apex Might Be Perfect for Your Next PCMay 14, 2025 am 04:52 AM
Some people don't like liquid cooling on their PCs. It's hard to install, and in a lot of cases, it can be tricky to fit one inside of your PC. Cooler Master makes some great air coolers, and this new one looks pretty good. Cooler Master has just
 Logitech G515 Keyboard Hits All Time Low at $109May 14, 2025 am 02:32 AM
Logitech G515 Lightspeed TKL Gaming Keyboard
 I Miss the Times Computers Were Plug and PlayMay 13, 2025 am 06:03 AM
Building a new PC was once a moment of triumph. Now, it’s just the beginning, as you have to install apps, download large games, and tweak dozens of settings before it's fully set up. Let's take a look at how we got here and how things used to be.
 Why Is This Logitech Mouse on Every Tech Person's Desk?May 13, 2025 am 06:02 AM
Logitech's MX Master series of mice has become a common sight in YouTube videos or photographs of tech-savvy people's desk setups, but what makes this now-iconic mouse so special? I'm on my third MX Master mouse at this point, and, honestly, I can
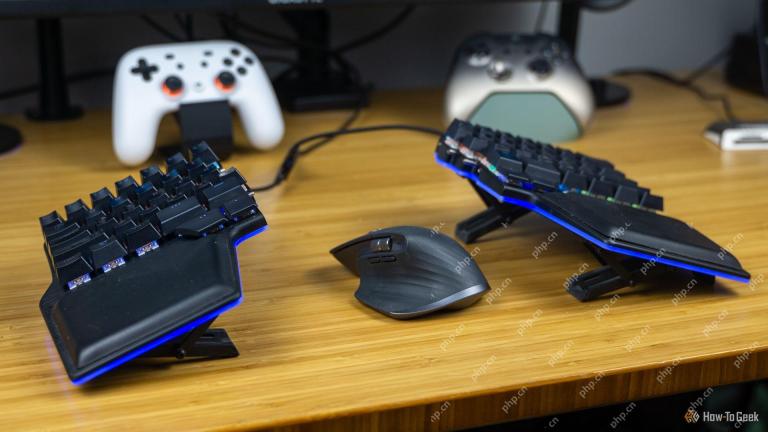
 I Refuse to Buy a Keyboard Without a ScreenMay 13, 2025 am 03:05 AM
Mechanical keyboards offer a plethora of features, from switch type and keycap material to sound dampening. But one often overlooked, yet invaluable feature, is the built-in screen. Why Integrate Screens into Keyboards? The QWERTY keyboard, a staple
 The Galaxy S25 Gets Edgy, and RIP Skype: Weekly RoundupMay 13, 2025 am 03:04 AM
Tech News Roundup: Major Updates and New Releases Across the Tech Landscape This week brings a flurry of exciting tech news, from AI advancements to new gaming peripherals and significant software updates. Let's dive into the highlights: AI and Secu


Hot AI Tools

Undresser.AI Undress
AI-powered app for creating realistic nude photos

AI Clothes Remover
Online AI tool for removing clothes from photos.

Undress AI Tool
Undress images for free

Clothoff.io
AI clothes remover

Video Face Swap
Swap faces in any video effortlessly with our completely free AI face swap tool!

Hot Article
Hot Tools

MinGW - Minimalist GNU for Windows
This project is in the process of being migrated to osdn.net/projects/mingw, you can continue to follow us there. MinGW: A native Windows port of the GNU Compiler Collection (GCC), freely distributable import libraries and header files for building native Windows applications; includes extensions to the MSVC runtime to support C99 functionality. All MinGW software can run on 64-bit Windows platforms.

SublimeText3 Chinese version
Chinese version, very easy to use

DVWA
Damn Vulnerable Web App (DVWA) is a PHP/MySQL web application that is very vulnerable. Its main goals are to be an aid for security professionals to test their skills and tools in a legal environment, to help web developers better understand the process of securing web applications, and to help teachers/students teach/learn in a classroom environment Web application security. The goal of DVWA is to practice some of the most common web vulnerabilities through a simple and straightforward interface, with varying degrees of difficulty. Please note that this software

Zend Studio 13.0.1
Powerful PHP integrated development environment

PhpStorm Mac version
The latest (2018.2.1) professional PHP integrated development tool

