Home >Software Tutorial >Computer Software >How to layer iMindMap timeline swim lanes. Tutorial on how to create them.
How to layer iMindMap timeline swim lanes. Tutorial on how to create them.
- WBOYWBOYWBOYWBOYWBOYWBOYWBOYWBOYWBOYWBOYWBOYWBOYWBforward
- 2024-02-09 18:36:19911browse
php Editor Banana will introduce you to the tutorial on how to create layered iMindMap timeline swim lanes. iMindMap is a popular mind mapping software, and its timeline swim lane function can help users better display events and activities on the timeline. Creating timeline swim lanes in layers can make information clearer and easier for viewers to understand. This article will introduce in detail the layered creation method of iMindMap timeline swim lanes, helping you to easily create organized and attractive timeline swim lanes.
The specific operations are as follows:
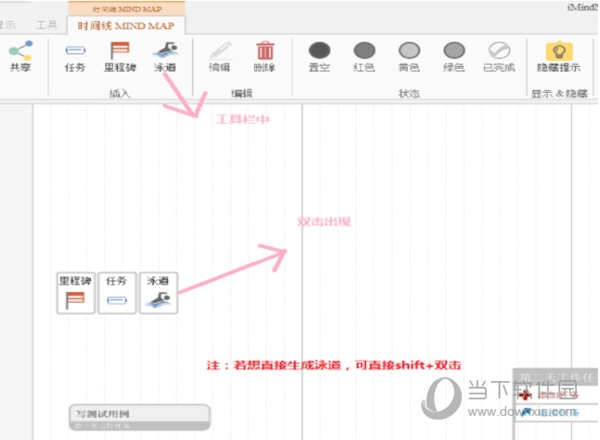
1. Open the software, select [Swim Lane] to generate under the [Timeline] column, or double-click to select generation

2. Name the [swimming lane]. After the end, the name of the swimming lane will appear on the far left for easy identification


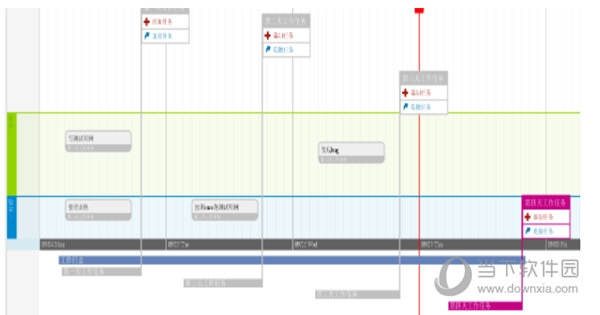
3. After adding the task, pull up the swim lane to adjust the height and layer the tasks

After layering the tasks with height differences, the entire "swim lane" will become clearly visible. Convenient for users to view. The above is the MindMap related tutorial brought by the editor, I hope it can help everyone.
The above is the detailed content of How to layer iMindMap timeline swim lanes. Tutorial on how to create them.. For more information, please follow other related articles on the PHP Chinese website!

