Home >Software Tutorial >Computer Software >How to modify arrows when marking dimensions in CorelDRAW. Tutorial on how to modify arrow styles.
How to modify arrows when marking dimensions in CorelDRAW. Tutorial on how to modify arrow styles.
- PHPzforward
- 2024-02-09 16:27:25912browse
php Editor Xiaoxin today brings you a tutorial on CorelDRAW dimensioning and modifying arrow styles. In CorelDRAW, dimensioning is a very common operation, but the default arrow style may not meet our needs. Therefore, this tutorial will teach you how to modify the arrow style in dimensioning to make your design more personalized. Come and learn with the editor!
The specific operations are as follows:
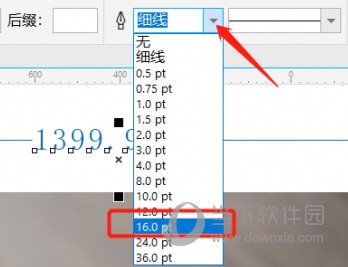
1. Open the CorelDRAW software, import the image, set the label size, select the [arrow] and click [Outline Width] above to adjust the appropriate value

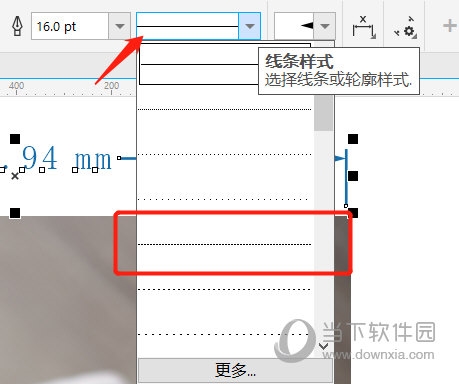
2. After the settings are completed, click [Line Style] to select the appropriate style

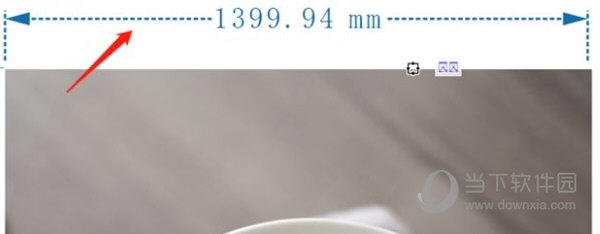
3. After all settings are completed, save and view the results

By adjusting the arrow style, the “size” can be made more obvious, allowing users to better understand the size of the image. The above is the CorelDRAW related tutorial brought by the editor, I hope it can help everyone!
The above is the detailed content of How to modify arrows when marking dimensions in CorelDRAW. Tutorial on how to modify arrow styles.. For more information, please follow other related articles on the PHP Chinese website!

