

 System TutorialMACMerge mechanical hard drive partitions on mac (mechanical hard drive partitions merge and files cannot be opened)
php editor Zimo brings you a solution to the problem of merging mechanical hard disk partitions. When using a Mac computer, sometimes you may encounter a situation where files cannot be opened after the mechanical hard disk partitions are merged. This problem is very troublesome for many users, because it not only affects file access, but may also lead to data loss. In this article, we will introduce how to solve this problem so that the files after the mechanical hard disk partitions are merged can be opened normally.
How to merge and create new disk partitions on Mac and Windows computers
First, open the Disk Utility window. Then, select the disk partition you want to merge according to the arrow. Next, click on the recovery icon to merge the partitions.
2. The first step is to right-click the [This PC] icon, and then click the [Manage] option in the pop-up menu bar as shown in the figure below.
First, open “Finder” on your computer and click “Applications”. Find "Utilities" in the application and click to enter. Next, select "Disk Utility" in Utilities and click to enter. In Disk Utility, select "Disk Volume" and then click "Partition" to proceed to the next step.
The specific operation is as follows: First, right-click the [This PC] icon, and then select the [Manage] option in the pop-up menu bar. Then, open the [Computer Management] window and select the [Disk Management] option.
How to combine the two areas of the mechanical hard disk into one disk???
The method to open the disk management tool is very simple: under the Windows operating system, just right-click on the computer (or This PC) icon, select Manage, then click Disk Management. In the disk management tool, you can confirm the status of all hard drives and partitions on your computer.
Open the computer desktop, right-click "This PC" and select "Manage". Click "Disk Management" and find the hard disk partition. Right-click the partition you want to delete and select "Delete Volume". An unallocated area will be generated at this time.
Right-click the computer, select Manage, enter the computer management page, and then click Disk Management. Next, right-click the disk to be merged in Disk Management and select Delete Volume. Once you click Delete Volume, the disk's space will become unallocated.
To merge the F drive and G drive into one drive, you can follow the steps below: First, right-click "My Computer" on the desktop, and then select "Manage". Next, open "Computer Management" and click "Disk Management". You can see all disks in the computer on this interface. After selecting the G drive, right-click and select "Delete Volume". After completing the above steps, drive F and drive G will be merged into one drive.
The method to merge two disks into one disk is: press the combination shortcut key win (such as L disk) for expansion.
If these two partitions are on two different hard drives, they definitely cannot be combined. If two partitions are on the same hard disk, you can use partition software such as Partition Master to merge them together. If it is a Windows server system, it can also directly have the function of merging partitions.
How to merge multiple disk partitions on macbook
1. Enter the partition tool: Click Go to Utilities in the menu at the top of the desktop, or press the shortcut key shift cmmand u, and click the first Disk Utility after entering . Selected partition: In Disk Utility, click on the partition that needs to be deleted, as shown in the figure. After selecting, click the partition button at the top.
2. First open "finder", then select "Applications", find "Utilities", and click to enter. Then select "Disk Utility", click Enter, then select "Disk Volume", then select "Partition" and proceed to the next step.
3. How to merge multiple disk partitions on macbook: first use the BootCamp application to delete the Windows partition, then use Disk Utility to select the Untitled partition, and click the - sign below, and then drag the MacintoshHD partition to the bottom. That's it.
4. The first step is to transfer the data of other partitions. The second step is to delete other partitions. The third step is to expand the unique partition.
5. How to merge partitions How to merge partitions How to merge hard disk partitions The method is: Step 1 Open the Control Panel Performance Options Management Tool Computer Management, enter the Computer Management window, click Storage in the left window Disk management options, you can see the detailed information of all disk partitions in the current computer.
6. Enter the partition tool: click Go to Utilities on the top menu of the desktop, or press the shortcut key shift cmmand u, enter and click the first disk tool. Select a partition: In Disk Utility, click on the built-in partition to delete, as shown in the figure, select the button at the top of the partition.

Mac sub-partition shows 3, but there is only one in Disk Utility, how to merge partitions
First step is to open the [Disk Utility] window, and then follow the following steps As pointed by the arrow in the figure, select the disk partition that needs to be merged. In the second step, click the [Recover] icon as pointed by the arrow in the picture below to merge the partitions.
First open "finder", then select "Applications", find "Utilities", and click to enter. Then select "Disk Utility" and click to enter. Then select "Disk Volume", then select "Partition" and proceed to the next step.
Click the disk from the device list on the left. (Do not select the volume under Disk) From the upper side of the operation panel on the right, click "Partition". If you select a volume, you will not see the partition label. From the icon, click on the partition you want to delete, then click on the "-" in the lower left corner of the icon.
The specific method of merging three partitions into one on MacBook Pro is as follows: first use the Boot Camp application to delete the Windows partition; then use Disk Utility to select the Untitled partition; and click the - sign below, and then drag the Macintosh Just move the HD partition to the bottom.
The first step is to transfer the data of other partitions, the second step is to delete other partitions, and the third step is to expand the unique partition.
Use Applications - Utilities - Disk Utility, click on the hard disk to merge partitions, select "Partition", then select the second partition to be merged in the "Partition Layout" on the left, and click below "-" sign removes the partition, then click on the previous partition to resize it to complete the partitioning.
How can the hard disk partitions of Apple computers be merged into one partition?
The first step is to open the [Disk Utility] window, and then select the disk partitions that need to be merged according to the arrows in the figure below. . In the second step, click the [Recover] icon as pointed by the arrow in the picture below to merge the partitions.
Merge partitions: Then the software will prompt that the partitions will be removed. Click OK and wait for a while before it is completed. Do not operate the computer during the process, otherwise it may cause computer or screen freezes. In this way, the original multiple partitions have been merged into one partition.
How to merge multiple disk partitions on macbook: First use the BootCamp application to delete the Windows partition, then use Disk Utility to select the Untitled partition, and click the - sign below, and then drag the MacintoshHD partition to the bottom. .
The first step is to transfer the data of other partitions, the second step is to delete other partitions, and the third step is to expand the unique partition.
Enter the partition tool: Click Go to Utilities on the top menu of the desktop, or press the shortcut key shift cmmand u. After entering, click the first Disk Utility. Selected partition: In Disk Utility, click on the partition that needs to be deleted, as shown in the figure. After selecting, click the partition button at the top.
The method is: Step 1. Open the Control Panel, Performance Options, Management Tool, Computer Management, enter the Computer Management window, click the Disk Management option under Storage in the left window, and you can see all the files in the current computer. Disk partition details. Step 2 assumes that you want to re-partition the D drive into two partitions.
Conclusion: The above is all the content about merging mechanical hard disk partitions on Mac introduced by this site. I hope it will be helpful to everyone. If you want to know more about this, remember to bookmark and follow this article. stand.
The above is the detailed content of Merge mechanical hard drive partitions on mac (mechanical hard drive partitions merge and files cannot be opened). For more information, please follow other related articles on the PHP Chinese website!

 How to Change Location of Notification Banners on Mac with PingPlaceApr 29, 2025 am 09:06 AM
Customize Your Mac Notification Banners with PingPlace! Tired of Mac notifications always appearing in the top right corner? Wish you could reposition those pesky banners? PingPlace, a free and open-source Mac app, lets you easily change the locat
 How to Play Ambient Music on iPhoneApr 28, 2025 am 11:40 AM
One of the latest interesting features of the iPhone is the ambient music player, which, as the name implies, plays ambient music. This neat audio feature is available with iOS 18.4, and the Ambient Music Player offers four different ambient music types: sleep, relaxation, work, and physical and mental health. While the ambient music player is free to use and seems to be related to Apple Music, it is unique in that it doesn't play through the music app and there are no dedicated apps to play. Instead, the ambient music player on the iPhone is mysteriously hidden in optional parts of the control center, so it's easy to overlook or even notice. Nevertheless, if you like to play gentle beats and music while working, focusing or resting
 How to Show QR Code for Wi-Fi on iPhone, Mac, iPadApr 28, 2025 am 11:35 AM
Easily share Wi-Fi: Quickly connect with QR code One way to easily share Wi-Fi router access rights is to generate a QR code for Wi-Fi connection. This is very useful in homes, offices, waiting rooms, rentals, restaurants, shops, and anywhere where people need Wi-Fi access. It also makes it easier for users to join Wi-Fi networks without having to enter complex passwords. The latest version of Mac, iPhone and iPad system software makes this task easier than ever, enabling the ability to generate QR codes for any connected Wi-Fi router, and you can easily join by pointing your camera at the QR code. Although Apple's iPhone, Mac and iPad have long provided a useful
 iOS 18.4.1 Update Released with CarPlay Fix & Security PatchesApr 28, 2025 am 11:34 AM
Apple launches iPhone iOS 18.4.1 and iPad iPadOS 18.4.1 updates! This update contains important bug fixes and security patches and is recommended to upgrade now. iOS 18.4.1 specifically fixes the problem of CarPlay connection failure in some cases. If you have CarPlay connection issues, this update may solve your problem. In addition, Apple has released macOS Sequoia 15.4.1, watchOS, tvOS and visionOS updates. How to download and install iOS 18.4.1 / iPadOS 18.4.1 update?
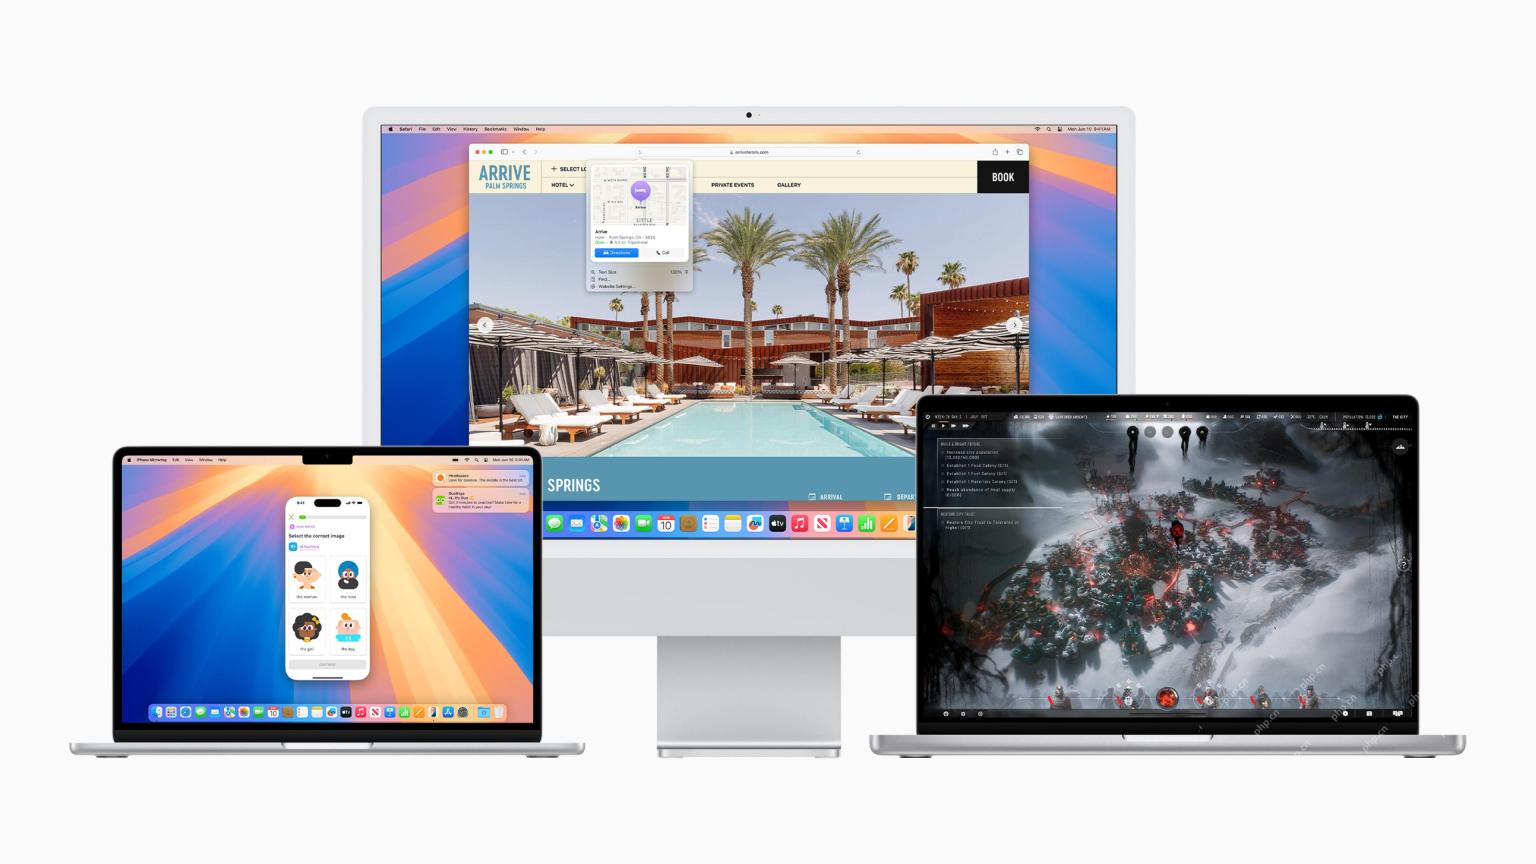 macOS Beta: The Sequoia 15.5 beta 3 is now available. Here's how to get itApr 27, 2025 pm 06:05 PM
macOS Sequoia: Deeply exploring the beta version In September 2024, macOS Sequoia officially landed on Mac computers, but its beta beta version development continues. Registered developers or public beta test users can continue to receive the latest updates and experience new features that have not been released publicly. This article will explain in detail the contents of the latest version of Sequoia Beta, how to obtain, install steps, and potential risk avoidance. If you prefer to use the latest official version of macOS Sequoia, please refer to how to update your Mac system. In the past, the developer beta version was only for developers who paid to join the Apple Developer Program (costs at $99/£79). However, in recent days
 How to avoid being scammed by a toll-collection SMS and similar smishing attemptsApr 27, 2025 pm 06:03 PM
A wave of "toll-fee SMS scams" is currently sweeping across America. Many state governments have warned residents about text messages from unknown numbers demanding payment for allegedly unpaid tolls. The scam's credibility stems from the
 How to make your Mac text larger on a big displayApr 27, 2025 pm 05:59 PM
Connecting your Mac to a large HDTV offers access to a wide array of audio-visual apps and streaming services, all within the secure macOS environment. However, a common issue arises: tiny interface elements on the external display, making them diff
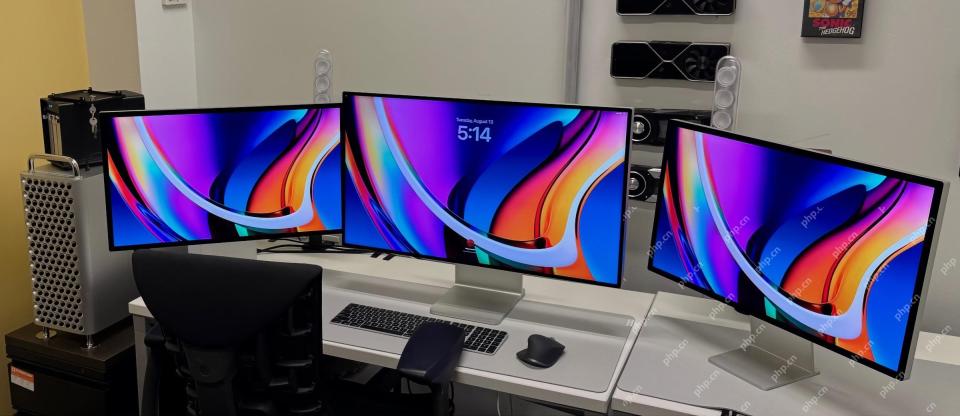
 How to stop display static after waking your Mac's monitorApr 27, 2025 pm 05:57 PM
Readers have intermittently reported static interference after external monitors wake up from sleep, but we recently received a new report: This problem occurred on every monitor of a couple. They found no rules, and like previous readers, turning off the monitor and then turning it on can solve the problem. Although there is no universal answer, research shows that the problem may lie in the connection line or protocols transmitted on the connection line. Depending on the model of your Mac and monitor you are using, you can easily troubleshoot problems. HDCP (High Bandwidth Digital Content Protection) protocol after all HDMI or DisplayPort compliant devices (including use via Thunderbolt or USB)


Hot AI Tools

Undresser.AI Undress
AI-powered app for creating realistic nude photos

AI Clothes Remover
Online AI tool for removing clothes from photos.

Undress AI Tool
Undress images for free

Clothoff.io
AI clothes remover

Video Face Swap
Swap faces in any video effortlessly with our completely free AI face swap tool!

Hot Article
Hot Tools

VSCode Windows 64-bit Download
A free and powerful IDE editor launched by Microsoft

SublimeText3 English version
Recommended: Win version, supports code prompts!

DVWA
Damn Vulnerable Web App (DVWA) is a PHP/MySQL web application that is very vulnerable. Its main goals are to be an aid for security professionals to test their skills and tools in a legal environment, to help web developers better understand the process of securing web applications, and to help teachers/students teach/learn in a classroom environment Web application security. The goal of DVWA is to practice some of the most common web vulnerabilities through a simple and straightforward interface, with varying degrees of difficulty. Please note that this software

SublimeText3 Chinese version
Chinese version, very easy to use

SecLists
SecLists is the ultimate security tester's companion. It is a collection of various types of lists that are frequently used during security assessments, all in one place. SecLists helps make security testing more efficient and productive by conveniently providing all the lists a security tester might need. List types include usernames, passwords, URLs, fuzzing payloads, sensitive data patterns, web shells, and more. The tester can simply pull this repository onto a new test machine and he will have access to every type of list he needs.

