
Home >System Tutorial >Windows Series >Delete virtual memory files in win10
Delete virtual memory files in win10

- 王林forward
- 2024-01-25 08:39:051253browse
When using the Win10 operating system, virtual memory is not always needed. The following are the detailed steps to delete infrequently used virtual memory. Friends who don’t know how to do it can take a look at the steps. It is still very simple.
Delete virtual memory files in win10
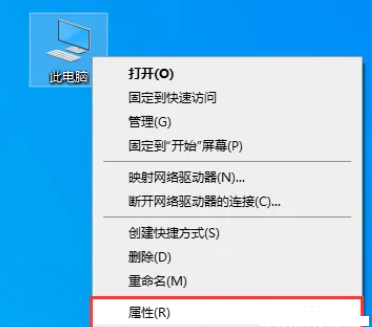
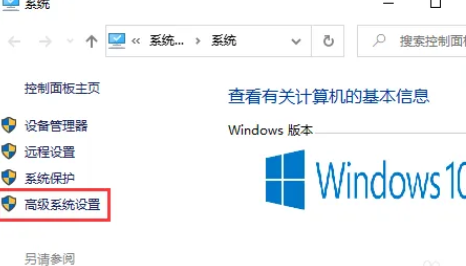
1. Right-click the mouse on the desktop and select "This PC", then click the Properties option, and then click "Advanced System Settings".
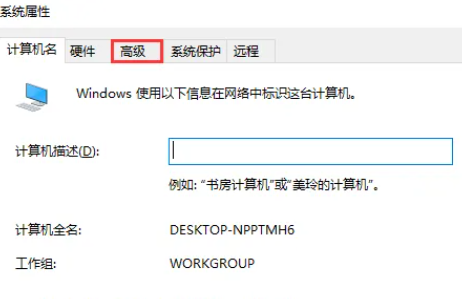
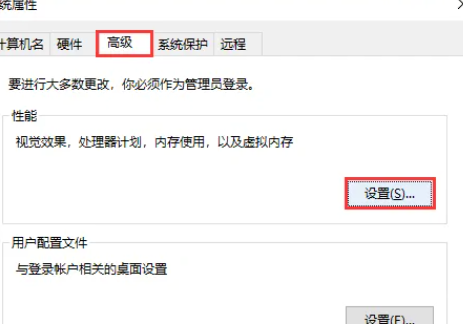
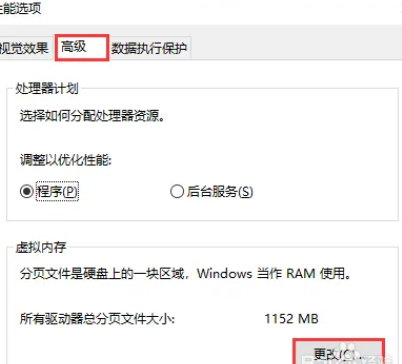
2. Click the "Advanced" option in the system properties page, and then click the "Settings" option in the performance column.
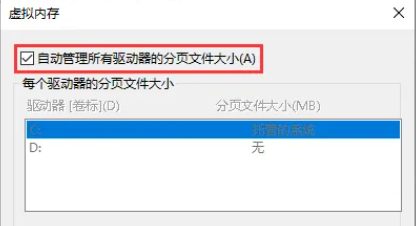
3. In the "Advanced" option in the performance options interface, click "Change" in the virtual memory column. First Uncheck the box next to "Automatically manage paging file size for all drives."
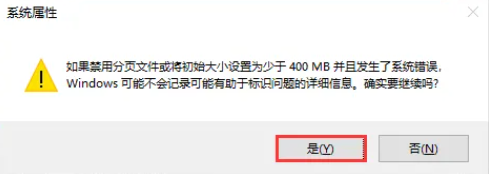
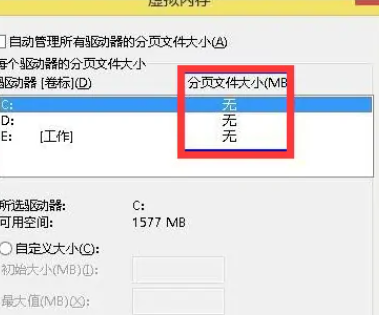
4. Select the paging file you plan to delete on the disk, then select the "No paging size" option below, and then click the right "Settings" button on the side. At this time, the system will remind us to continue the operation, just click the "OK" button.
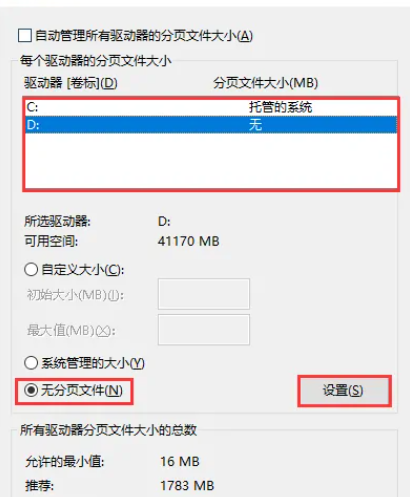
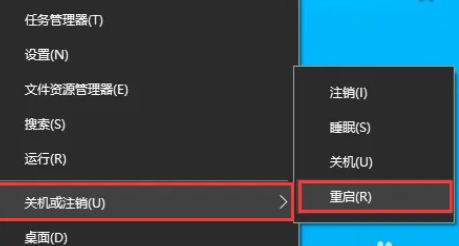
5. After deleting all paging files (i.e. virtual memory) of all drives, you will see all paging files of all drives. Displayed as "None". After restarting the system, the above changes will take effect.
The above is the detailed content of Delete virtual memory files in win10. For more information, please follow other related articles on the PHP Chinese website!