Home >Computer Tutorials >Troubleshooting >How to change your system's language settings in Windows 11
How to change your system's language settings in Windows 11
- PHPzforward
- 2024-01-17 19:45:052699browse
Windows 11 is a popular computer operating system currently on the market, and most of its many versions are presented in pure English interfaces. How to change this setting may be a bit confusing to the majority of users.
How to change the system language in Windows 11
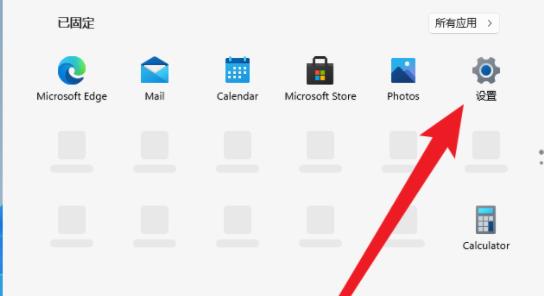
1. Tap the Start menu at the bottom of the taskbar, and then find the Settings button.
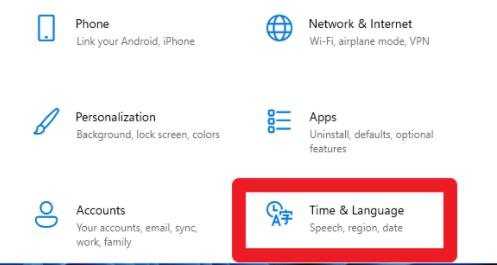
2. In the pop-up Windows Settings window, slide to the bottom, find and click "Time & Language".
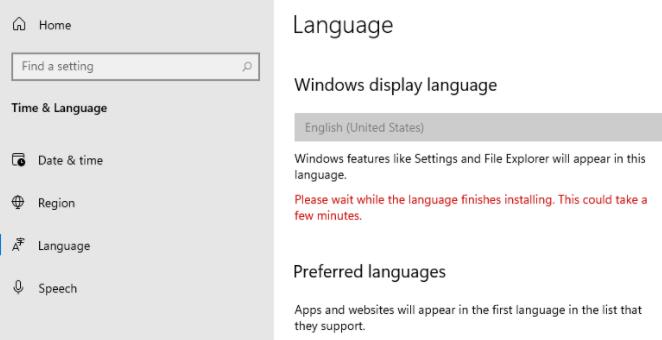
3. Find the Language column in the left column menu, and then select the "Add a language" option from the right column.
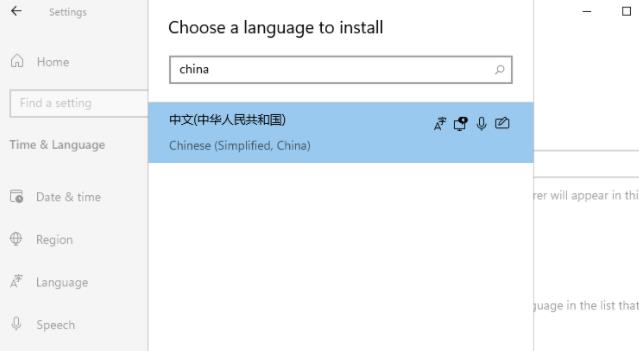
4. In the new window that appears, Choose a language to Install (select the language to be installed). If you need to change the Chinese, directly search for China, and then select the Chinese option.
5. In the new window Install Language features, check all the options you need to use, and finally click the Install button to update the system.
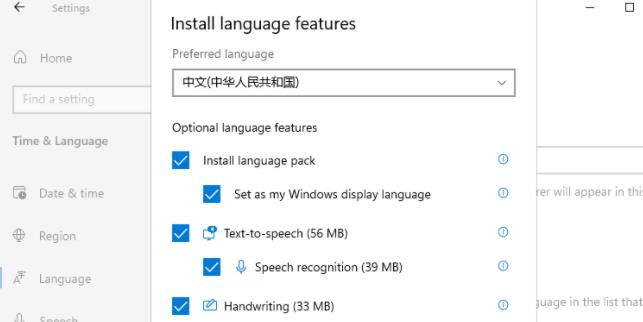
6. At this time, the system will prompt the message: Settings Windows display language (Set Windows display language), click to select Yes, sign out now, after installation, log out or restart. can take effect.
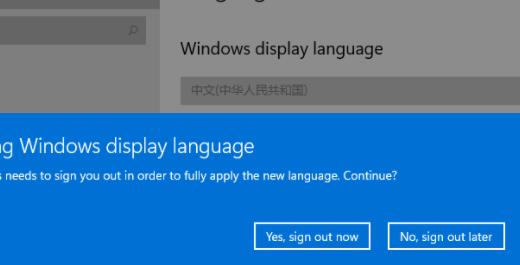
7. At this time, the prompt message "Signing out" will appear on the screen and just wait.

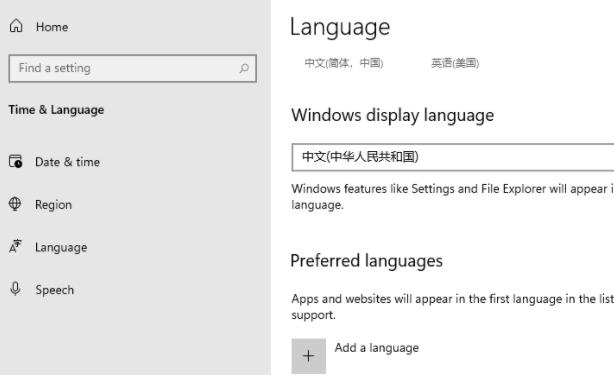
8. Finally, you can see that the system you used before has been set to Chinese.
The above is the detailed content of How to change your system's language settings in Windows 11. For more information, please follow other related articles on the PHP Chinese website!

