


This article will introduce how to use a mobile hard drive on Mac. I hope it will be helpful to you. Please read on.
How to use the mobile hard disk on Apple computers
After connecting the mobile hard disk to the Mac computer, the disk icon of the mobile hard disk will be displayed on the desktop after loading is completed. In addition, the currently loaded removable disk can also be seen in the "Devices" section of the Finder window.
The steps for using a mobile hard drive on an Apple computer are as follows: First, open the Apple computer and insert the mobile hard drive. Then, right-click My Computer on the main Computer page and select Manage. Then, click the Disk Management option and find the inserted removable hard disk device in the disk list.
Mac computers can connect the mobile hard drive through the USB interface and open the mobile hard drive through Finder to access files. The connection steps are as follows: 1. Use a USB cable to connect the mobile hard drive to your Mac computer. 2. Open Finder, click the "Go" menu in the upper left corner, and select the "Computer" option. 3. In the left sidebar, find and click the icon of the mobile hard drive. 4. In the Finder window, you can browse and manage files in the mobile hard drive. It should be noted that if the mobile hard disk does not automatically appear in Finder, you can try to reconnect it or check whether the USB cable is normal. In addition, in order to ensure that the mobile hard drive can be used normally on Mac and other systems, it is recommended to format it in FAT32 format. You can find the steps to format
in the "Disk Utility" application to use a mobile hard drive on a Mac as follows: 1. Insert the mobile hard drive into the USB interface of the Mac computer. 2. A new hard disk icon will appear on the desktop, double-click to open it. 3. If the mobile hard drive is new, Mac will prompt you to format the hard drive.
The specific steps are as follows: First open the Apple computer and insert the mobile hard drive. Then, on the main computer page, right-click My Computer, select Manage, and enter the management list. Then, click the Disk Management option and find the inserted removable hard disk device in the disk list. Finally, click to turn on the device and you are ready to use it.
What should I do if my external hard drive doesn’t show up on my Mac? Answers
If your hard drive boots up but doesn’t show up in the Finder on your Mac, you can solve the problem by fine-tuning some settings This problem. First, launch Finder on your Mac and open the Finder menu at the top of the screen. Select "Preferences" and click the "General" tab. Next to Hard Drive, make sure the checkbox is selected. Your hard drive will now show up in Finder.
After downloading and installing NTFS For Mac15, open the software in Mac system preferences, insert the mobile hard disk, and the NTFS partition will be automatically recognized for read and write operations.
You can try the following methods to solve the problem: On a Mac computer, you can open Disk Utility by pressing the F4 key, then select "Others", and then select "Disk Utility". However, if your computer keeps showing daisy-chaining and cannot find the external hard drive, it may be because the hard drive connection is unstable or there is a problem with the hard drive. You can first check whether the connection of the mobile hard disk is firm, and try to replug and unplug the hard disk or replace the data cable. If the problem persists, you can try connecting the mobile hard drive to another computer to see if it can be recognized normally. If other computers cannot recognize the mobile hard drive, there may be something wrong with the hard drive itself. If the mobile hard drive cannot be displayed on an Apple computer, you can try connecting it to a Windows computer. In the local system, the display locations of the mobile hard disk and USB flash drive are different. The mobile hard drive can be found in "This PC" in the file manager, while the USB flash drive will appear in "Mobile Devices".
First click on the finder on the desktop and click on the preferences inside. Click on Settings General and put the hard drive in front of General. At this time, you see a disk icon on the mac desktop.
Check whether the mobile hard drive is correctly inserted into the Mac computer. Check whether the mobile hard disk has power. The power supply may be insufficient. Check whether the USB data cable connected to the mobile hard disk is damaged. It may be caused by a system failure. Restart your Mac computer to see if it can be recognized normally.
 How to use a mobile hard drive on mac
1. First, you can use third-party software, such as paid ParagonNTFS or TuxeraNTFS. If you are using a Seagate hard drive, You can go to Seagate's official website to download a Seagate-specific version of ParagonNTFS for free, which can also read and write directly when using a designated NTFS hard drive. Use a USB cable to connect the mobile hard drive to your Mac computer.
2. The method for mac to read the mobile hard disk is as follows: After the mobile hard disk is connected to the Mac computer, after the loading is completed, the disk of the mobile hard disk will be displayed on the desktop. Double-click the mobile hard drive to open the hard drive and read the files stored on it.
3. Just install an NTFS mounting plug-in on your Mac, such as Paragon NTFS for Mac. \x0d\x0a If the mobile hard disk is formatted with HFS+ file system on Apple and used on PC, the PC will not recognize it for the same reason. You also need to install software, such as MacDrive Pro, to use it normally.
4. MacBook Pro can use ordinary mobile hard drives. MacBook Pro supports peripheral expansion, and the mobile hard disk can be plugged in and used directly. Apple computers use mobile hard drives. Specific steps: First open the Apple computer and insert the mobile hard drive. On the main computer page, right-click My Computer, select Manage, and click Enter.
5. Step 1: Open Disk Utility; Step 2: Select the mobile hard drive; Step 3: Select First Aid. The hard disk permissions are changed to read-only. If your hard disk permissions are "read-only", you can change its "permissions" by opening the "Show Profile" of the hard disk and pulling down.
Conclusion: The above is all the content about using Mac with mobile hard disk that this site has introduced to you. I hope it will be helpful to you. If you want to know more about this aspect, remember to bookmark and follow this site. .
The above is the detailed content of How to use a mobile hard drive on mac. For more information, please follow other related articles on the PHP Chinese website!

 How to Summarize Webpages in Safari for MacMay 09, 2025 am 10:47 AM
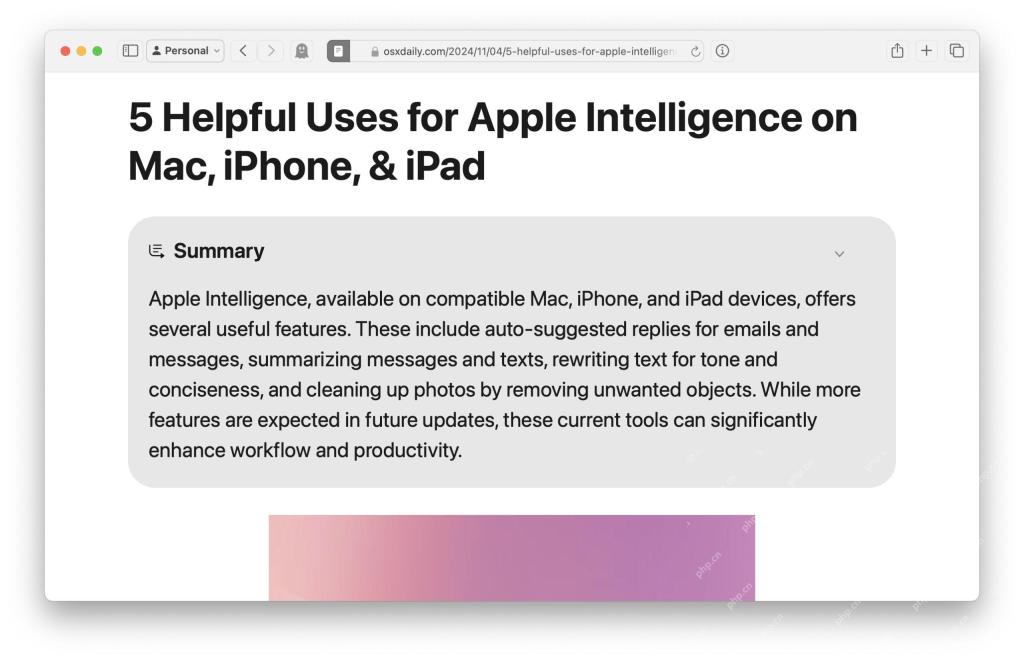
Safari browser's powerful web simplification feature: use Apple Intelligence to read efficiently! One of the built-in Apple Intelligence features of Safari browser is the web snippet feature. Whether the content of a web page is a long-lasting or a normal website, Apple Intelligence can quickly generate summary, helping you quickly understand web page content and save time. This feature is very convenient to use in Safari for Mac. How to use the web ssummary feature in Safari for Mac? If you are using an Apple Silicon Mac with MacOS Sequoia 15 or later
 How to Fix Spotlight Search Issues on MacOS SequoiaMay 09, 2025 am 10:36 AM
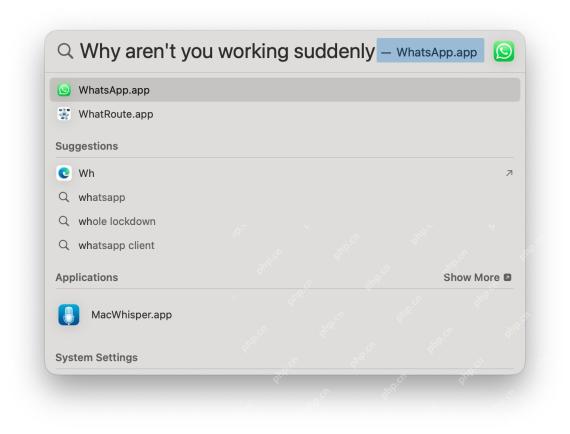
A fair number of Mac users have discovered that Spotlight Search is not working well in MacOS Sequoia, either missing files, apps, and sometimes not working at all to find any local file. For some users the issues with Spotlight happens right after t
 How to Customize Safari on Mac? How to Personalize It on MacBook Air/Pro?May 09, 2025 am 10:35 AM
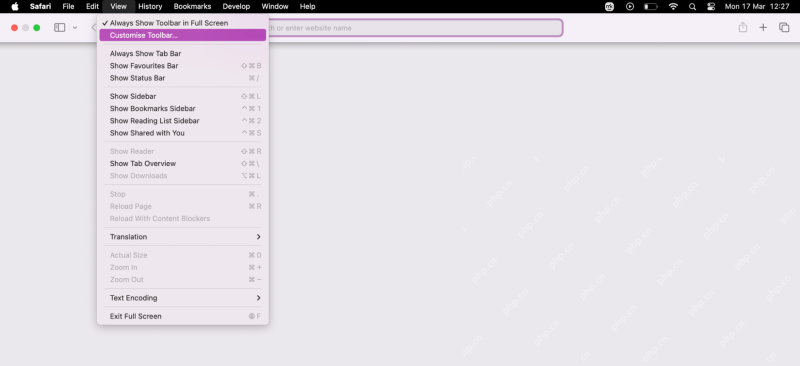
Personalize Your Safari Experience on MacBook: A Comprehensive Guide You can easily customize Safari on your MacBook to enhance your browsing experience. This guide provides a step-by-step approach to personalize various aspects of Safari, from the t
![How to Silence Notifications on iPhone? [Mute Messages & Apps on iOS]](https://img.php.cn/upload/article/001/242/473/174675709271104.jpg?x-oss-process=image/resize,p_40) How to Silence Notifications on iPhone? [Mute Messages & Apps on iOS]May 09, 2025 am 10:18 AM
How to Silence Notifications on iPhone? [Mute Messages & Apps on iOS]May 09, 2025 am 10:18 AMSilence iPhone Notifications: 6 Ways to Find Your Peace Need a break from the constant buzz of iPhone notifications? This guide offers six methods to silence your iPhone, from quick toggles to scheduled quiet time. Let's dive in! 1. Focus Mode: The
 How to Record Calls on iPhoneMay 09, 2025 am 10:15 AM
The new iPhone call recording function added in iOS 18.1 and above makes recording easier than ever! Just tap the recording button on the screen to start recording. This button is on the same screen as the speaker, mute and hang up buttons, making it convenient and fast. After the recording starts, the system will automatically play the prompt tone to inform both parties that the recording is being recorded, but it is best to confirm it verbally to show respect. Say goodbye to the past tedious recording methods, such as using a three-party call to transfer to a voice mail or recording with a Mac computer. Call content recorded on iPhone will be automatically saved in the memo app and saved with the title "Call with (Contact Name or Phone Number)" so that you can listen back, view voice to text records at any time, and add
 RC of MacOS Sequoia 15.2, iOS 18.2, iPadOS 18.2, Released for TestingMay 09, 2025 am 09:55 AM
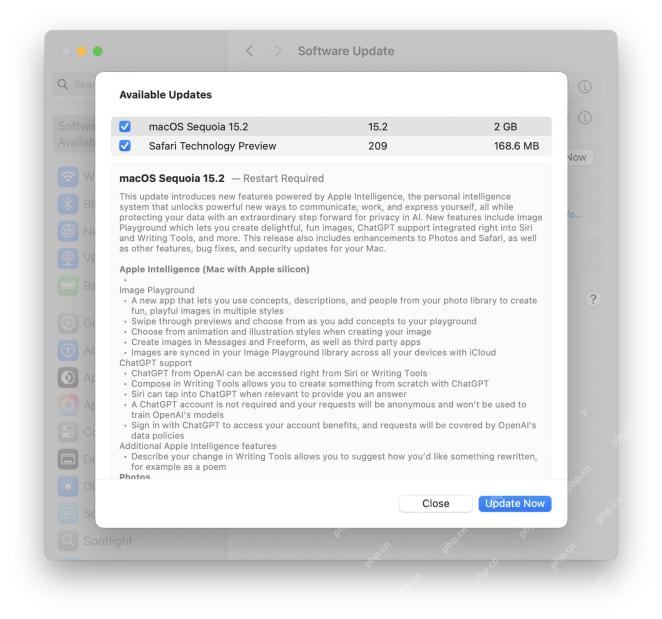
Apple released the iOS 18.2, MacOS Sequoia 15.2, and iPadOS 18.2 version candidates (RC) for all users participating in the Apple Systems Software Beta Test Program. The RC version is usually the final version of the Beta version before its public release, which indicates that the official version of iOS 18.2, iPadOS 18.2 and MacOS Sequoia 15.2 will be released soon. In addition to regular bug fixes and security enhancements, these upcoming software updates focus on bringing new Apple Intelligence features to compatible devices, including Imag
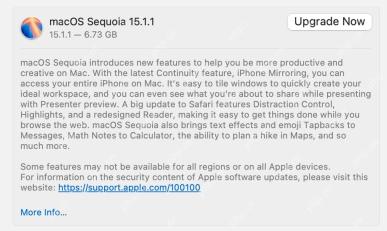 MacOS Sequoia 15.1.1 with Security Fixes Available NowMay 09, 2025 am 09:40 AM
Apple released the macOS Sequoia 15.1.1 update, a small software update that mainly contains important Mac security fixes. This update does not contain any new features, but fixes multiple security vulnerabilities that are being actively exploited, so it is highly recommended that you install this important update on your Apple device. In addition, Apple has released iOS 18.1.1 for iPhone, iPadOS 18.1.1, visionOS 2.1.1, and iOS 17.7.2 and iPadOS 17.7.2, all of which include the same security patches. How to download and install mac
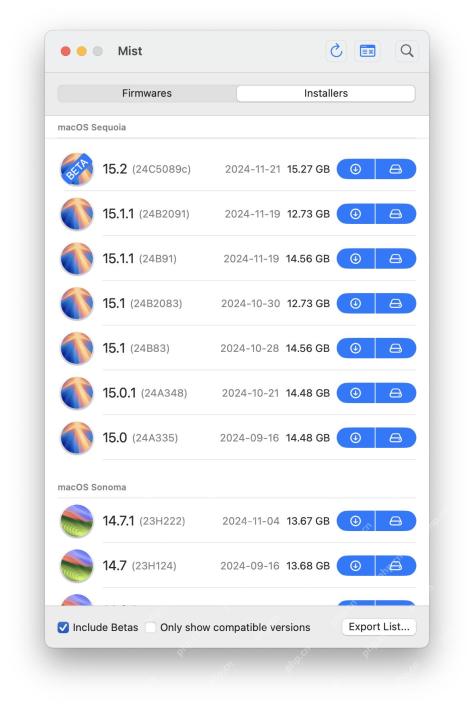 Mist Makes Downloading MacOS Installers & Firmwares EasyMay 09, 2025 am 09:37 AM
Mist: A powerful tool for easy downloading of macOS installers and firmware Many Mac users, IT staff and system administrators like to keep abreast of macOS installation programs, including current and previous versions of macOS system software. Additionally, many advanced Mac users and IT professionals need to access macOS IPSW firmware files at any time to restore Apple Silicon Macs, use them for virtual machines, and even for deployment, troubleshooting, or simple reconfiguration and setup of your Mac. This is where the free Mist tool comes into play, it makes it very easy to download any available macOS IPSW firmware file or any version of macOS installer. Although we maintain it


Hot AI Tools

Undresser.AI Undress
AI-powered app for creating realistic nude photos

AI Clothes Remover
Online AI tool for removing clothes from photos.

Undress AI Tool
Undress images for free

Clothoff.io
AI clothes remover

Video Face Swap
Swap faces in any video effortlessly with our completely free AI face swap tool!

Hot Article
Hot Tools

SecLists
SecLists is the ultimate security tester's companion. It is a collection of various types of lists that are frequently used during security assessments, all in one place. SecLists helps make security testing more efficient and productive by conveniently providing all the lists a security tester might need. List types include usernames, passwords, URLs, fuzzing payloads, sensitive data patterns, web shells, and more. The tester can simply pull this repository onto a new test machine and he will have access to every type of list he needs.

DVWA
Damn Vulnerable Web App (DVWA) is a PHP/MySQL web application that is very vulnerable. Its main goals are to be an aid for security professionals to test their skills and tools in a legal environment, to help web developers better understand the process of securing web applications, and to help teachers/students teach/learn in a classroom environment Web application security. The goal of DVWA is to practice some of the most common web vulnerabilities through a simple and straightforward interface, with varying degrees of difficulty. Please note that this software

SublimeText3 Mac version
God-level code editing software (SublimeText3)

SublimeText3 English version
Recommended: Win version, supports code prompts!

SublimeText3 Linux new version
SublimeText3 Linux latest version

