
Home >Software Tutorial >Computer Software >How to select an area and take a partial screenshot in Excel on computer
How to select an area and take a partial screenshot in Excel on computer

- 王林forward
- 2024-01-16 12:15:053886browse
Recently, the editor has received a lot of private messages in the background. Many friends have come to this site to ask me how to take partial screenshots of Excel in my laptop. Don’t worry, the omnipotent editor of this site has prepared for you how to select Excel tables on your computer. The details of the method of taking regional screenshots are in the article below. If you need it, you can come to this site for reference.

How to take a partial screenshot of a notebook excel?
The specific steps are as follows:
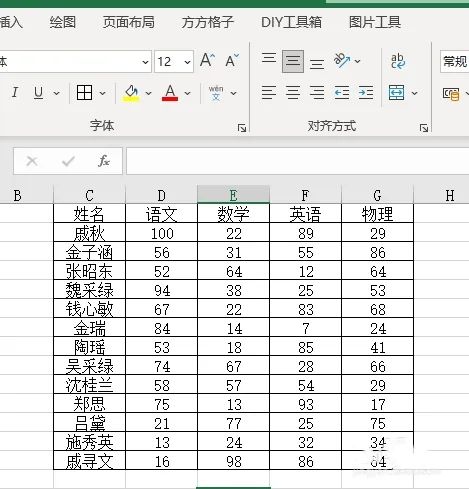
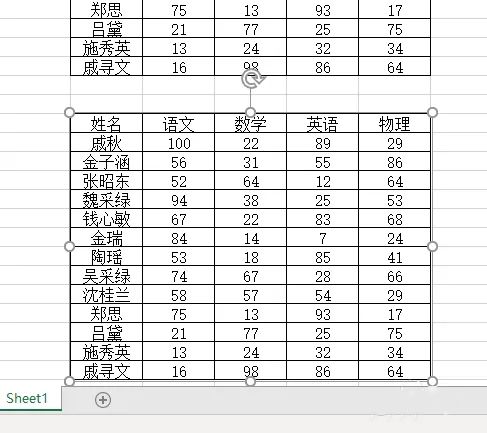
1. As shown below, we want to take a screenshot of the data cell area ;
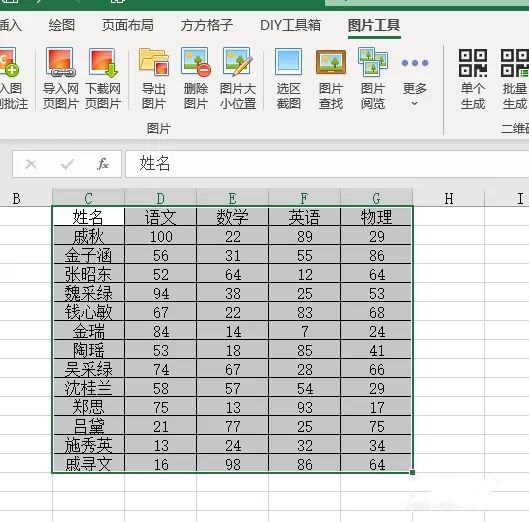
2. First we click the [Picture Tool] option;

3. Then we select the data cell Area;
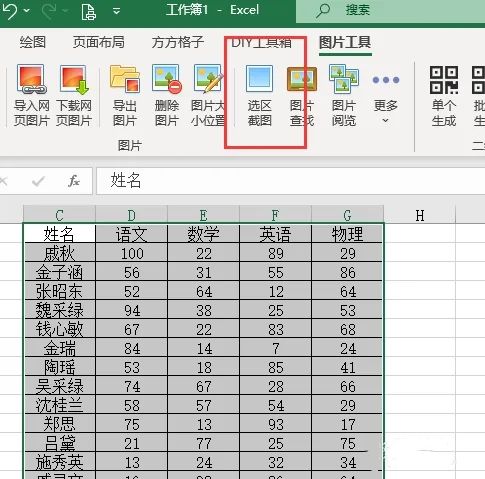
4. Click [Selection Screenshot];
5. Click the option as shown below;
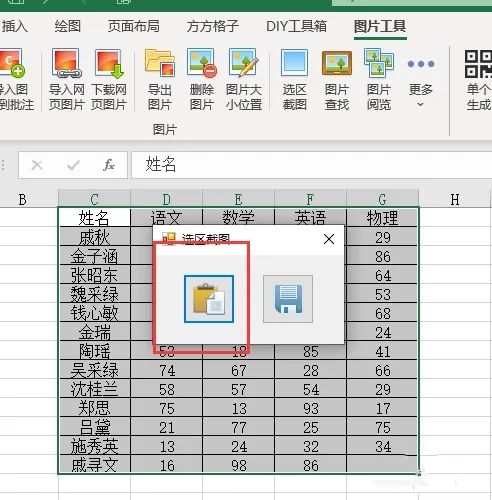
6. Finally, we right-click the mouse and select Paste to complete. The result is as shown below.
The above is the detailed content of How to select an area and take a partial screenshot in Excel on computer. For more information, please follow other related articles on the PHP Chinese website!