
Home >Computer Tutorials >Troubleshooting >How to set up the GPU in Win10 system
How to set up the GPU in Win10 system

- 王林forward
- 2024-01-12 13:24:111967browse
GPU plays a very important role when users play games. Some friends want to set it up but don’t know how to set up the GPU in Win10 system. Next, the editor will give you a detailed introduction to the Win10 GPU setting method. What do you think? If you are interested, you can come and take a look.
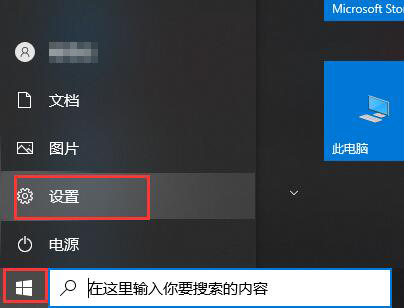
1. Click Start in the taskbar below and select "Settings" in the menu options to enter.
2. After entering the new interface, click the "System" option.

3. Then click the "Display" option on the left and select the "Graphics Settings" option.

4. Click the "Browse" button.

5. Select the application you want to accelerate. Take "Yakami Simulator" as an example, and click the "Add" button in the lower right corner.

6. After adding, click "Options".

7. Here we can select "High Performance" and "Energy Saving", check them, and click "Save".

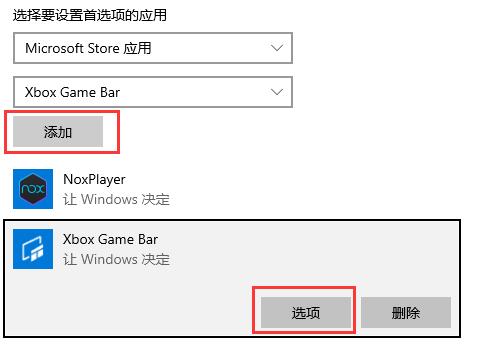
8. If you want to speed up the tools that come with the system, you can select "Microsoft Store Application" under "Select the application to set preferences for".

9. Then click "Select Application" to select the application we need. Taking "Xbox Game Bar" as an example, click the "Add" button. You can also Click "Options" to make relevant settings.
The above is the detailed content of How to set up the GPU in Win10 system. For more information, please follow other related articles on the PHP Chinese website!