Home >System Tutorial >Windows Series >Tutorial on installing Chinese language pack in win11 system
Tutorial on installing Chinese language pack in win11 system
- WBOYWBOYWBOYWBOYWBOYWBOYWBOYWBOYWBOYWBOYWBOYWBOYWBforward
- 2023-12-24 15:45:392257browse
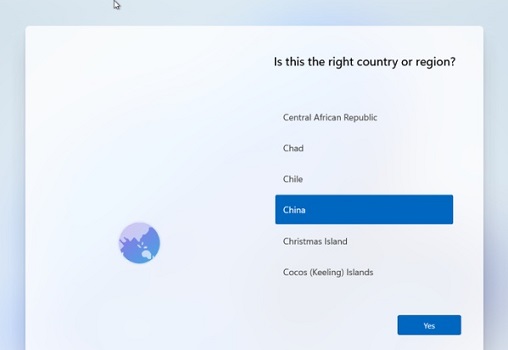
I believe that since the launch of the win11 internal beta version, many friends have updated and upgraded to the win11 system. However, many friends said that win11 cannot display Chinese even if china is selected. In fact, we can turn the system into Chinese by installing a Chinese language pack. Let’s take a look at it together.

How to install Chinese language pack in win11
1. First open the start menu, click the gear button, or select "settings"
2. After entering settings, find and click to open "Time and language"
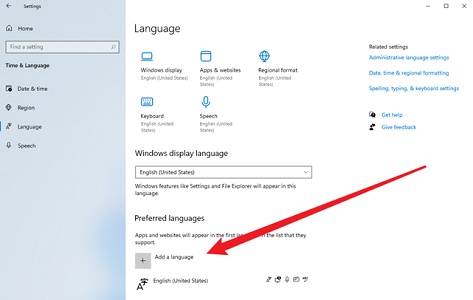
3. In Time and language, click "Language" in the left column
4, and then find "preferred language" , click "add a language"
#5 below. Find the "Chinese" language pack in the pop-up language windows and select it.
6. After adding it to the list, select the language pack and click "Set as primary"
7. Finally, we only need to restart the system to use the Chinese language pack.

The above is the detailed content of Tutorial on installing Chinese language pack in win11 system. For more information, please follow other related articles on the PHP Chinese website!

