Home >Common Problem >How to Completely Remove Unwanted Display Languages on Windows 11
How to Completely Remove Unwanted Display Languages on Windows 11
- WBOYWBOYWBOYWBOYWBOYWBOYWBOYWBOYWBOYWBOYWBOYWBOYWBforward
- 2023-09-24 16:25:013667browse
Working on the same setup for too long or sharing the PC with others. You may have some language packs installed, which often create conflicts. So, it’s time to remove unwanted display languages in Windows 11.
Speaking of conflicts, when there are multiple language packs, inadvertently pressing Ctrl Shift changes the keyboard layout. If not taken care of, this can be a hindrance to the task at hand. So, let’s jump right into the method!
How to remove display language from Windows 11?
1. From Settings
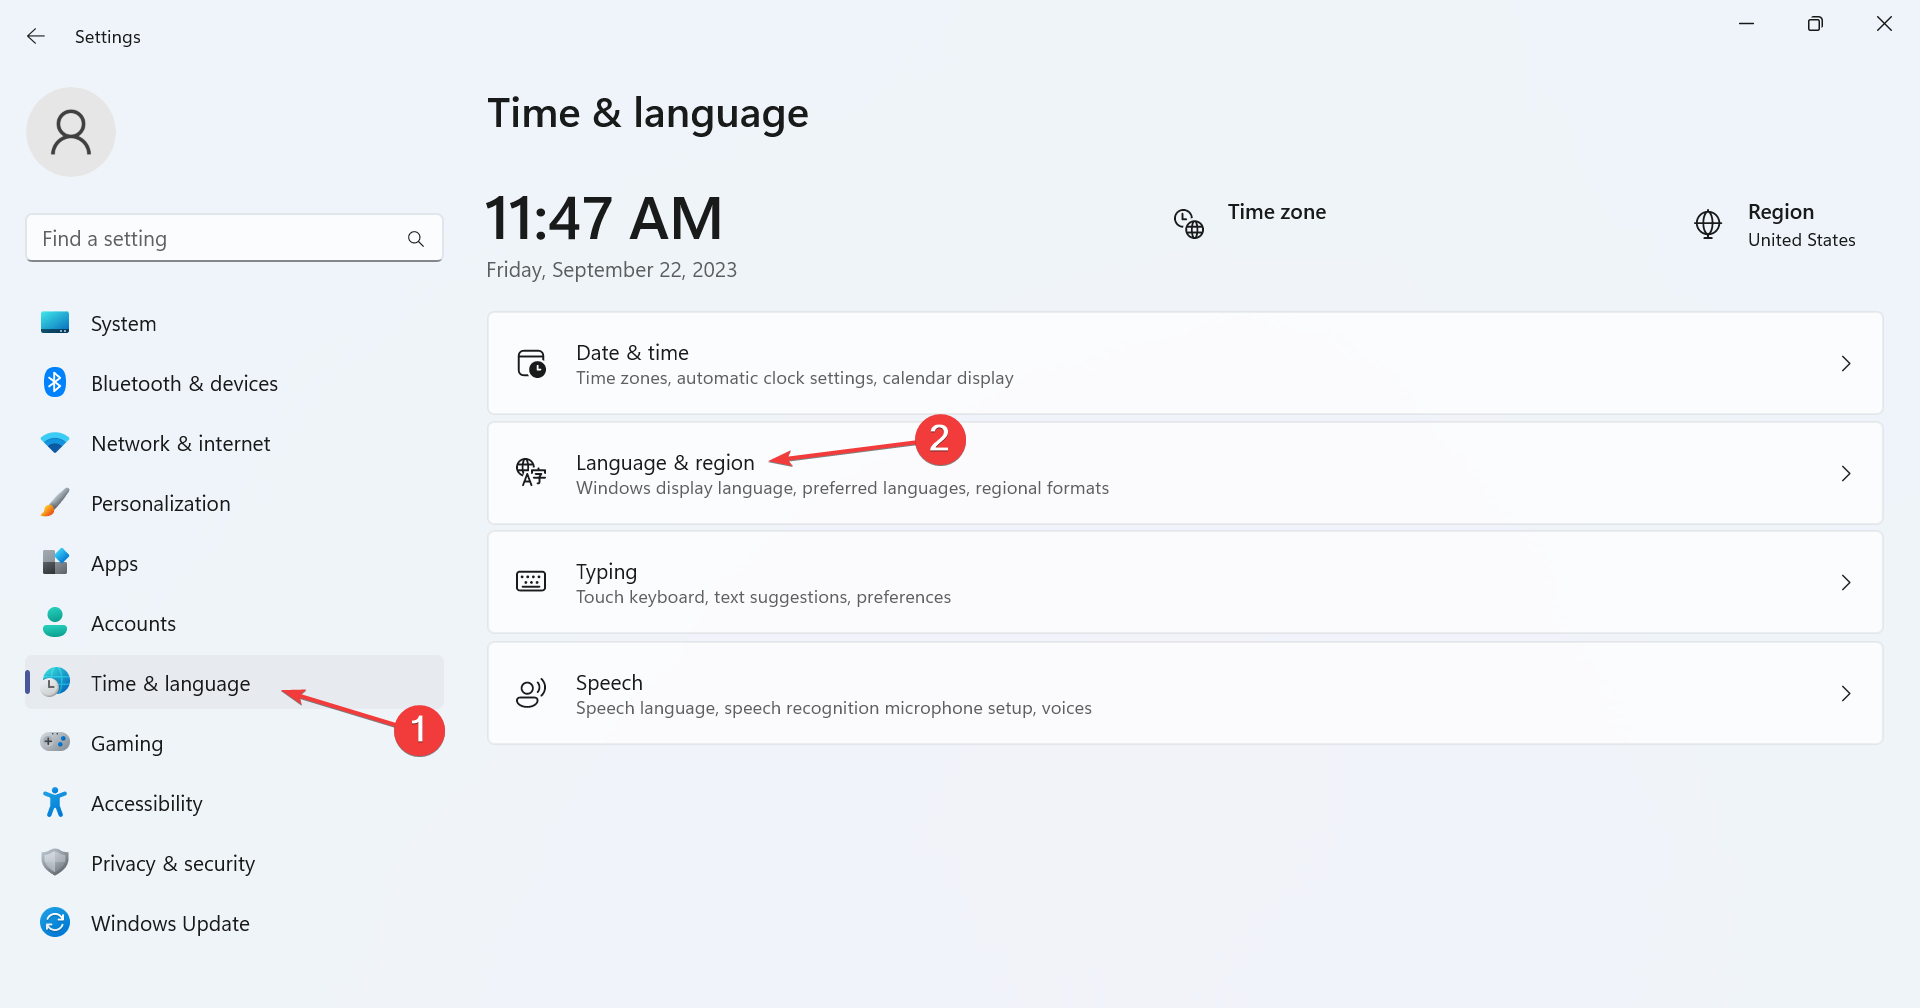
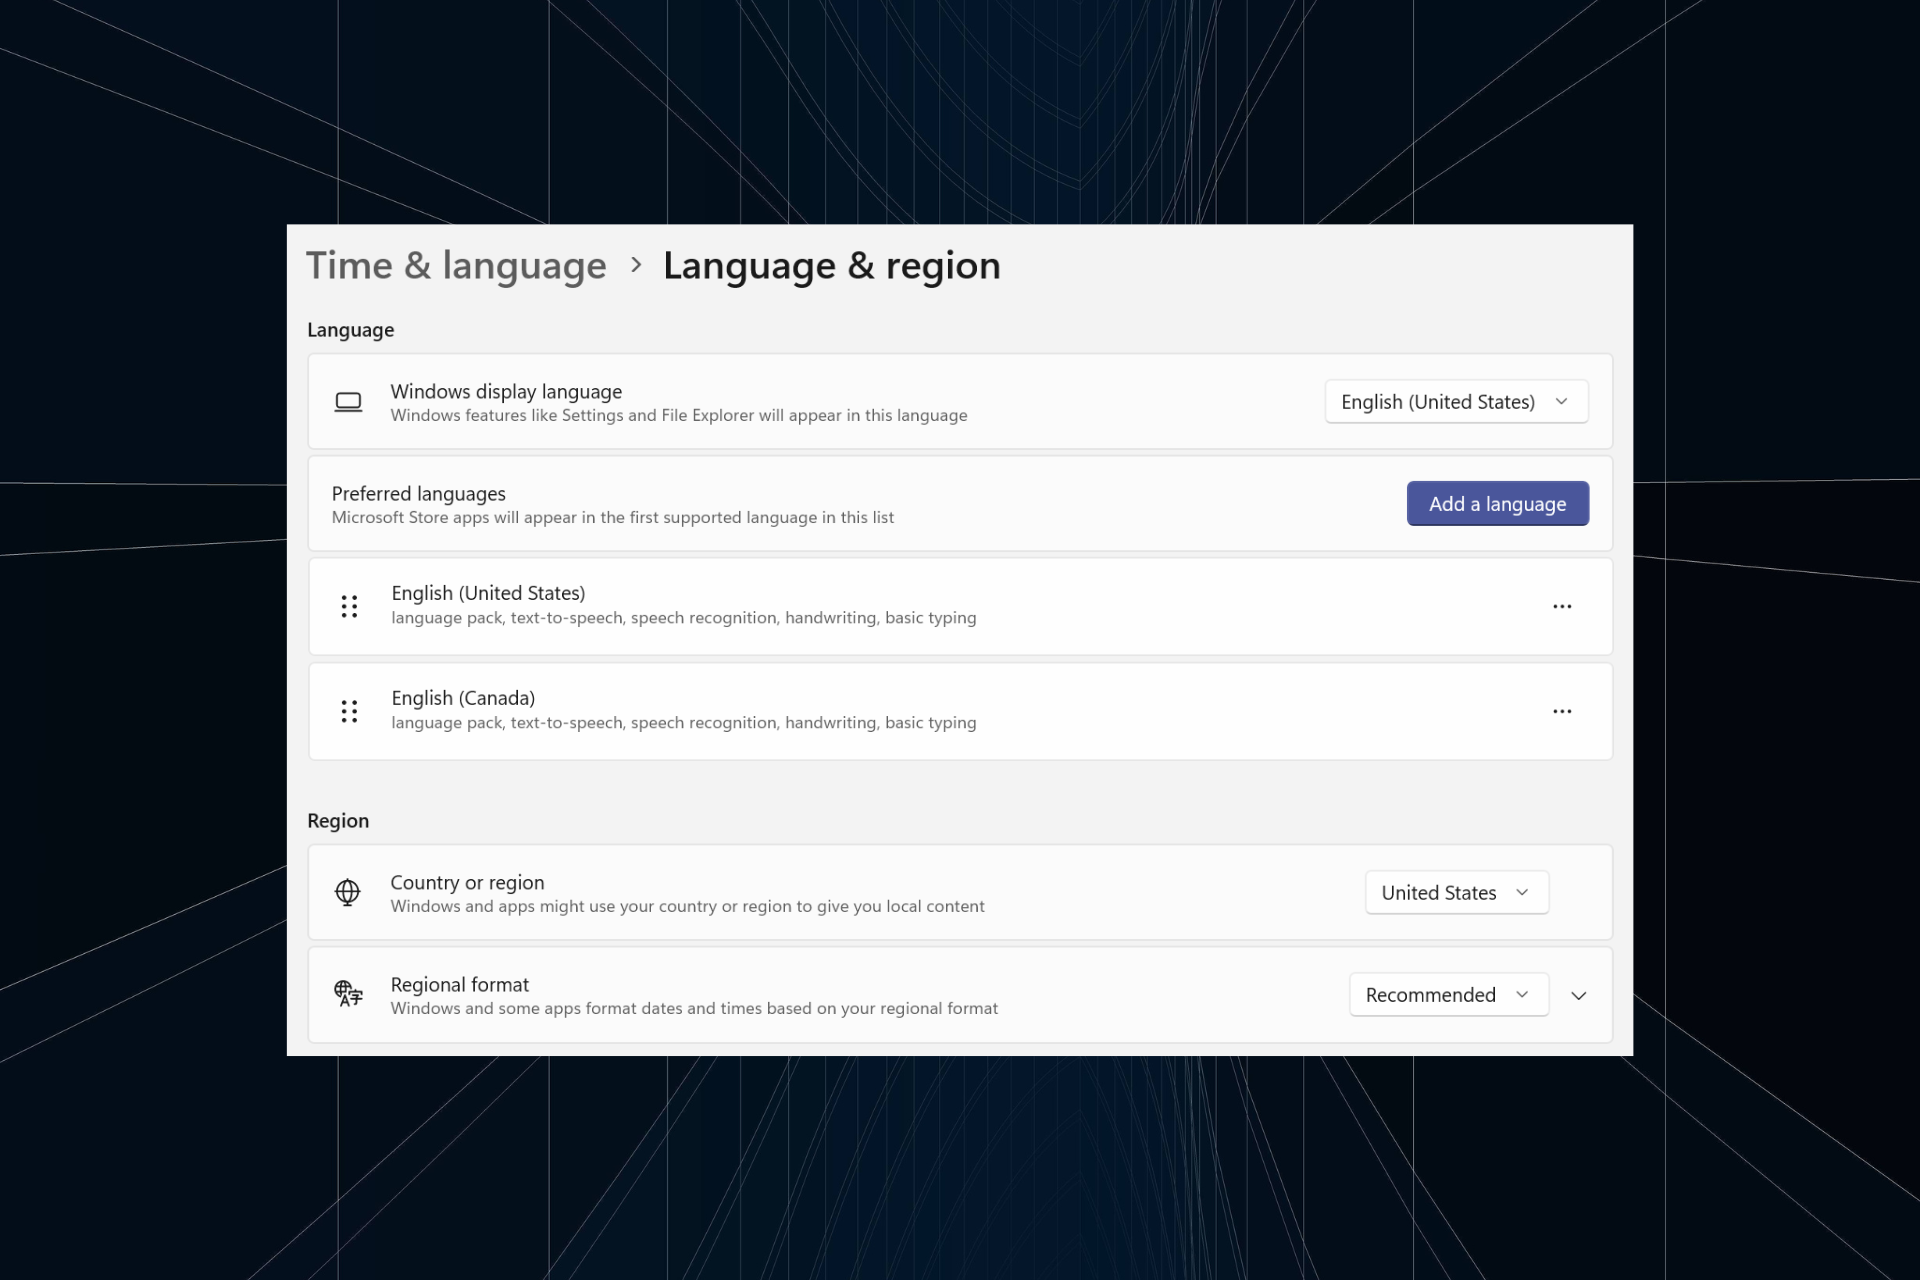
- press to open the Settings app, go to Time & Language from the navigation pane and click "Language and Region". WindowsI

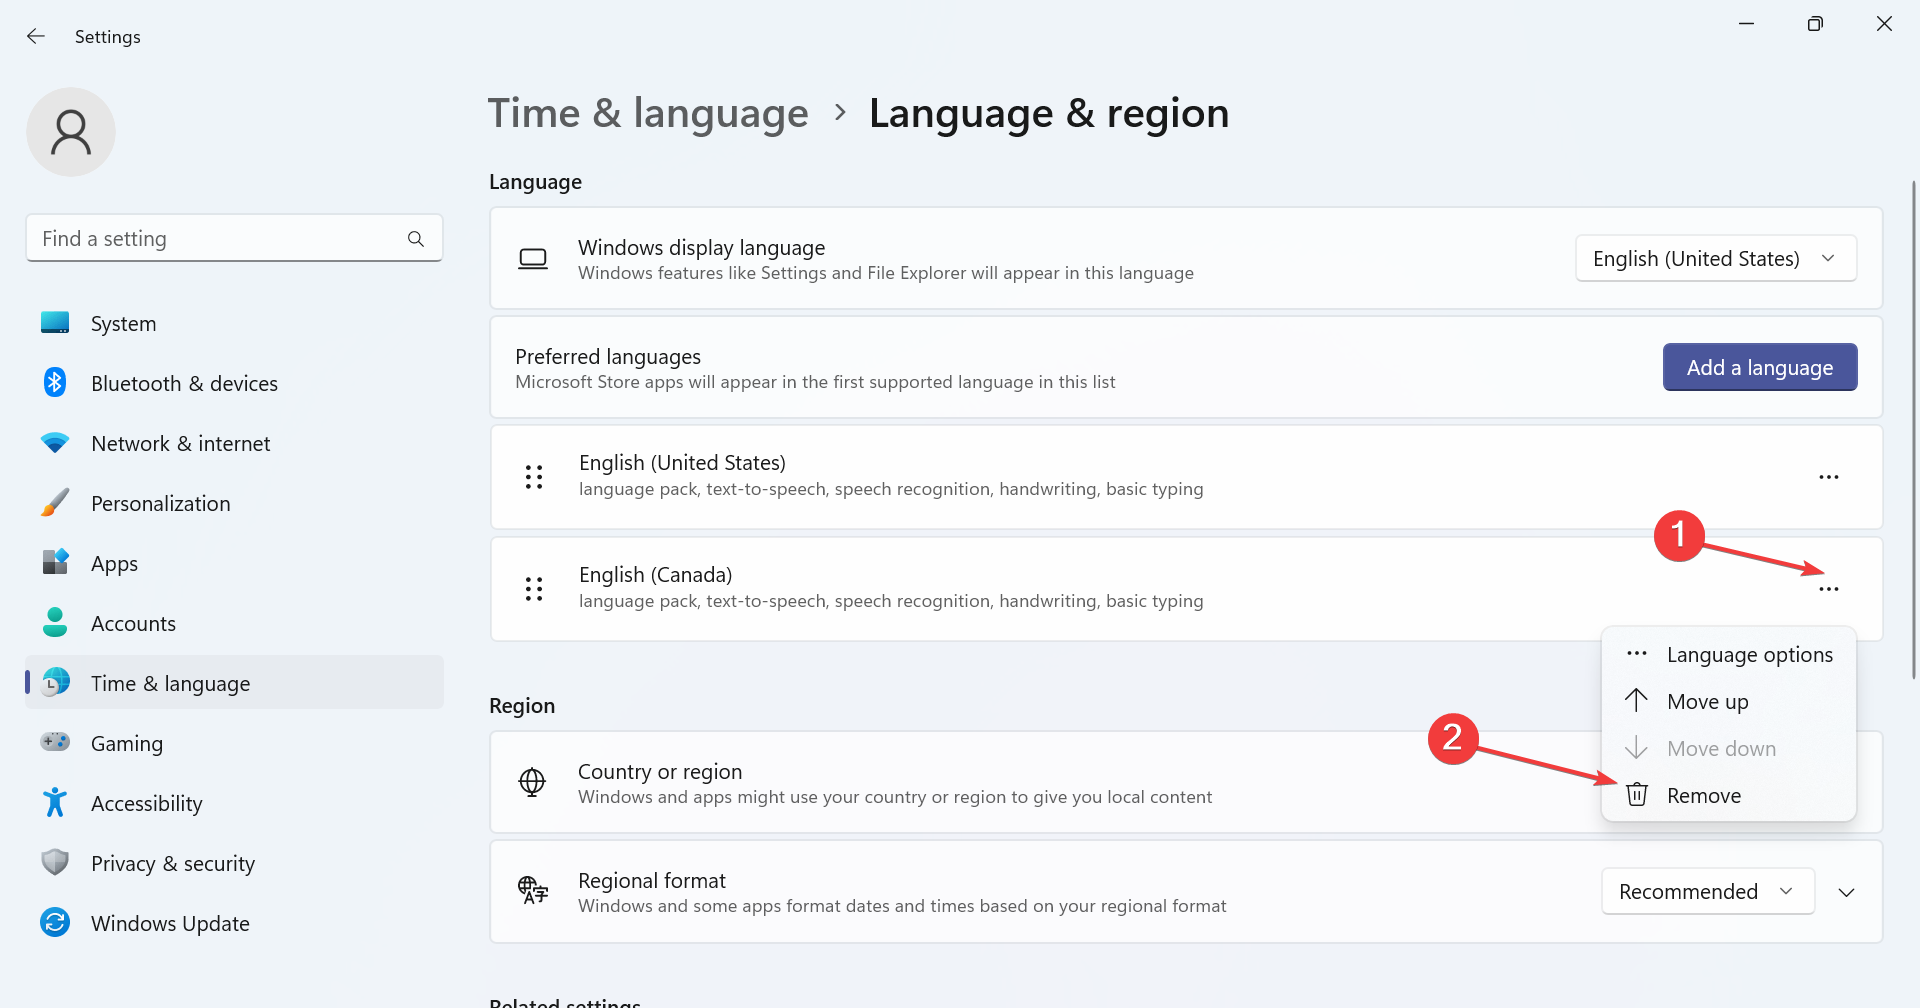
- Click the ellipsis next to the display language you want to remove and select Remove from the pop-up menu.

- Click "Yes" in the confirmation prompt that appears.
- Finally, restart your computer to apply the changes.
2. Using Windows PowerShell
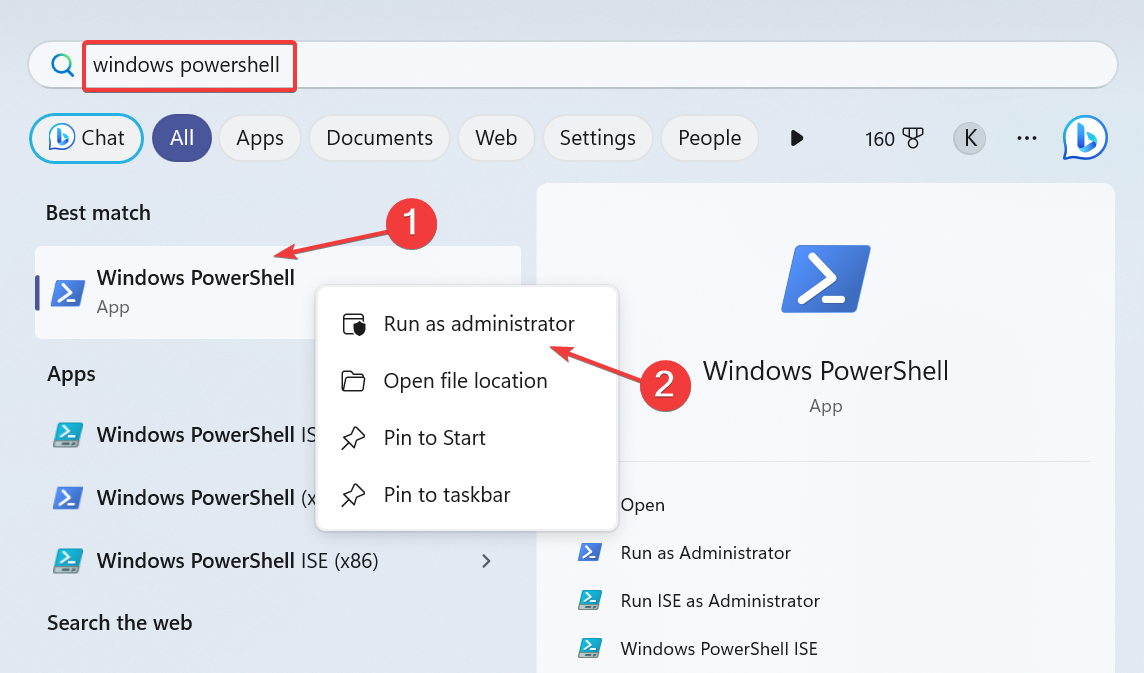
- To remove a language pack using PowerShell in Windows 11, press to open Search and type in the text field PowerShell, right-click the relevant search result and select Run as administrator. WindowsS

- Click "is" at the UAC prompt.
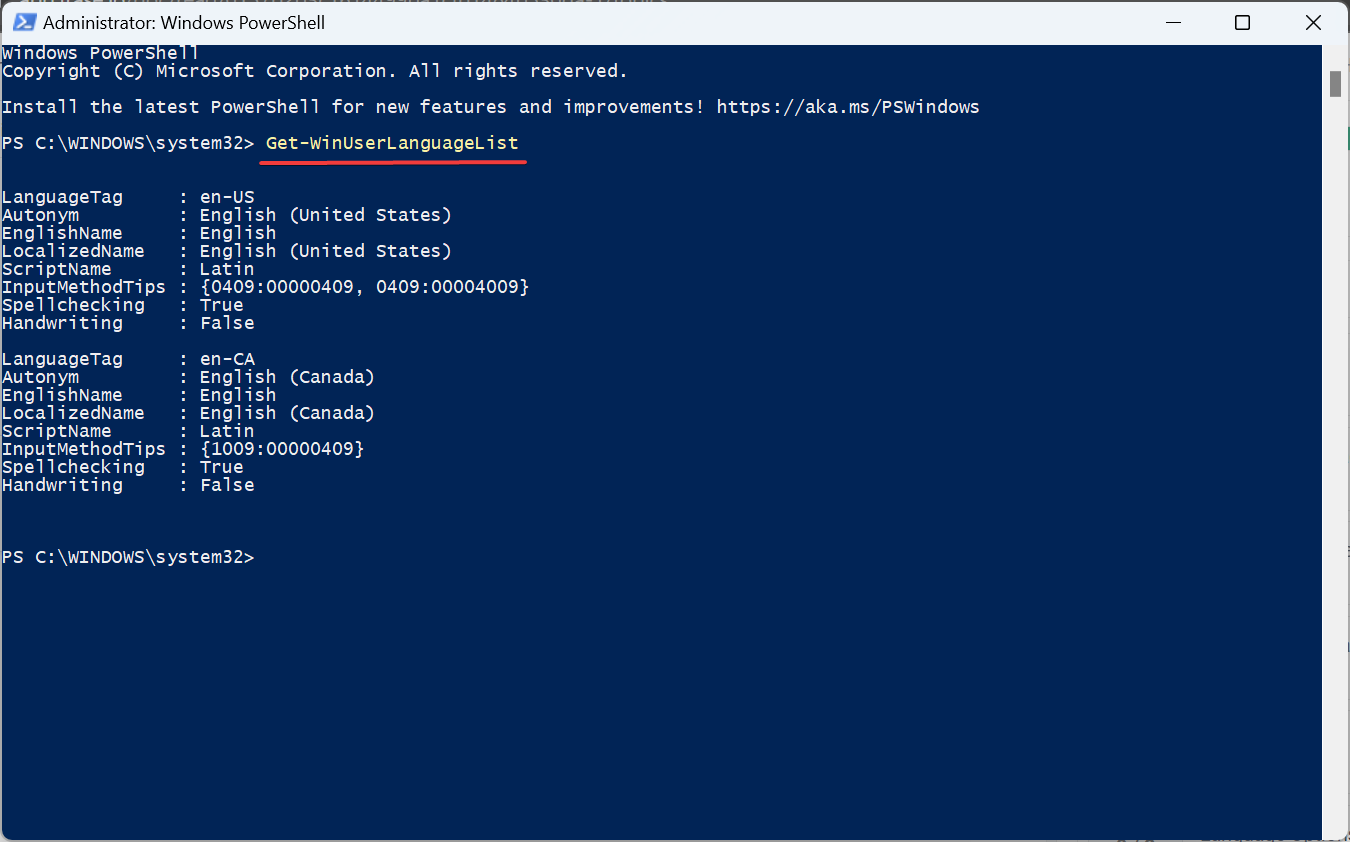
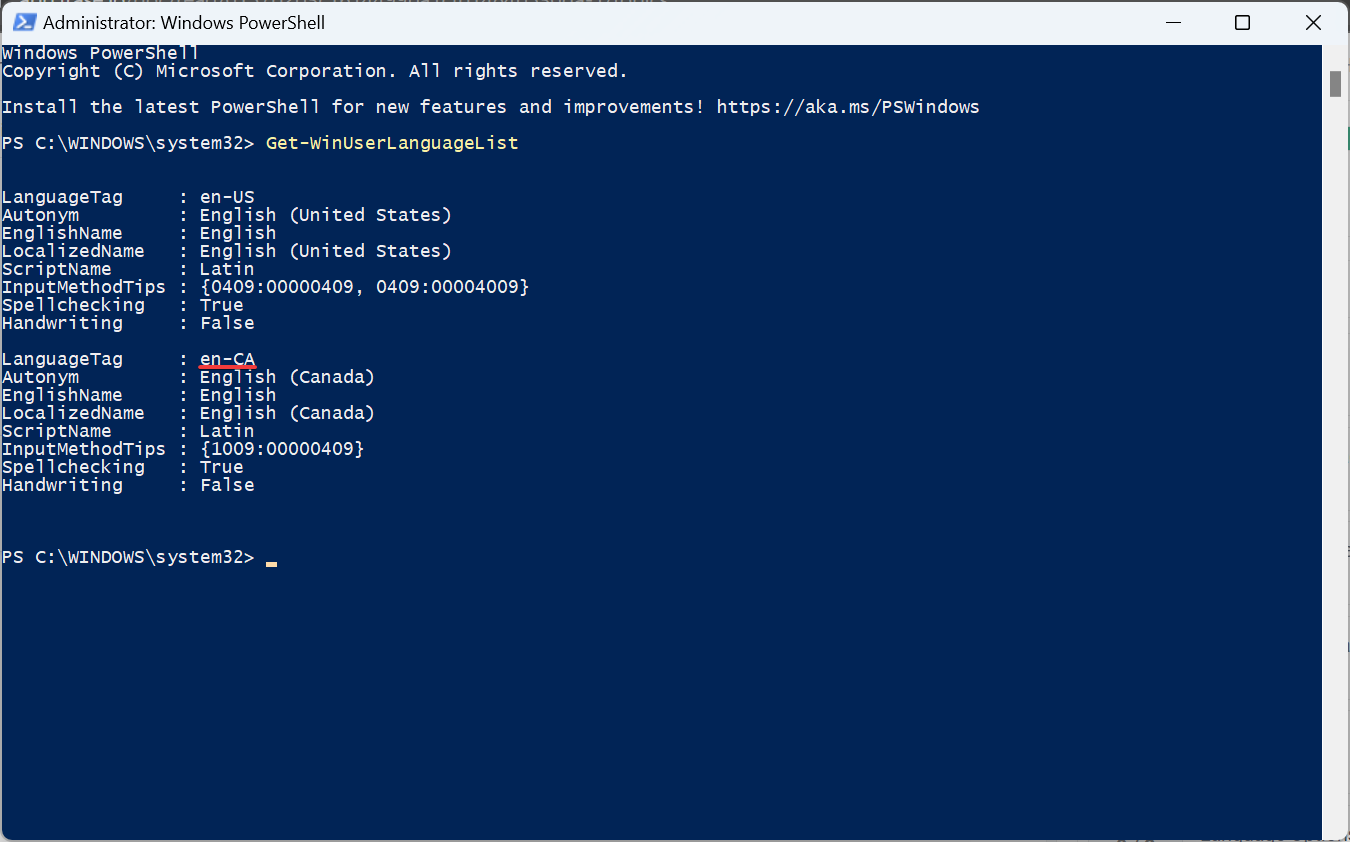
- Now, paste the following command and click to view the installed language packs: Enter
<strong>Get-WinUserLanguageList</strong>
- From the list of languages, identify the language tag for the preferred language to be removed. For example, it is en-US for English (United States).

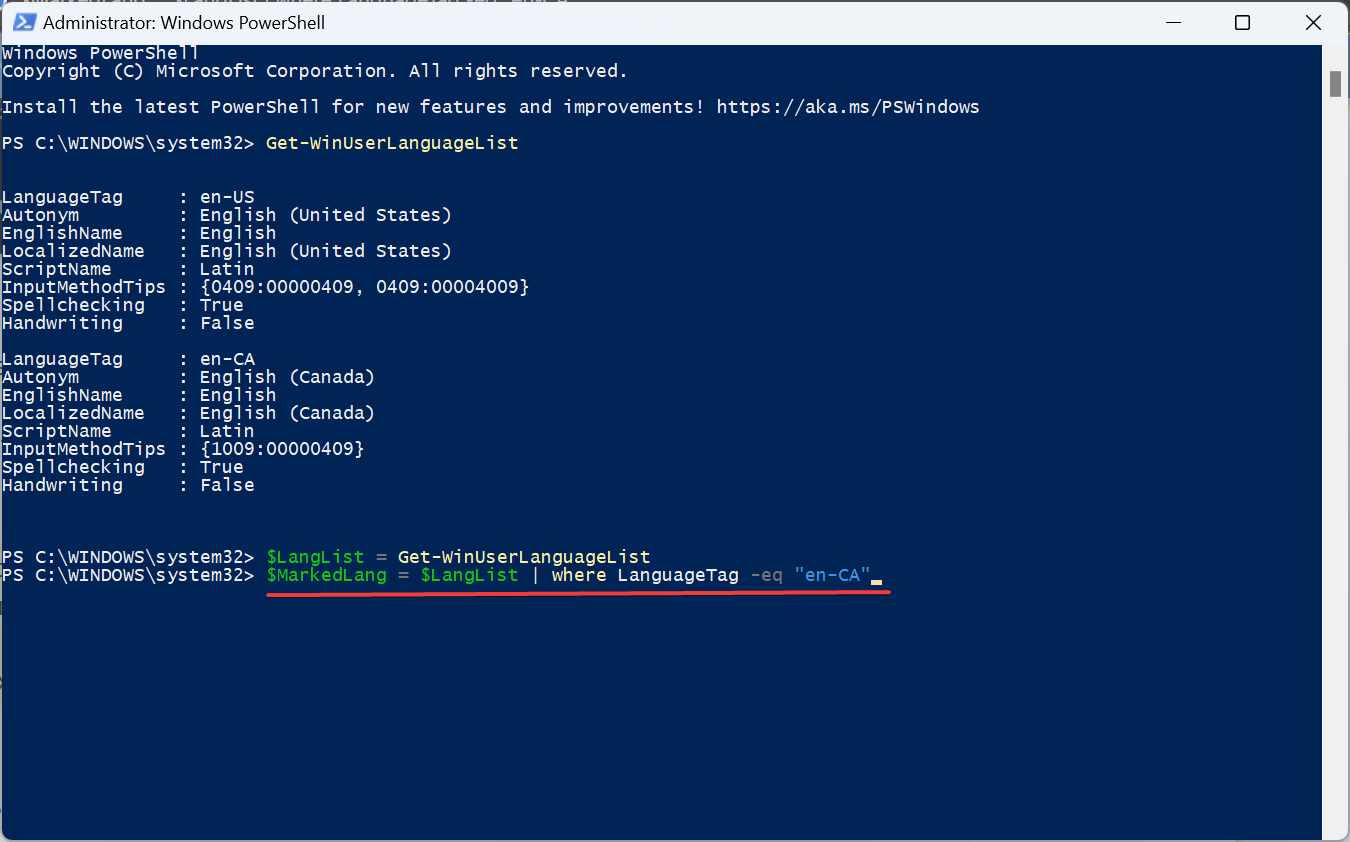
- Now, run the following command:
<strong>$LangList = Get-WinUserLanguageList</strong> - Execute the following command while changing Tag Replace with the previously copied language tag:
<strong>$MarkedLang = $LangList | where LanguageTag -eq "Tag"</strong>
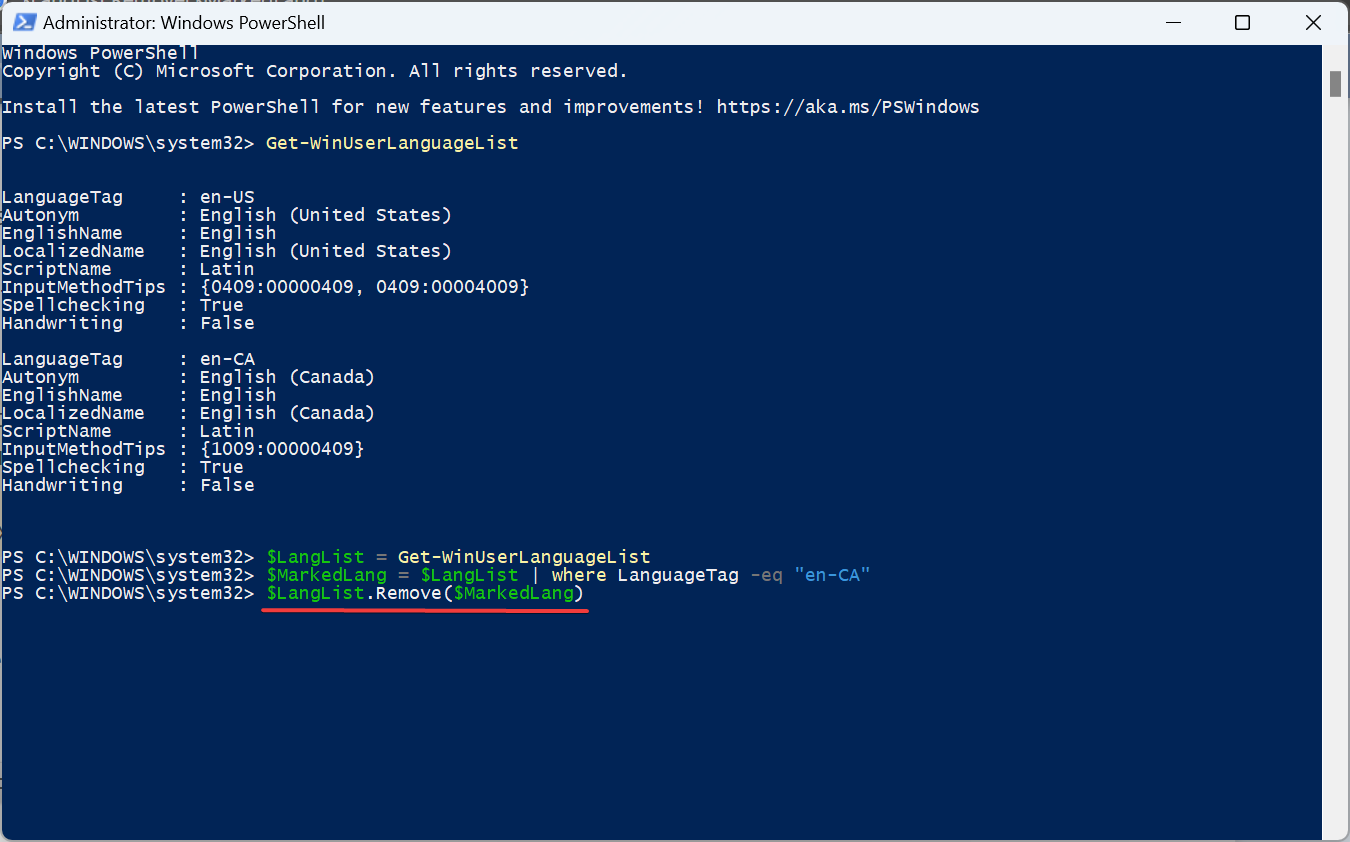
- Run the following command to delete all Select language:
<strong>$LangList.Remove($MarkedLang)</strong>
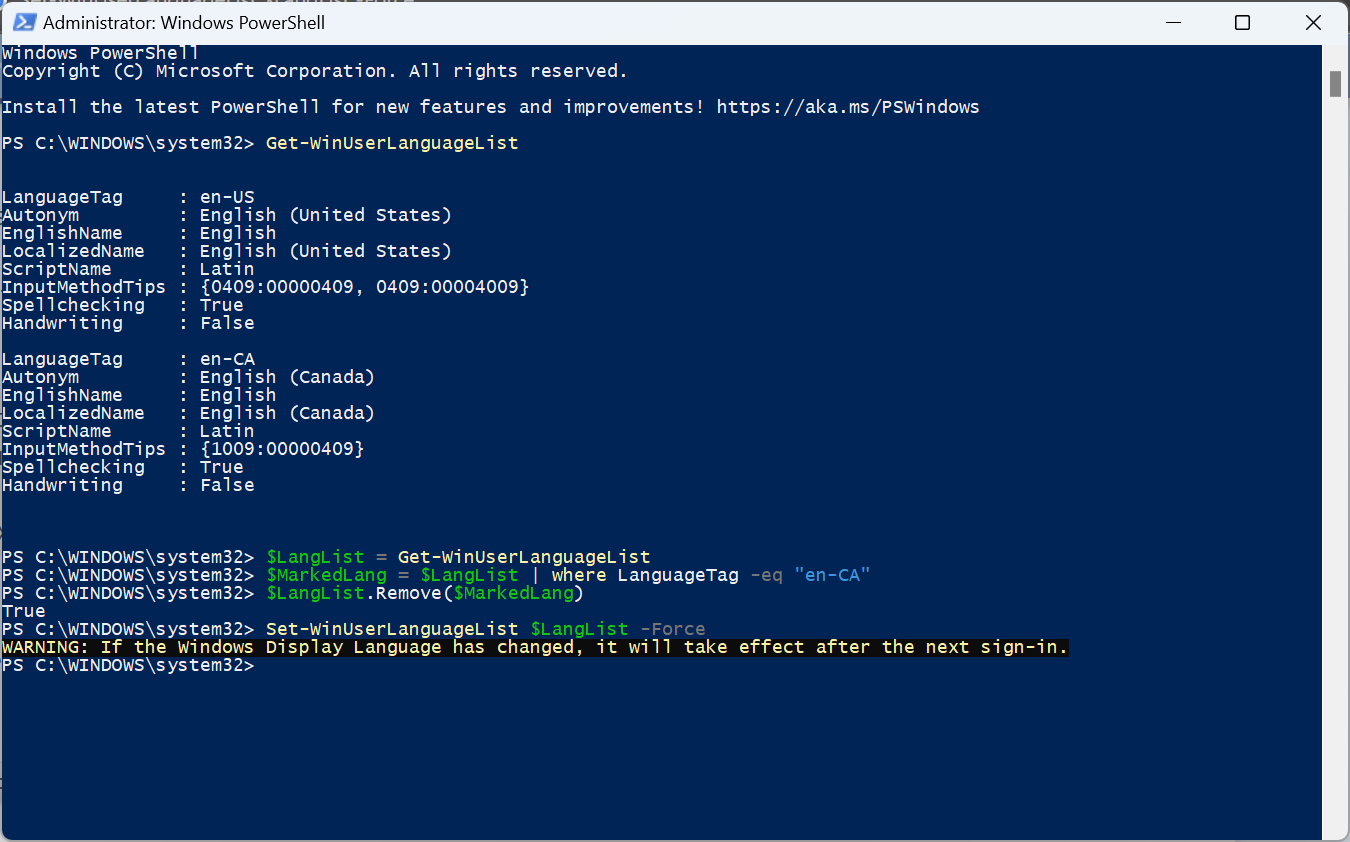
- Finally, execute the following command:
<strong>Set-WinUserLanguageList $LangList - Force</strong>
- #Restart the computer for the changes to take effect (if the default language was previously removed). And make sure to change the system language to the new language
3. Using the Registry Editor
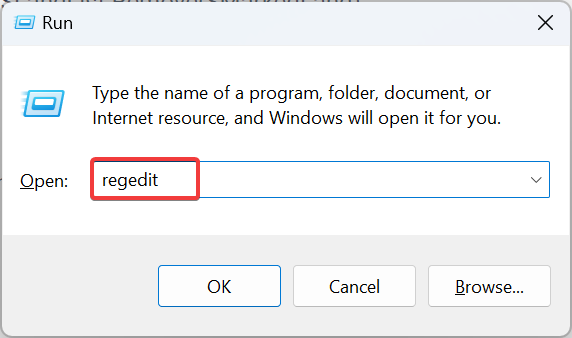
- press Open Run and type regedit## in the text field #, and then click.WindowsREnter
 Click
Click - "Yes in the prompt that appears ".
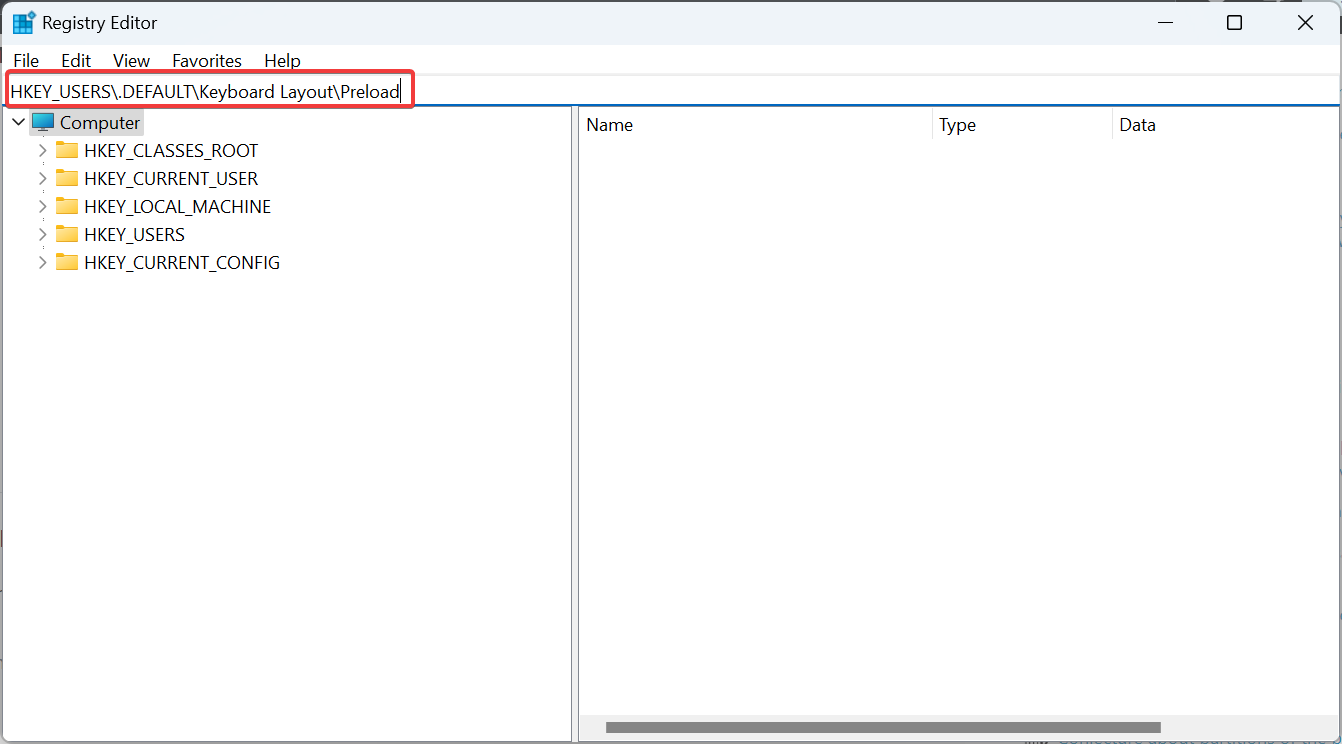
- Paste the following path in the address bar and click: Enter
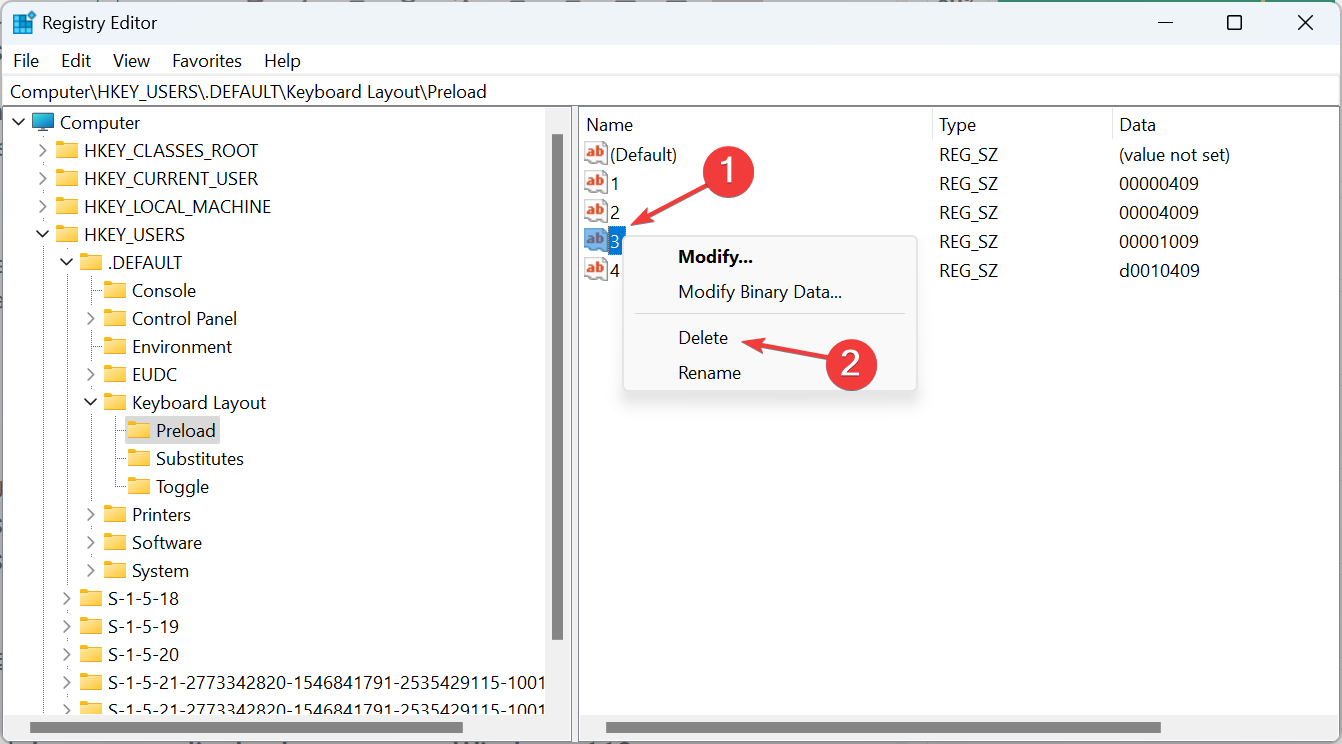
<strong>HKEY_USERS\.DEFAULT\Keyboard Layout\Preload</strong>
- You will now find all languages listed here, albeit incorrectly named. We'll use keyboard identifiers to find out.
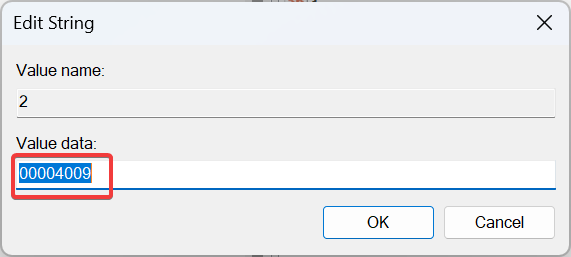
- Double-click the entry in the registry and copy the "value" data.

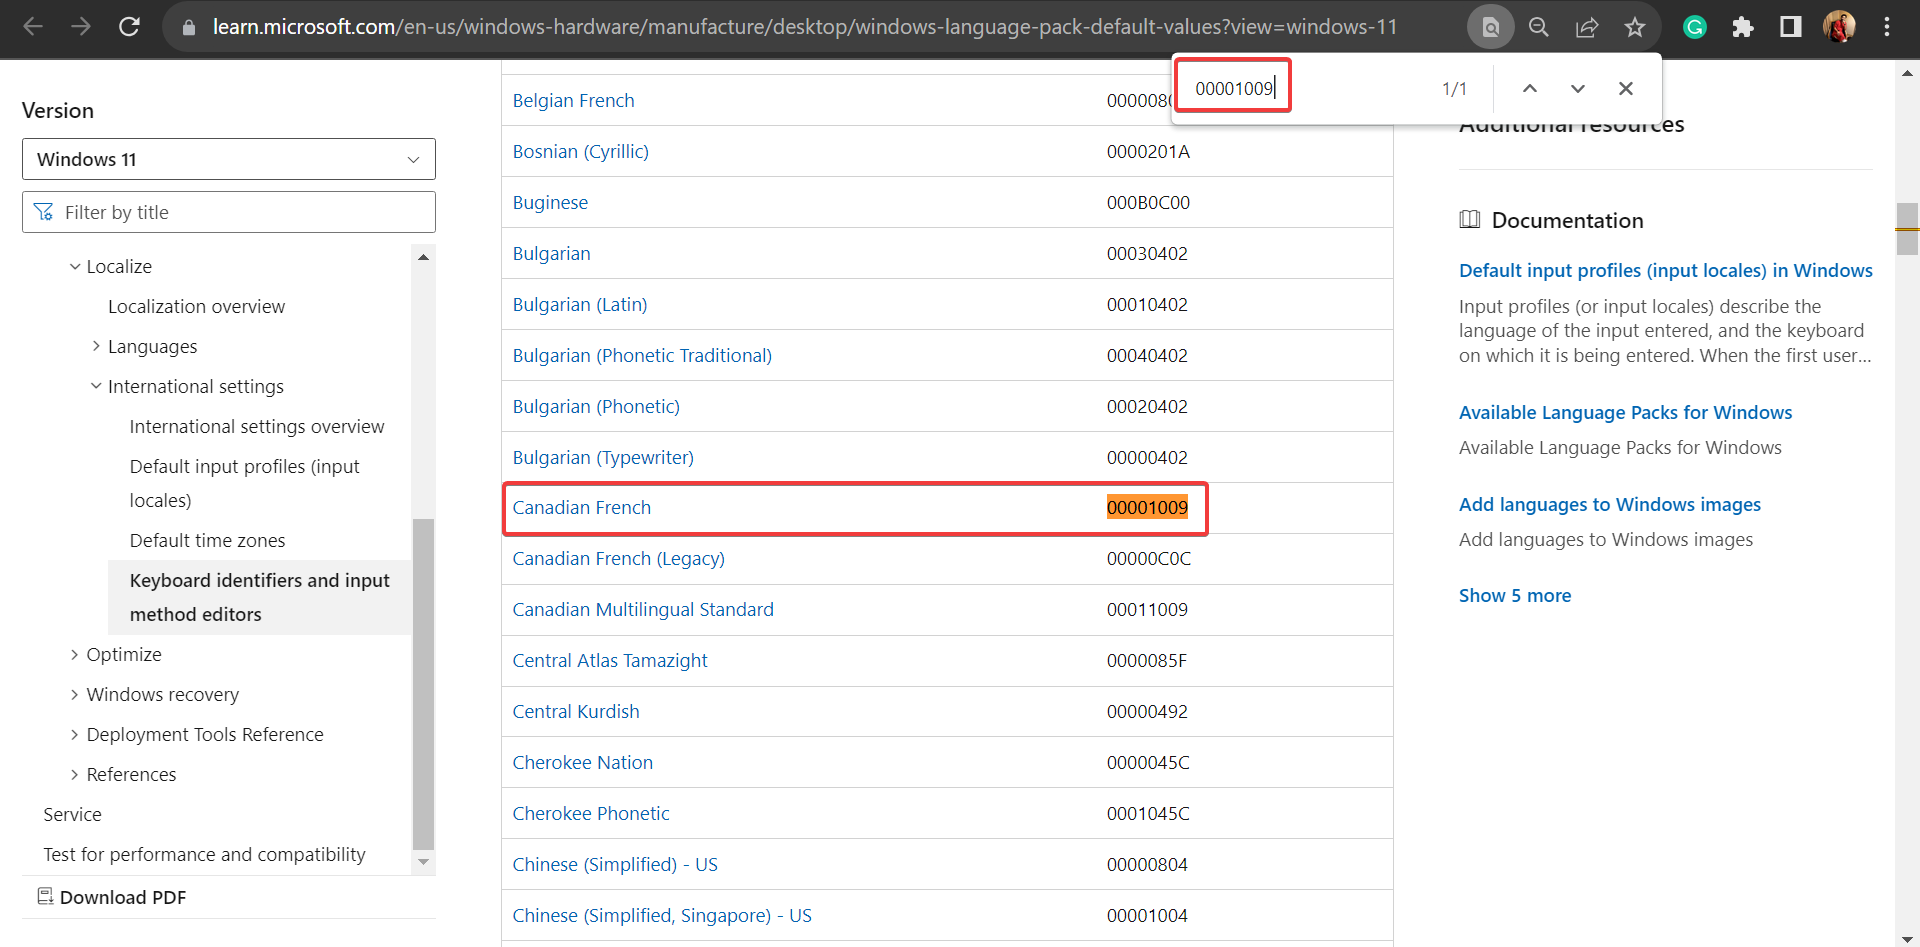
- Now, press on Microsoft's official blog post, paste the value you copied earlier, and determine the corresponding language. CtrlF

- Once found, right-click the key and select "Delete" to delete the language pack.

- Click "Yes" in the confirmation prompt.
- Also delete the key from:
<strong>HKEY_CURRENT_USER\Keyboard Layout\Preload</strong><strong>HKEY_USERS\.DEFAULT\Control Panel\International \User Profile</strong>##HKEY_USERS\.DEFAULT\Control Panel\International\User Profile System Backup<strong></strong>
- The "Delete Language" button is grayed out: Change the default language and then delete the package.
- Changes will not be reflected: Restart the computer and delete all language pack-related registry keys.
- Corrupted System Files: Run DISM command and SFC scan.
- Incorrect locale: Change the system locale in Control Panel.
- Windows is not installed correctly: Perform an in-place upgrade or reinstall Windows 11.
The above is the detailed content of How to Completely Remove Unwanted Display Languages on Windows 11. For more information, please follow other related articles on the PHP Chinese website!
Statement:
This article is reproduced at:yundongfang.com. If there is any infringement, please contact admin@php.cn delete


