
Home >Web Front-end >JS Tutorial >Create modern Vue applications using Create-Vue and Vite
Create modern Vue applications using Create-Vue and Vite

- WBOYWBOYWBOYWBOYWBOYWBOYWBOYWBOYWBOYWBOYWBOYWBOYWBOriginal
- 2023-08-30 15:45:171104browse
create-vue is a scaffolding tool for Vue applications. It replaces the Vue CLI as the recommended way to create Vue SPA (Single Page Application). Today we'll look at create-vue, see how it works, and build an application using it.
create-vue Automatically create a new Vue 2 or Vue 3 application using Vite. Vite is an extremely fast build tool created by the Vue team. Vue CLI has its own build pipeline powered by Webpack, and create-vue is just a scaffolding for building an application. This approach offers more flexibility as you can use any plugins and configurations that work with Vite, but is still very simple to use. In addition, due to Vite's optimization, create-vue is much faster than Vue CLI. Without further ado, let’s get started.
Use Create-Vue to create an application
First, make sure Node.js and npm are installed. You can check this by running npm -v:
npm -v
8.19.1
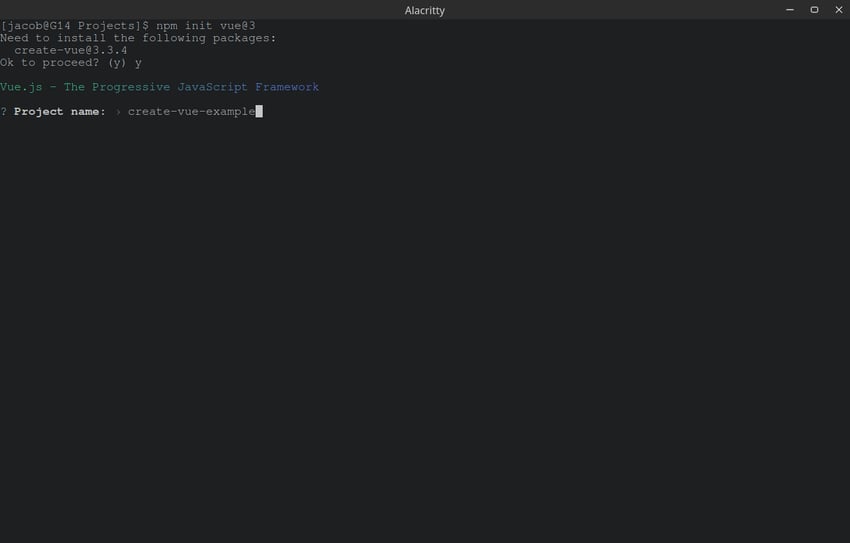
If you don’t have Node.js, you can go to the Node.js download page to install it. Once you've done this, open a terminal in the folder where you want your project to be. Then run npm init vue@3. It will ask you to install create-vue. Then you have to configure a few things, which I'll walk you through.
First, you need to decide on a name for your project. I set the name to create-vue-example, but you can set it to anything you want.
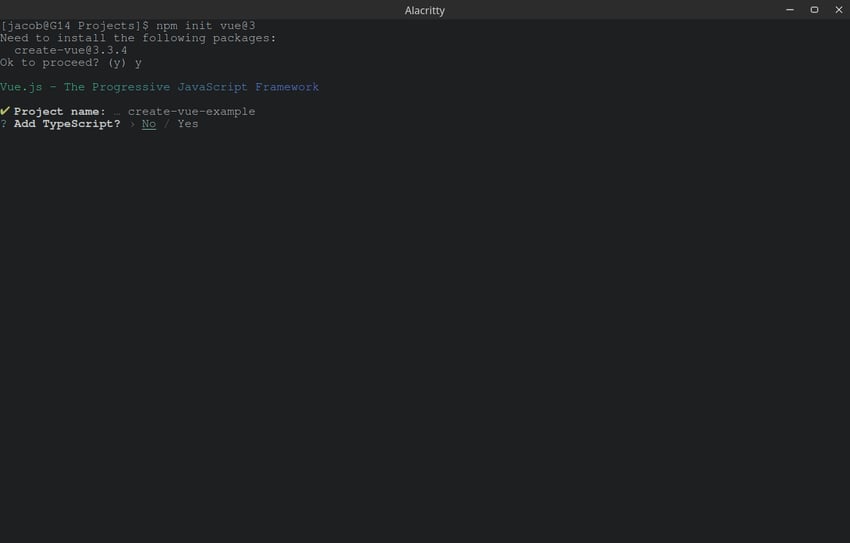
Next, create-vue will ask you if you want to use TypeScript. This is just a basic example, so we set it to "No".
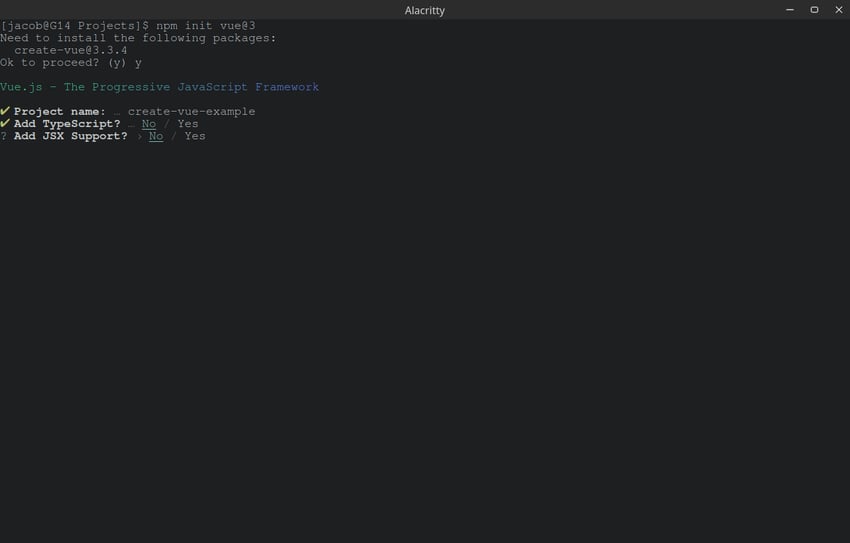
Next it will ask you if you want to add JSX. Again, since this is a basic example, we can only say "no."
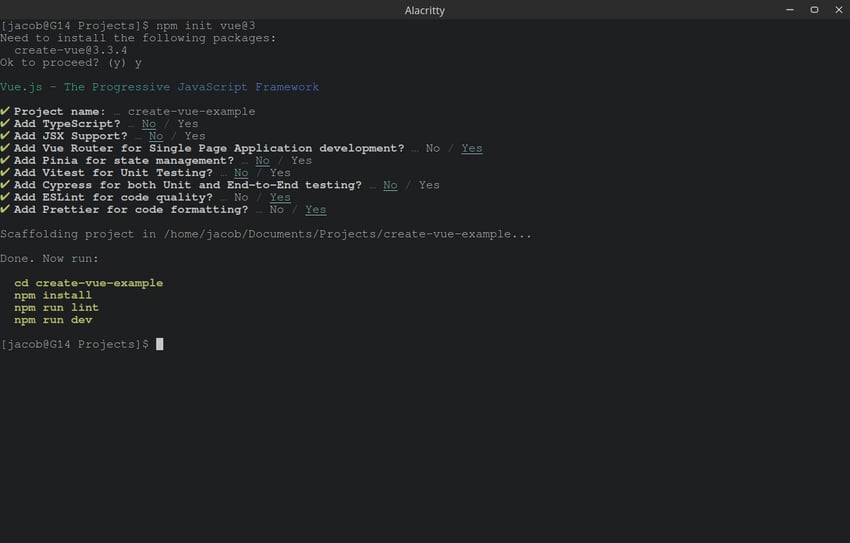
For the rest, choose yes for Vue Router, ESLint and Prettier, and no for the rest. Finally, your terminal should look like this:
Now, follow the instructions, place cd into your project directory, install its dependencies using npm install, and run npm run dev. It should give you a link to your local server. Click the link and you should see something like this:
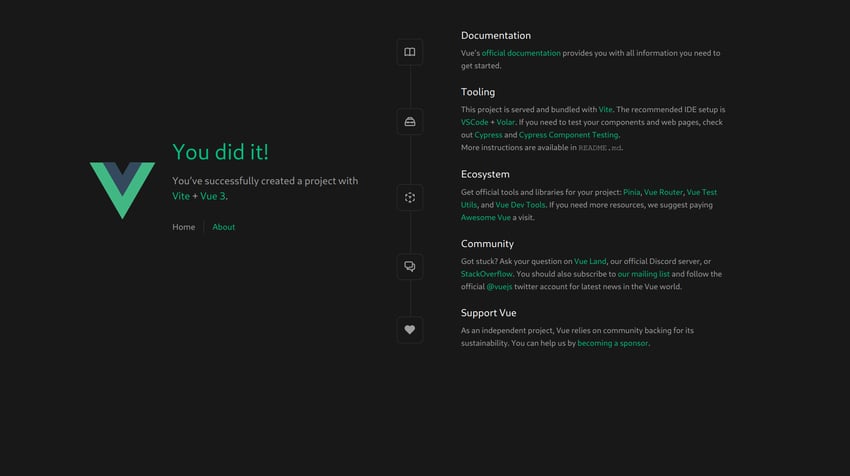
Congratulations! You just created your first Vue application using create-vue! If you want to build it for deployment, you can run npm run build. Now, let's dig into the code.
Explore the code
After all settings are completed, the file structure should look like this:
| File or Folder | describe |
|---|---|
| .vscode | Folder used to configure VS Code to work perfectly with this application. You can safely ignore it. |
| node_modules | Contains all your dependencies. You'll generally avoid touching this folder because npm manages it automatically. |
| src | All source code will be stored there. Most of the time you will work in this folder. |
| .eslintrc.cjs | Configuring ESLint - a tool that helps catch errors at compile time. |
| .gitignore | Tell Git which files to ignore (e.g. node_modules). |
| .prettierrc.json | Configuration Prettier - a formatting tool. |
| index.html | This is the skeleton HTML file for your application. It is populated using Vue components and scripts in src. You may need to do something with it at some point, but for now, leave it as is. |
| package-lock.json and package.json | package.json contains a lot of npm configuration, so you may need to configure it. On the other hand, package-lock.json just caches the package version information, so you don't need to do anything with it. |
| README.md | Describe your project to other developers in GitHub. |
| vite.config.js | Vite’s main configuration file. |
接下来,让我们看一下src文件夹:
| 文件或文件夹 | 描述 |
|---|---|
| 资产 | 用于存储 CSS、图像和其他静态资源的文件夹。 |
| 组件 | 此文件夹用于(您猜对了!)Vue 组件。 |
| 路由器 | 包括 Vue Router 的所有代码,这使您的应用程序可以作为单页应用程序运行。 |
| 观看次数 | 包含应用程序的实际“页面”。 |
| App.vue 和 main.js | 分别是基础页面 shell 和渲染脚本。 |
现在我们已经查看了文件,让我们尝试使用插件自定义构建管道。
使用插件自定义构建管道
插件对于提高开发效率非常有帮助。例如,假设您想要实现 Google Fonts 中的自定义字体。您只需使用 Google Fonts 在您网站上提供的链接即可自动下载字体。然而,Google 字体可能相当慢。幸运的是,有解决方案。您可以使用 Google Webfonts Helper 之类的工具自行托管字体,但这可能需要付出很大的努力。幸运的是,插件可以解决这个问题。使用 vite-plugin-webfont-dl,您可以像平常一样链接到 Google Fonts 上的字体,并且该插件会处理所有转换。
如何添加插件
添加插件非常简单。首先,我们需要通过运行 npm install --save-dev plugin-name 来安装它,或者在本例中为 npm install --save-dev vite-plugin-web-dl。接下来,我们需要将其添加到 Vite 配置中。首先,转到 vite.config.js 并导入插件,如下所示:
import webfontDownload from 'vite-plugin-webfont-dl';
接下来,您需要将插件放入配置的 plugins 数组中。
plugins: [vue(), webfontDownload()],
现在,您的 vite.config.js 应该如下所示:
import { fileURLToPath, URL } from 'node:url'

import { defineConfig } from 'vite'
import vue from '@vitejs/plugin-vue'
import webfontDownload from 'vite-plugin-webfont-dl';

// https://vitejs.dev/config/
export default defineConfig({
  plugins: [vue(), webfontDownload()],
  resolve: {
    alias: {
      '@': fileURLToPath(new URL('./src', import.meta.url))
    }
  }
})
现在您只需粘贴 Google Fonts 提供给您的 HTML 即可加载字体,并且它们会自动优化!
使用环境变量
如果您想在构建过程中轻松地从代码访问配置,您可能需要使用环境变量。 Vite 允许您从文件加载变量,并在构建过程中用变量的值替换对变量的调用。例如,假设您想要轻松配置代码使用的数据库 URL。您首先需要在项目目录中创建一个 .env 文件。在该文件中,输入如下内容:
VITE_DB_URL=https://url
变量名无所谓,只要以VITE_开头即可。现在,为了在代码中访问它,您需要像这样引用它:
console.log(import.meta.env.VITE_DB_URL)
然后,当 Vite 编译你的项目时,该代码将被转换为如下内容:
console.log("https://url")
Vite还包含一些内置的环境变量,例如import.meta.env.PROD。
if (import.meta.env.PROD) {
    // App is being compiled for deployment
} else {
    // App is in development mode
}
结论
现在你已经了解了 create-vue 和 Vite 的方法了!这些工具让我们能够轻松搭建一个开发速度快、配置强大的Vue应用程序。如果您想了解更多信息,请查看 Vite 文档,如果您想查看其他选项,请查看 VitePress 和 Nuxt。感谢您的阅读!
The above is the detailed content of Create modern Vue applications using Create-Vue and Vite. For more information, please follow other related articles on the PHP Chinese website!
Related articles
See more- An in-depth analysis of the Bootstrap list group component
- Detailed explanation of JavaScript function currying
- Complete example of JS password generation and strength detection (with demo source code download)
- Angularjs integrates WeChat UI (weui)
- How to quickly switch between Traditional Chinese and Simplified Chinese with JavaScript and the trick for websites to support switching between Simplified and Traditional Chinese_javascript skills