Home >Common Problem >iPhone Not Connecting to WiFi – How to Fix This Problem
iPhone Not Connecting to WiFi – How to Fix This Problem
- WBOYWBOYWBOYWBOYWBOYWBOYWBOYWBOYWBOYWBOYWBOYWBOYWBforward
- 2023-07-29 18:49:371852browse
While we are all addicted to scrolling through posts or liking and commenting on photos and videos on social media apps, we know the importance of a strong Wi-Fi network on our iPhone.
A large number of iPhone users have found that they cannot connect the Wi-Fi networks already stored on their phones to their iPhones, and have complained. Many users have reported that frequent disconnections cause them severe distress.
This is problematic when downloading any large files, updating iOS software, etc. It may be due to technical problems with the iPhone, such as the Wi-Fi assist function being accidentally turned on.
In this post, after delving into the issue, some fixes are listed below that will help you resolve the issue easily.
Fix 1 – Disable Wi-Fi Assistant feature on iPhone
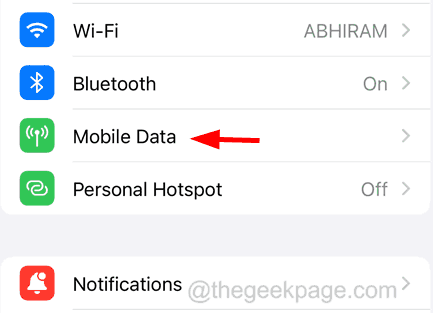
Step 1: Open the Settings app on your iPhone and go to “Mobile Data” Set the options in the list.
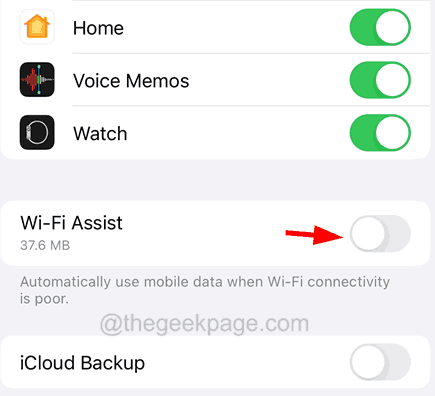
Step 2: Now go to the bottom of the Mobile Data page and disable the Wi-Fi Assistant option by clicking on its toggle switch as follows shown.
Fix 2 – Refresh Network and Wireless Settings
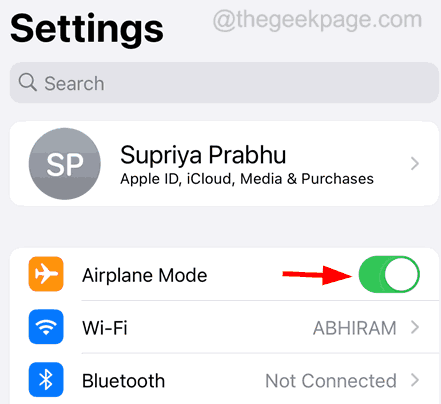
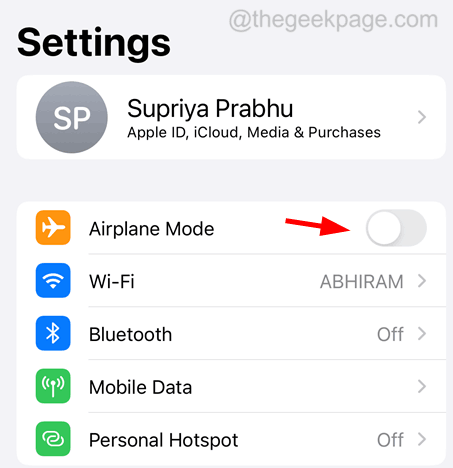
Step 1: First, you have to turn on Airplane Mode on your iPhone.
Step 2: To do this, you need to go to the Settings app and tap the Airplane Mode toggle switchin green.
Step 3: After activating airplane mode, make sure you also have turned off the Wi-Fi option.
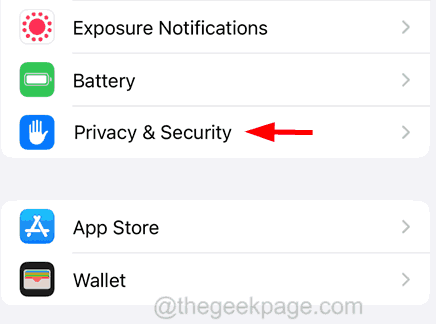
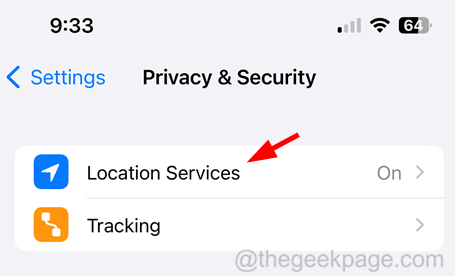
Step 4: Once completed, go to the "Privacy & Security" option in the "Settings" menu list.
Step 5: Then click on the "Location Services" option at the top as shown below.
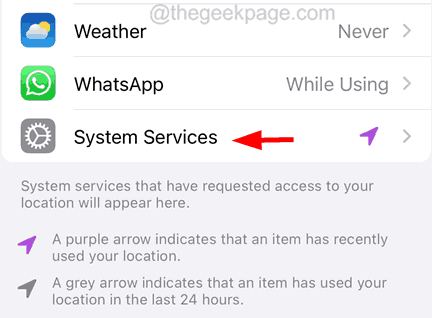
Step 6: At the bottom, select the "System Services" option by clicking on it.
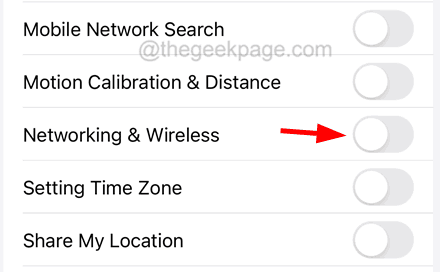
Step 7: Turn off the Network and Wireless option by clicking its toggle button to switch it to gray, as shown in the image.
NOTE – To continue, click Close in the pop-up window.
Step 8: After shutting down, you have to restart your iPhone.
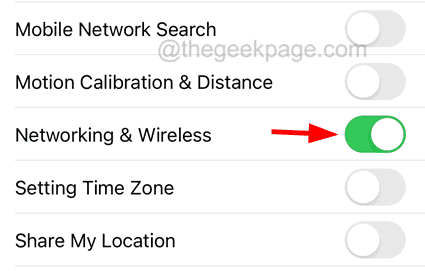
Step 9: After restarting your iPhone, open the "Network and Wireless" option on your iPhone.
Step 10: Now go back to the Settings page and click on the toggle button to turn off the Airplane Mode option.
Fix 3 – Turn off content and privacy restrictions
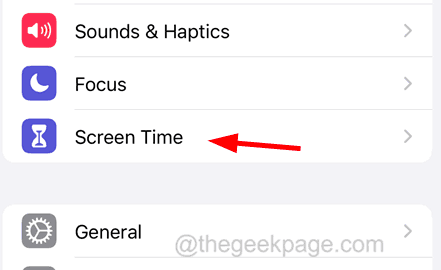
Step 1: Launch the Settings app and click Screen Time" option.
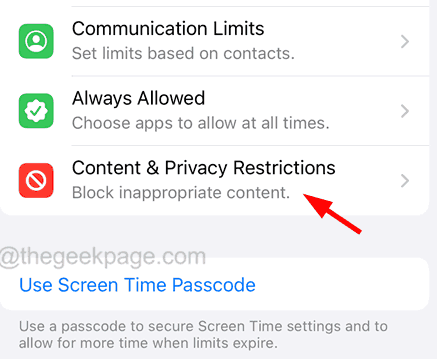
Step 2: Click on the "Content and Privacy Restrictions" option.
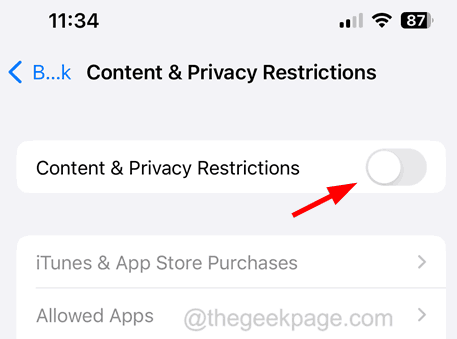
Step 3: Then turn off the "Content and Privacy Restrictions" option.
Fix 4 – Forgot Wi-Fi Network and Rejoin it
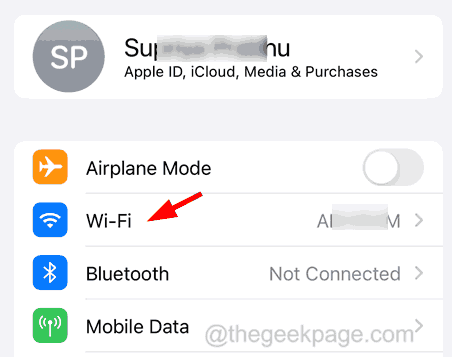
Step 1: You must first launch the "Settings" app , then click on the Wi-Fi option in the top list as shown below.
Step 2: Now tap on your Wi-Fi network from the list of Wi-Fi networks displayed on your iPhone.
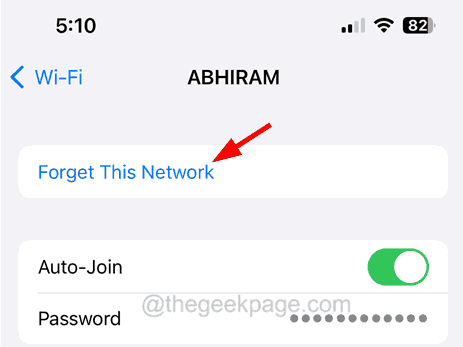
Step 3: Then select the Forget this network option at the top as shown below.
Step 4: Also, click on Forgot in the pop-up window on the screen to continue.
Step 5: Once completed, you have to rejoin the Wi-Fi network again by going to Wi-Fi option from the settings page
Step 6: Now click on Wi-Fi network and enter Wi- Fi password.
Fix 5 – Turn off/on Wi-Fi options on iPhone
Step 1: Open the “Settings” app.
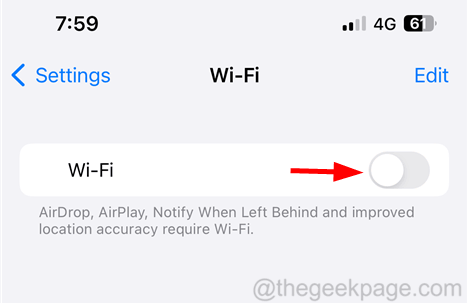
Step 2: Go to the Wi-Fi option as shown below.

Step 3: Turn off the Wi-Fi option by clicking the toggle button.
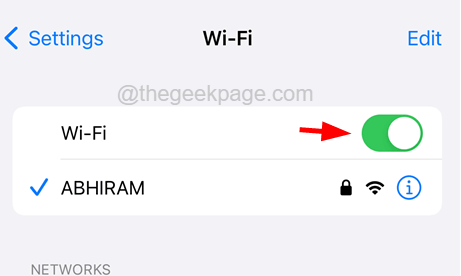
Step 4: You need to wait for some time and then enable it again by clicking on the toggle button as shown in the image.
Step 5: If your iPhone can now easily connect to the Wi-Fi network, the problem is solved.
Fix 4 – Reset Network Settings on iPhone
If the fix doesn’t resolve the issue, you may need to adjust some settings on your iPhone. Therefore, resetting the network settings on your iPhone will definitely solve this problem.
NOTE – Please make sure you recall/write down your Wi-Fi password and other network connection login details.
Other Fixes
- Try connecting to another Wi-Fi somewhere else Network – This fix is to find out if the problem is with Wi-Fi online. If you have no problem connecting to a different Wi-Fi, you must check the Wi-Fi network and its router and fix it.
- Refresh Wi-Fi Network and iPhone Device – To do this, you must restart your iPhone as well as the Wi-Fi router at your location. This will refresh the device and resolve the issue by clearing any minor technical glitches.
- Update iOS Software on iPhone – Never take iOS updates released by Apple lightly as this can fix most of the issues due to unknown reasons in your iPhone. So try updating your iOS software and see if that helps.
- Change Wi-Fi settings as per Apple recommendations – Sometimes, we may have incorrect security and other settings for Wi-Fi, which may cause problems. So, try changing your Wi-Fi settings as per the recommendations provided by Apple.
- If these fixes still don't work, you must reset your Wi-Fi router and set it up again from scratch by searching online for manual step-by-step instructions for Wi-Fi routers .
- Finally, if you find that nothing works, you must repair your iPhone device and get a new Wi-Fi router.
The above is the detailed content of iPhone Not Connecting to WiFi – How to Fix This Problem. For more information, please follow other related articles on the PHP Chinese website!

