Home >Common Problem >Step-by-step tutorial on how to add startup items in win10
Step-by-step tutorial on how to add startup items in win10
- WBOYWBOYWBOYWBOYWBOYWBOYWBOYWBOYWBOYWBOYWBOYWBOYWBforward
- 2023-07-21 11:49:175094browse
After the system is turned on, the startup items will automatically load and run certain programs. Setting some software to start at startup can make it easier to use them. If you are interested in adding startup items to win10 system, I can share a little trick with you. Let’s take a look below.
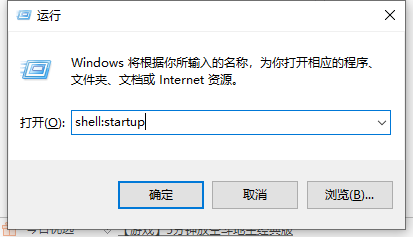
1. Press the win R shortcut key to open the run window, enter shell:startup, and click OK

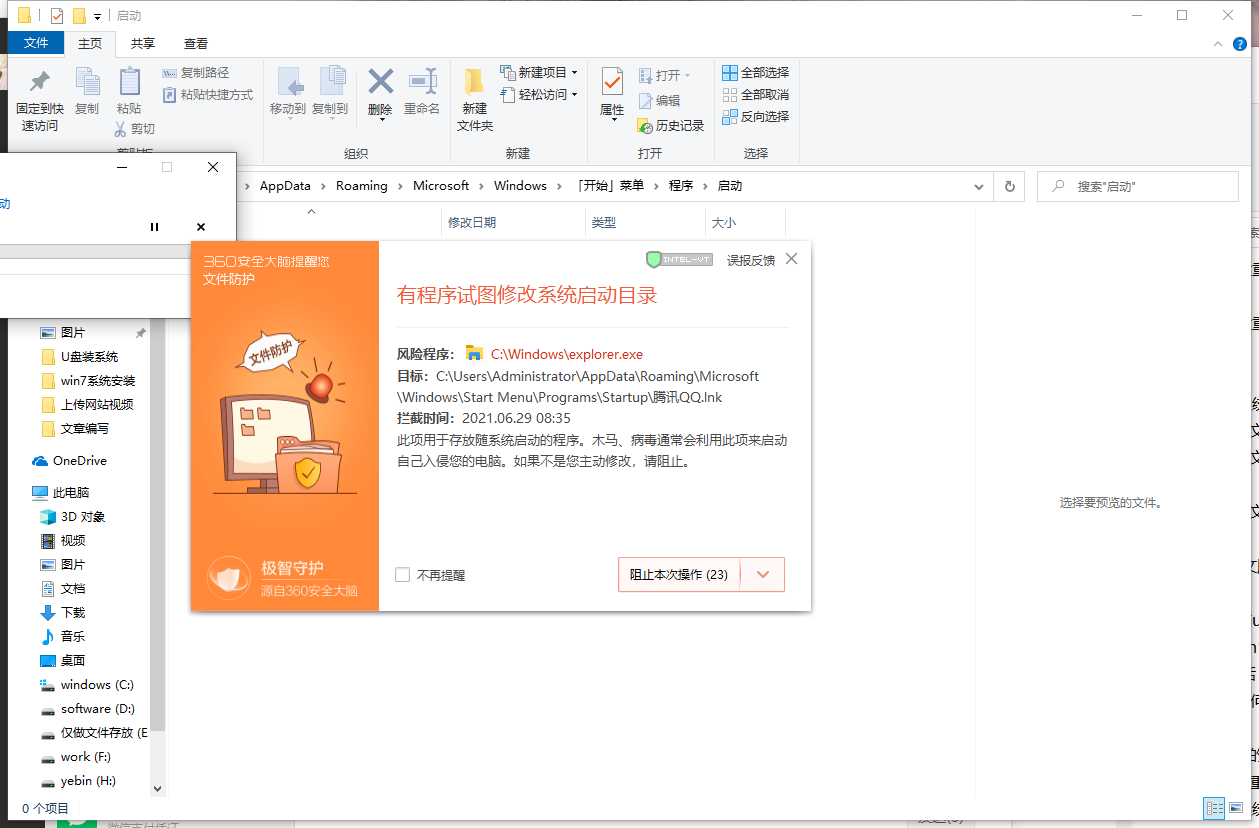
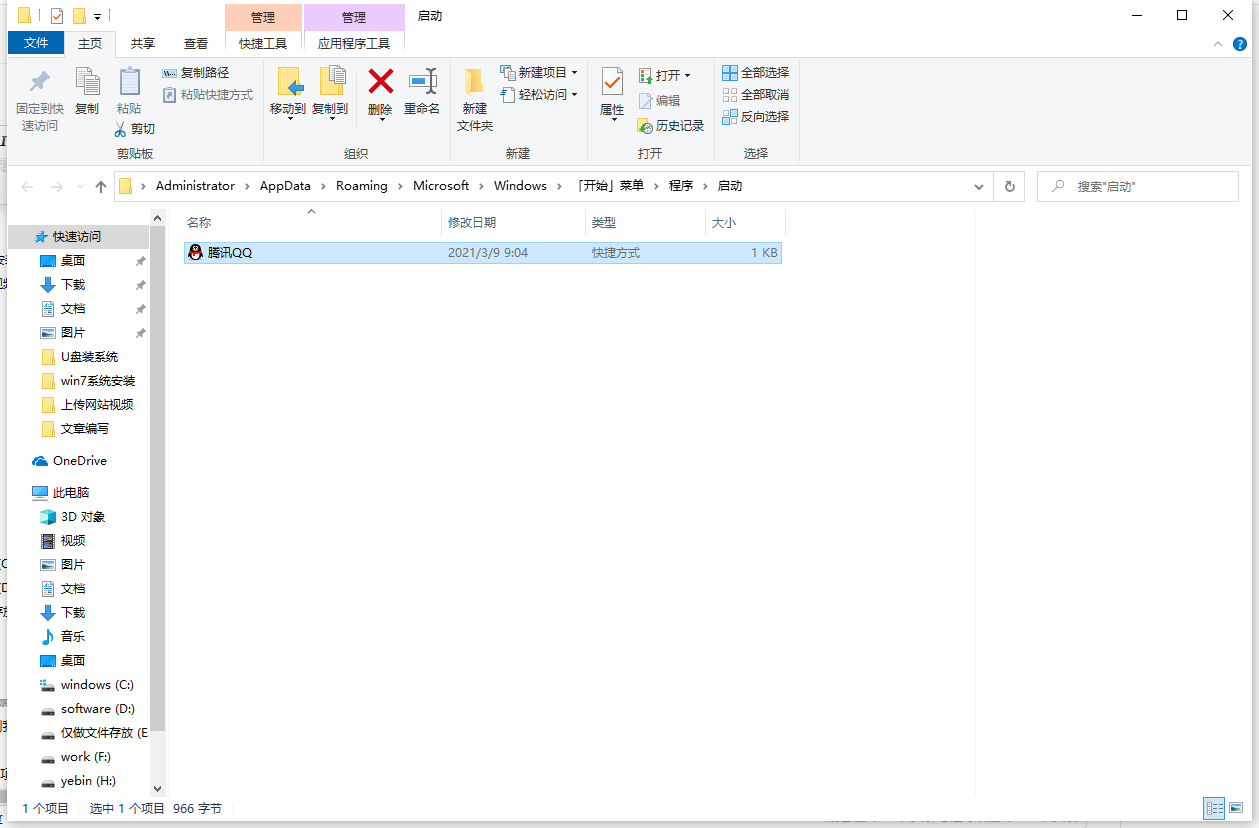
2. Open the startup folder, and finally Drag the startup item shortcut you want to add directly into this folder (the editor takes qq as an example). If 360 is installed, a prompt will appear as shown in the figure, ignore it

3. Then you can see that we set qq as the startup item.

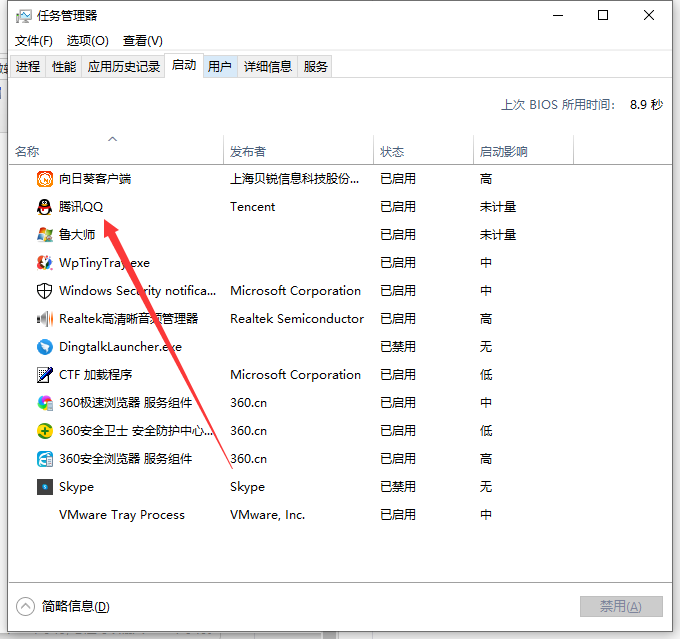
#4. We can also enter the task manager to see if we have added it successfully.

The above is the step-by-step tutorial on how to add startup items in win10. I hope it can help everyone.
The above is the detailed content of Step-by-step tutorial on how to add startup items in win10. For more information, please follow other related articles on the PHP Chinese website!
Related articles
See more- What will happen if the IP addresses of the two hosts are ANDed with their subnet masks?
- Apple's 'Business Essentials' service expanded to all small businesses
- How to turn on Win7 slider hardware acceleration?
- Reasons and solutions for the blue screen without text when booting from the U disk in Win10 system
- How to hide the recycle bin icon in Win7 system

