
Home >Common Problem >Windows 10 scheduled shutdown tutorial
Windows 10 scheduled shutdown tutorial

- WBOYWBOYWBOYWBOYWBOYWBOYWBOYWBOYWBOYWBOYWBOYWBOYWBforward
- 2023-07-15 12:29:121599browse
Many friends who are new to computers will always encounter various problems that they do not understand when using computers. For example, how to set a scheduled shutdown in Windows 10, which many friends do not understand. The following The editor will share with you the tutorial on scheduled shutdown of Windows 10.
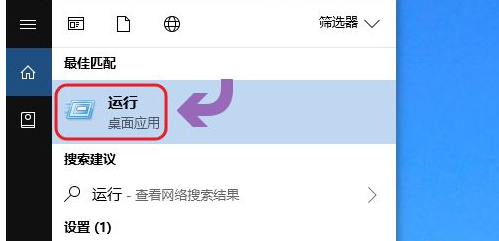
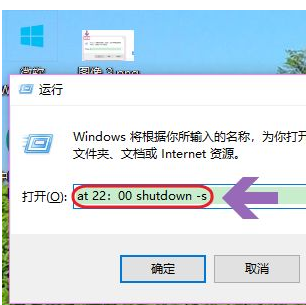
1. We need to enter a fixed code in the run window. There are two ways to quickly open the run in win10 system. One is to hold down the shortcut key win R, and the other is to click on the lower left corner of the computer. Xiaona, and then enter the word "Run", as shown in the picture:
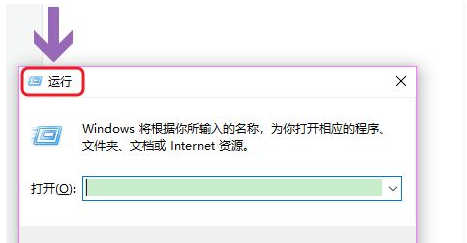
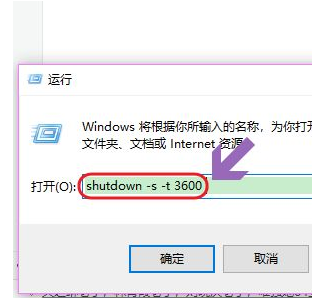
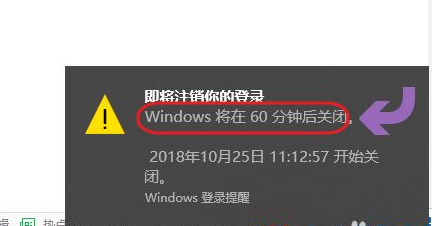
2. Picture 1 below is the running window under win10 system, we want to schedule shutdown , then enter the command "shutdown -s -t time "(Note: The time here is measured in seconds). For example, if you want to shut down the computer after one hour, then change the time to 3600;
The above is the detailed content of Windows 10 scheduled shutdown tutorial. For more information, please follow other related articles on the PHP Chinese website!