Home >Common Problem >Detailed explanation of ASUS computer ASUS installation win7 system tutorial
Detailed explanation of ASUS computer ASUS installation win7 system tutorial
- 王林forward
- 2023-07-10 23:26:507099browse
Many users of ASUS computers are accustomed to win7 system and hope to change the pre-installed win10 system to win7 system. However, many Asus notebook partitions are now GPT partitions that come with win1064-bit systems. If you install win7 systems, you need to make some partitioning and boot adjustments. The following is a tutorial for installing win7 system on ASUS computer, please refer to it.
The specific steps are as follows:
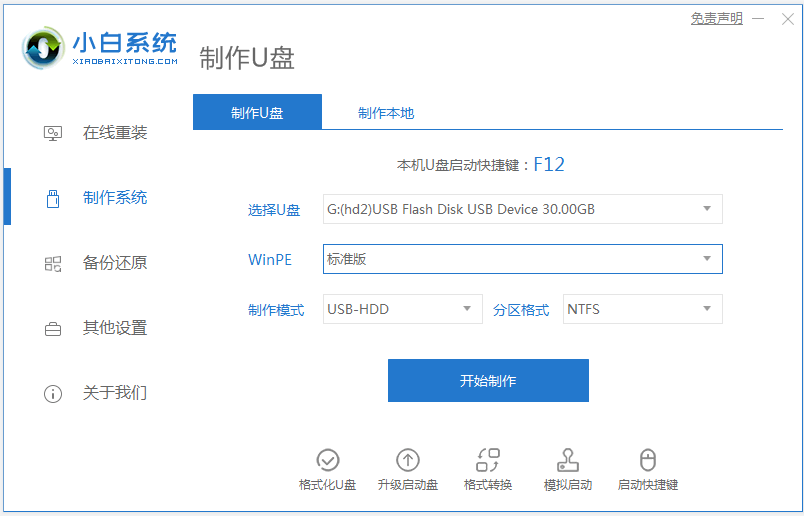
1. First download and install the Xiaobai one-click system reinstallation tool on an available computer and make a USB boot disk (for tutorials, refer to: Xiaobai USB boot Disk creation tutorial.)
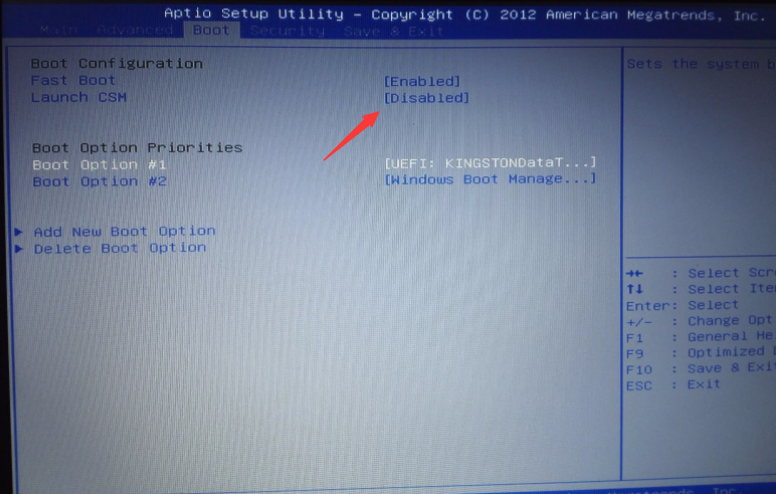
2. When the ASUS computer is turned on, long press the F2 key to enter the BIOS interface, use the arrow keys to enter the [Secure] menu, and use the arrow keys to select [Secure] Boot Control] option, set it to "Disabled". Use the arrow keys to enter the [Boot] menu, use the arrow keys to select the [Lunch CSM] option, and set it to "Enabled".
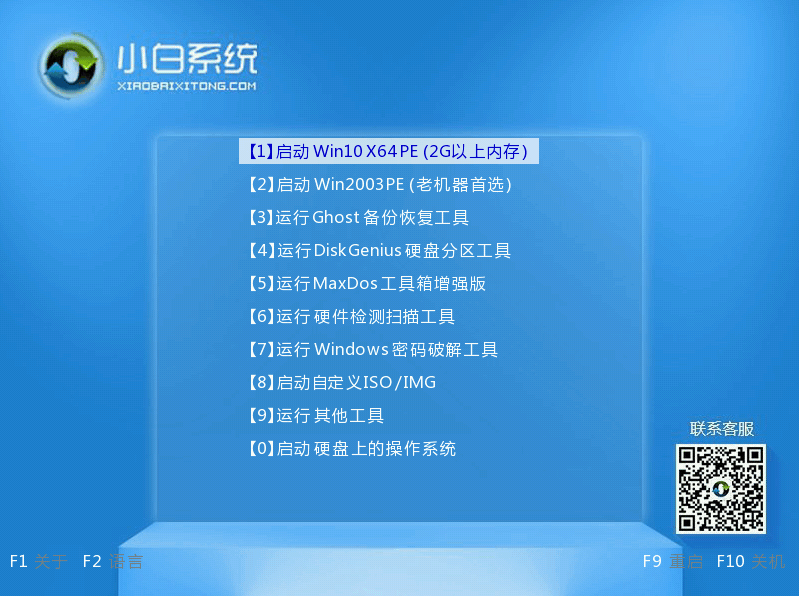
3. Click F10 to save the settings. Insert the USB boot disk, restart the computer, turn on the computer and press esc to select the USB boot item, and select item 01 pe to enter.
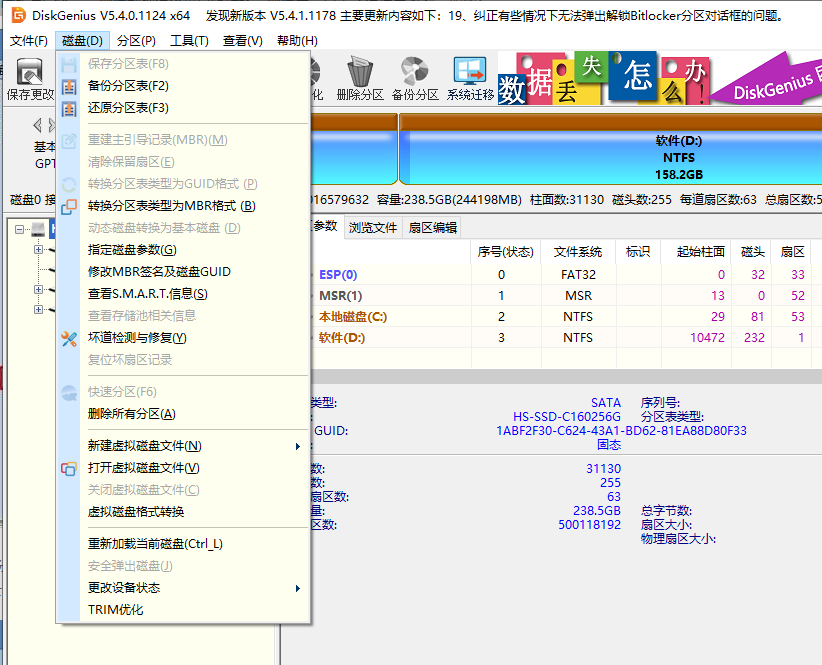
4. Open the Diskgenius partition tool (DG Partition Tool) on the desktop; after opening Diskgenius, select the notebook hard drive, then click "Hard Disk" and check whether the ["Convert Partition Table Type to MBR Format"] option in the menu is gray. If it is gray, then we do not need to repartition. Except for the data on the C drive system disk and desktop, the data in other disks will not be cleared after reinstalling the system. If the "Convert Partition Table Type to MBR Format" option is Optional, you need to format the entire hard disk. The operation method is as follows:
Delete partition: Click "Hard Disk" - "Delete All Partitions". Make sure the data has been transferred before deleting. After deletion, click [Save] Change].
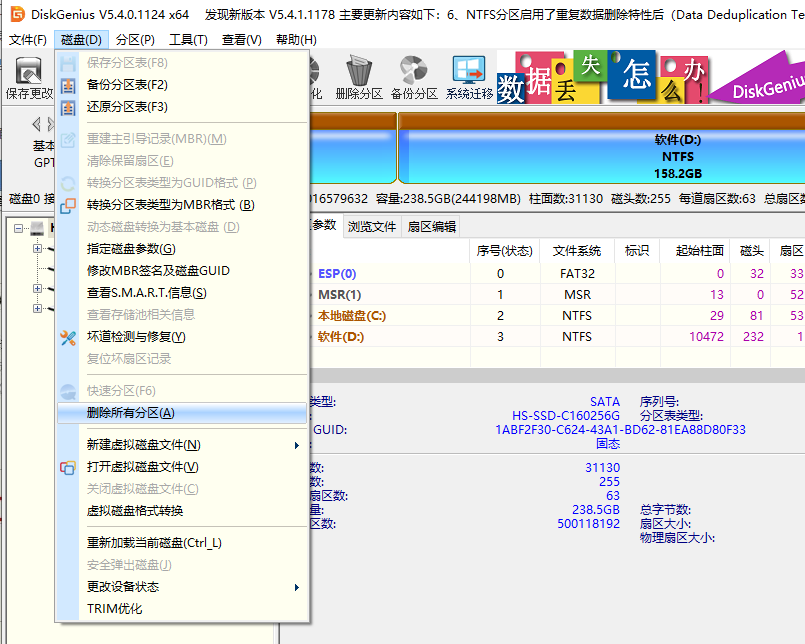
5. Convert the GPT partition to MBR format: After deleting the partition, replace the hard disk partition table type with MBR format. Also select from "Hard Disk" - " "Convert partition table type to MBR format", and then save the changes (the following is an illustration. The item is clickable at this time. If it is not clickable, it means the conversion has been completed.)
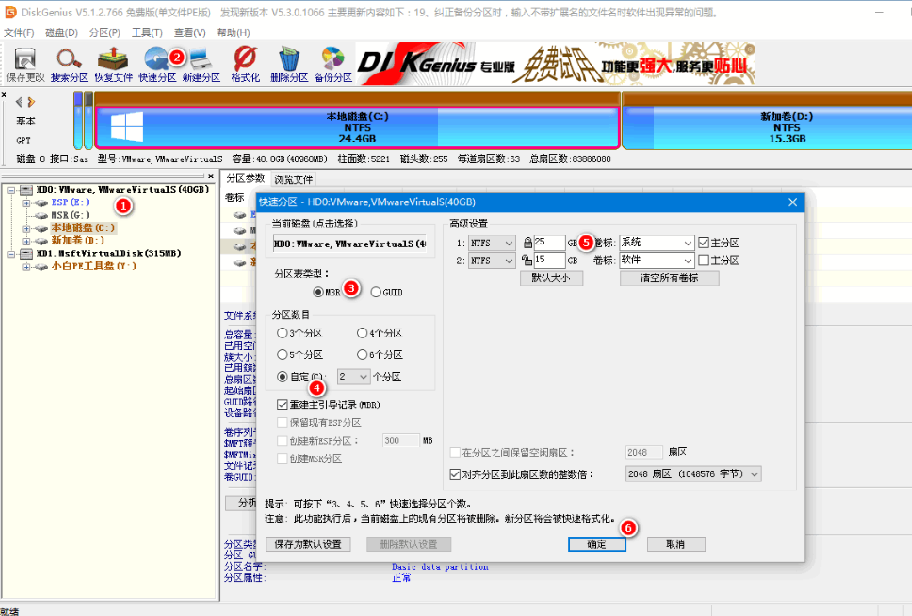
6. Repartition: After the disk format conversion is completed, click [Quick Partition], check the partition table type as MbR, check Rebuild Master Boot Record MBR, select the number and size of required partitions, of course you can click "Auto Click "OK" to set the appropriate partition, and press OK to start partitioning (if it is a solid-state drive or a Toshiba hard drive, it needs to be 4K aligned).
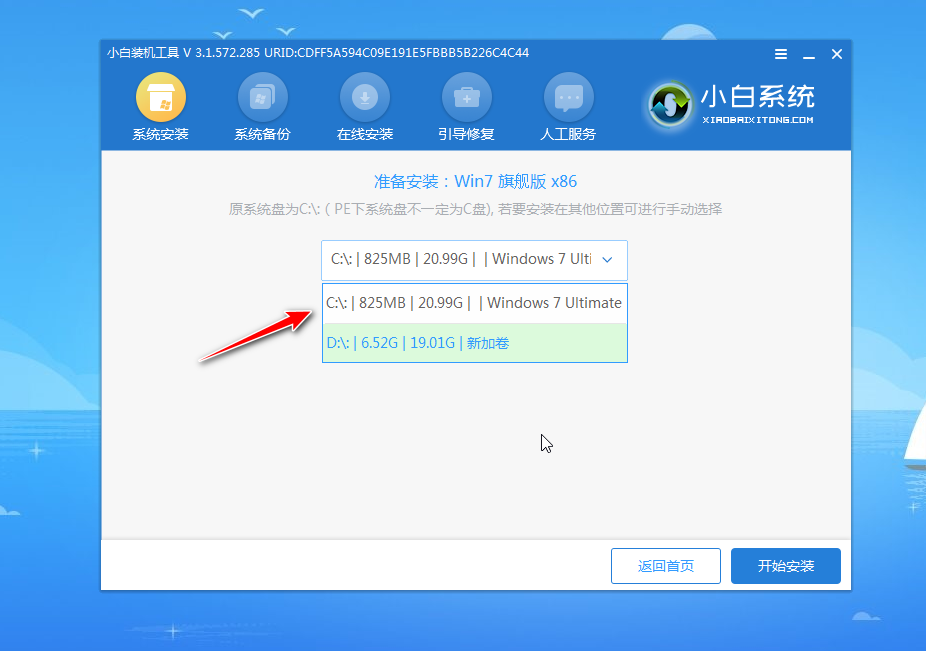
7. Partitioning completed Then run the "Xiaobai Installation Tool" on the desktop, then select the win7 system image file, use the c drive as the system drive, install the win7 system in the c drive, and click OK;
8. Wait for the system installation to be completed, unplug the USB disk and restart the computer.
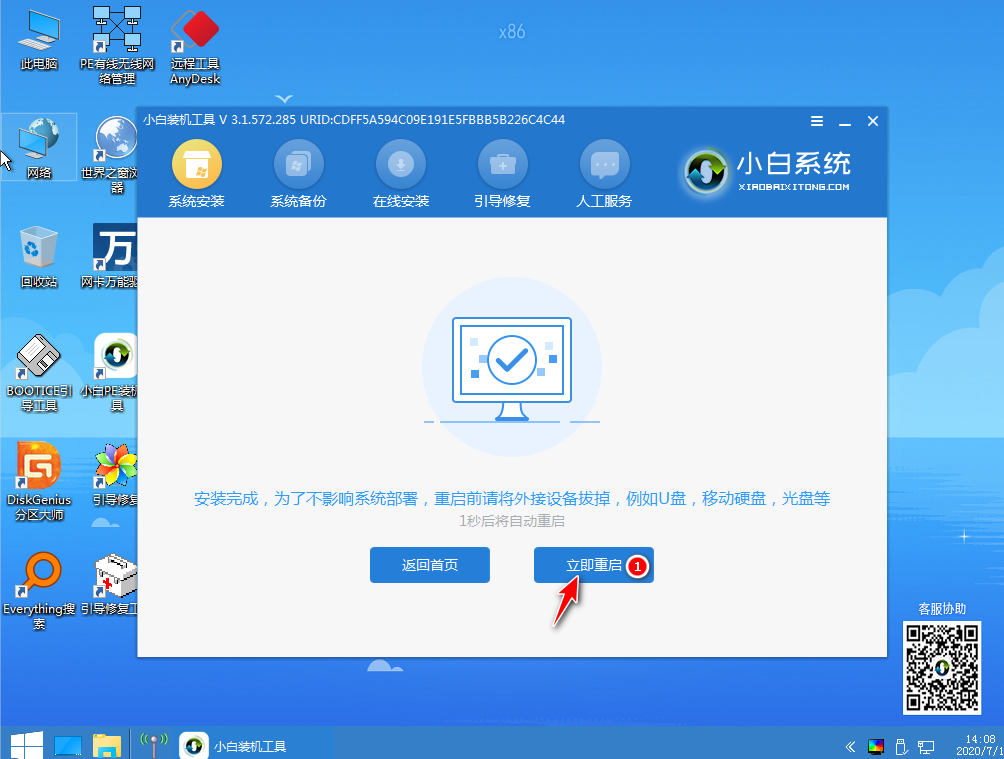
9. Wait patiently for a period of time, and the installation will be completed when you enter the following page.
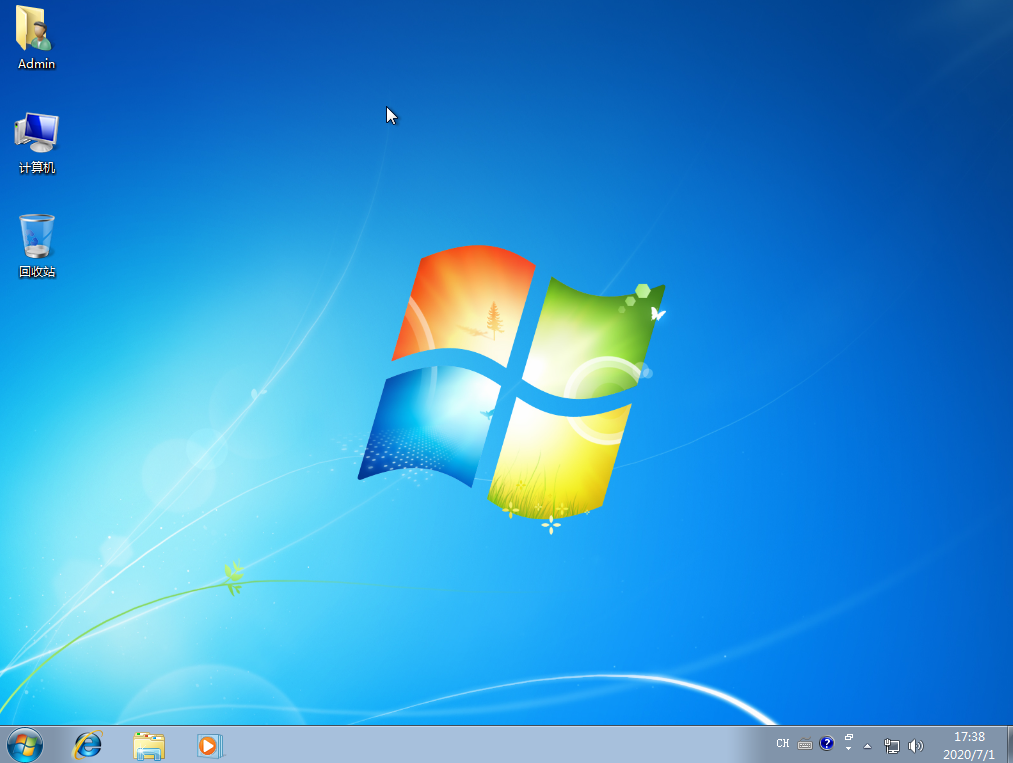
The above is the tutorial for installing the win7 system on ASUS computers. Friends in need can refer to the tutorial to operate.
The above is the detailed content of Detailed explanation of ASUS computer ASUS installation win7 system tutorial. For more information, please follow other related articles on the PHP Chinese website!

