Home >Web Front-end >H5 Tutorial >Image upload plug-in ImgUploadJS: Use HTML5 File API to implement screenshot paste upload and drag and drop upload _html5 tutorial skills
Image upload plug-in ImgUploadJS: Use HTML5 File API to implement screenshot paste upload and drag and drop upload _html5 tutorial skills
- WBOYOriginal
- 2016-05-16 15:46:083588browse
1. Background and effects
Currently, the most uploaded files on the Internet are image files, but uploading screenshots of traditional web images requires: Save the screenshot -> Select the path -> Save and then Click Upload->Select Path->Upload->Insert.
Uploading image files also requires: select the path and then ->Upload->Insert, the steps are complicated, and the Internet experience is king. If it supports screenshot pasting upload and drag and drop upload, the experience will be greatly improved.
Currently, both Zhihu and Github support these two features for modern browsers. I learned to implement them when I had nothing to do. Today I will talk about what functions this 1kb plug-in implements, how to use it and its principles.
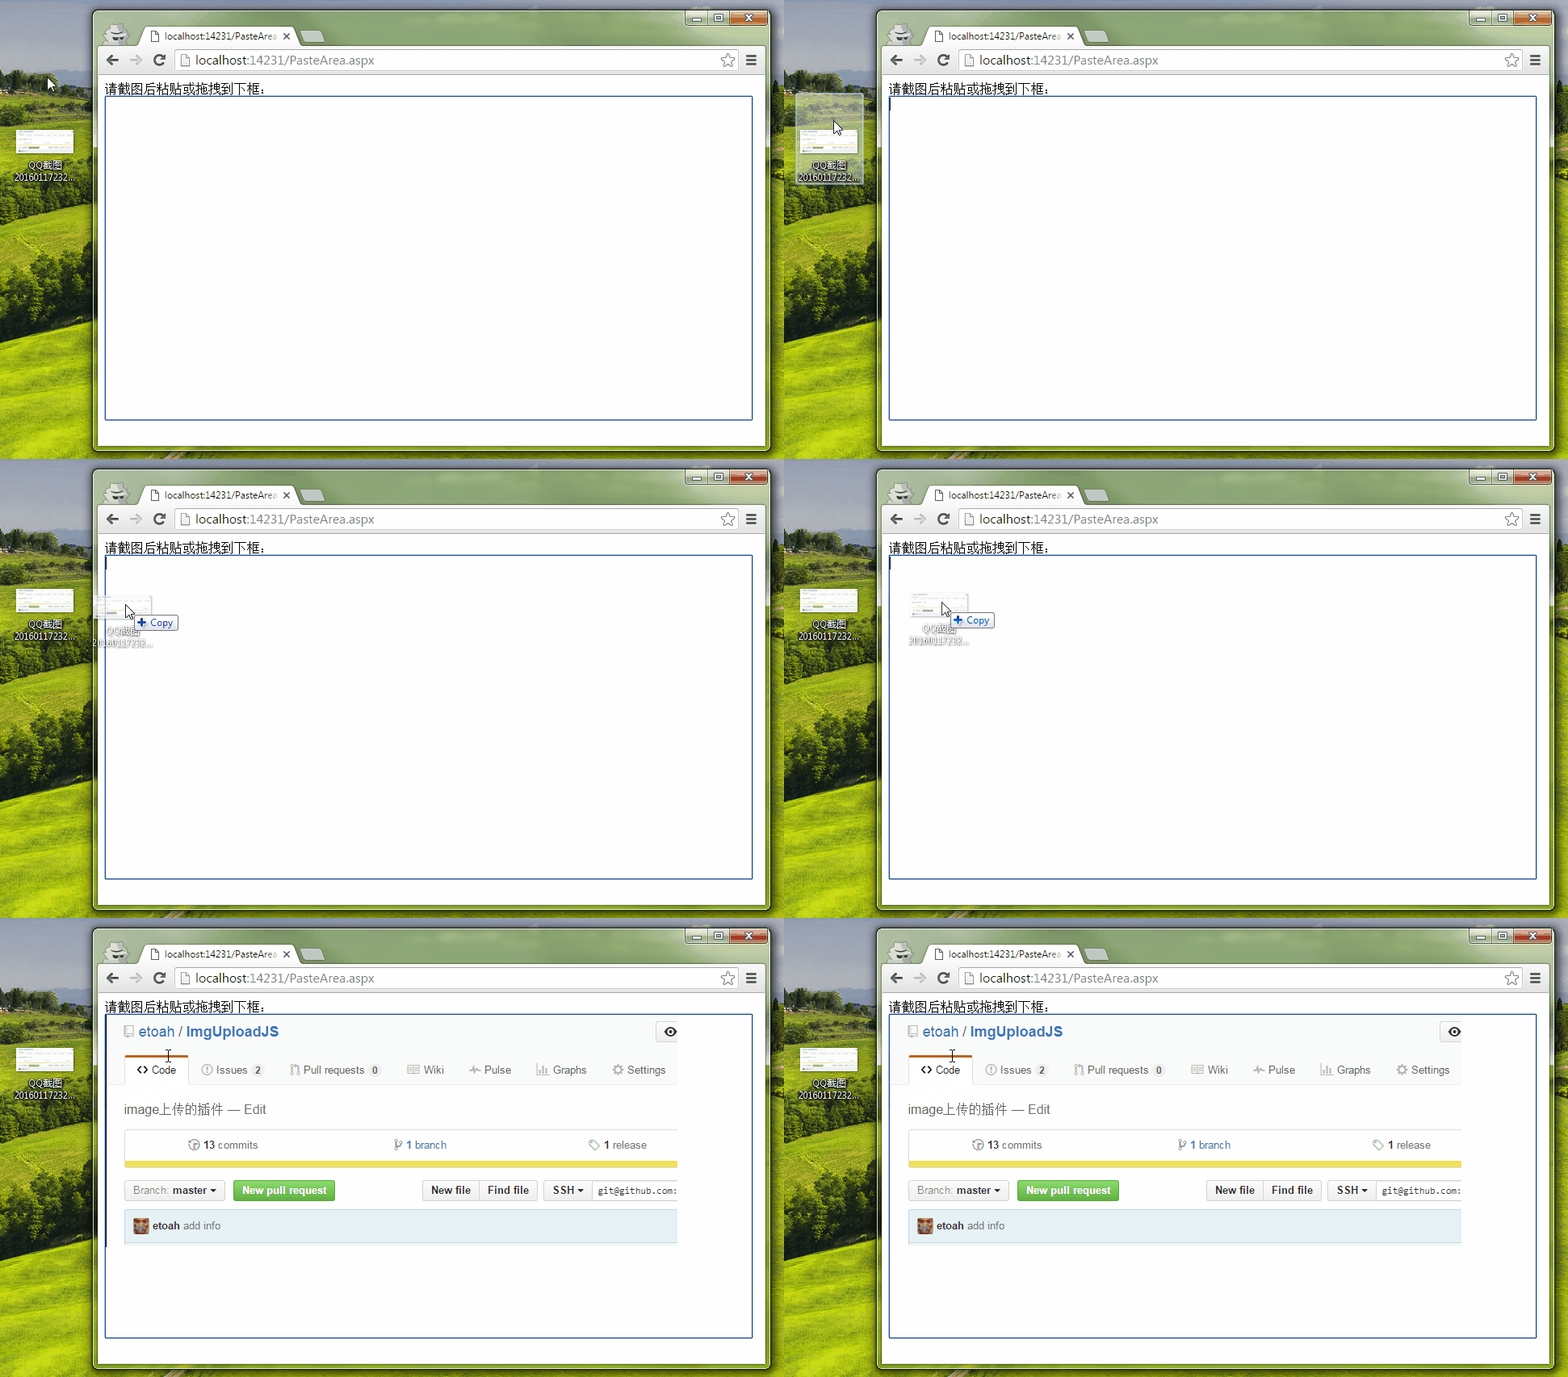
First take a look at the insertion effect:
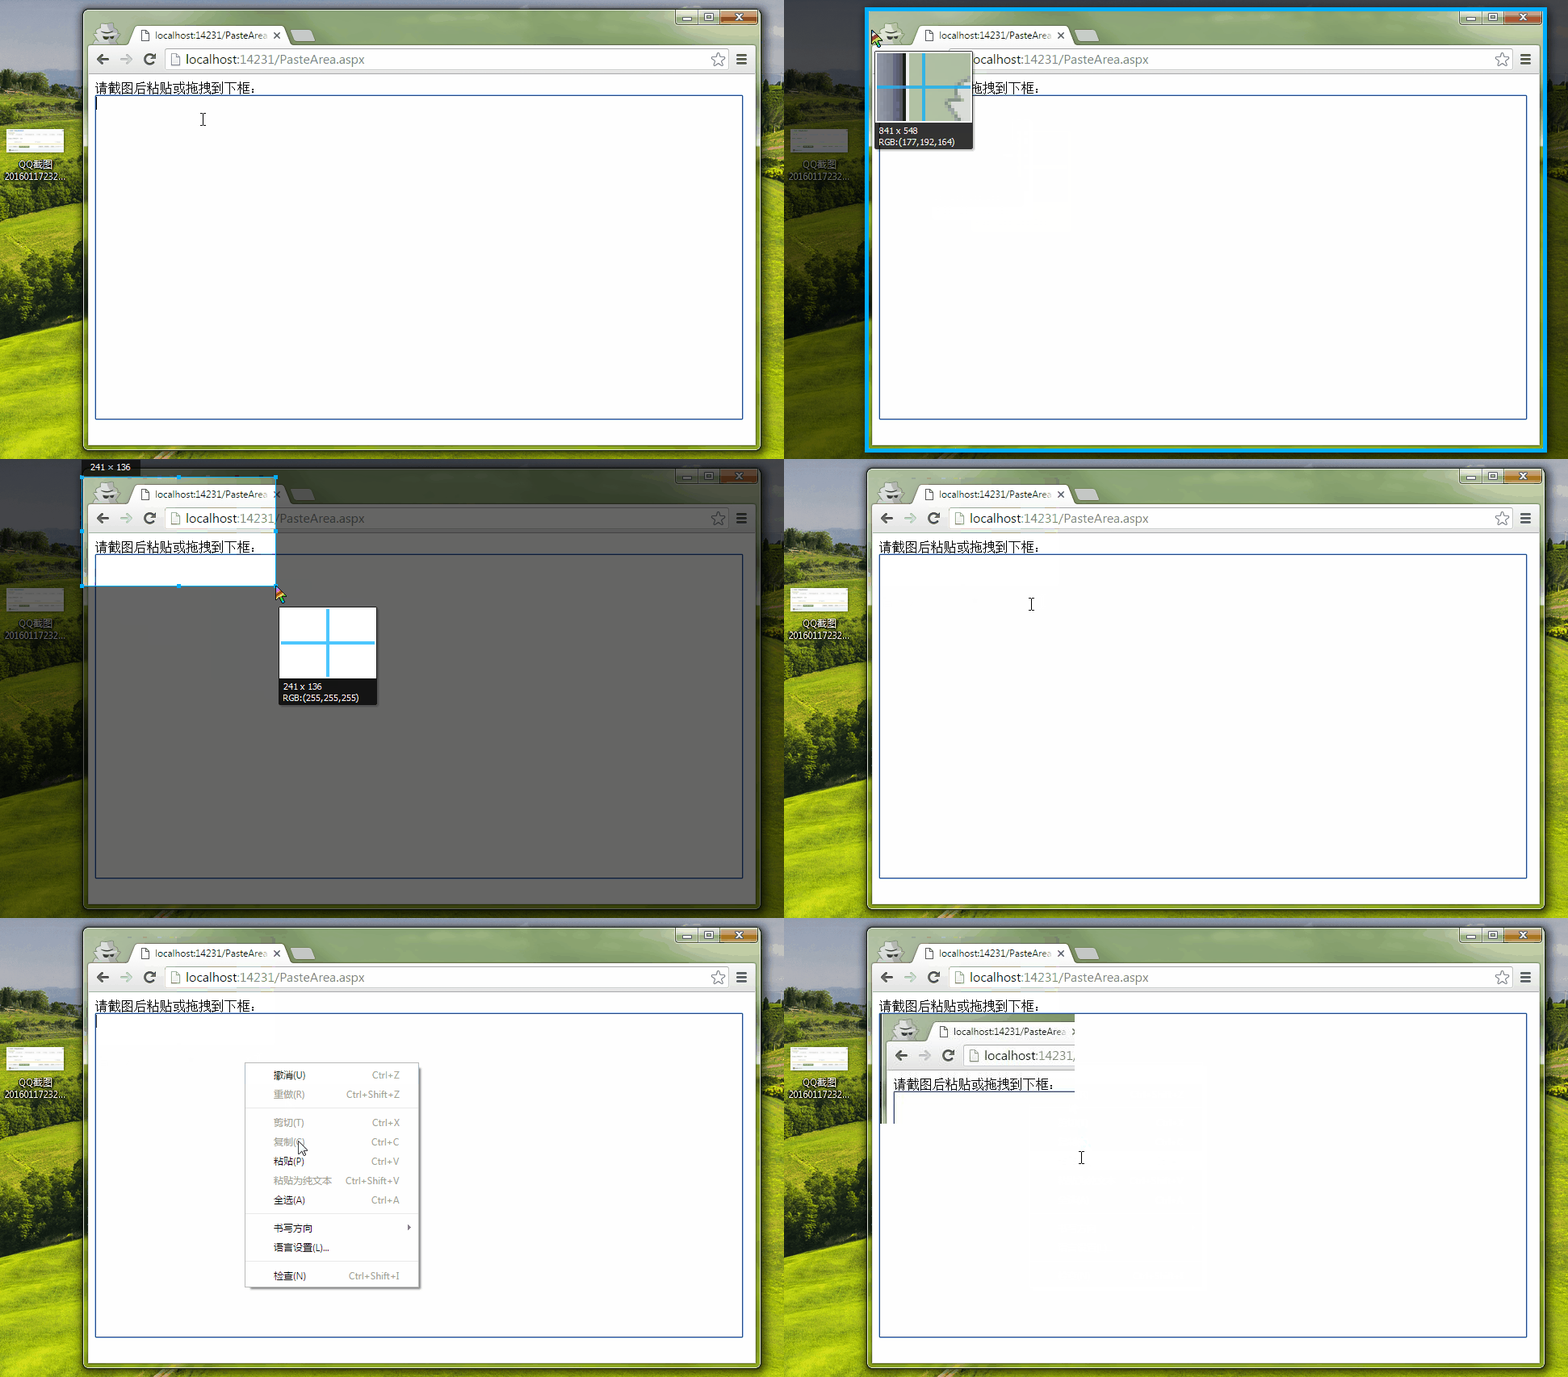
After taking a screenshot, paste it directly and upload it.
2. Usage example
Direct call:
Currently, the most uploaded files on the Internet are image files, but uploading screenshots of traditional web images requires: Save the screenshot -> Select the path -> Save and then Click Upload->Select Path->Upload->Insert.
Uploading image files also requires: select the path and then ->Upload->Insert, the steps are complicated, and the Internet experience is king. If it supports screenshot pasting upload and drag and drop upload, the experience will be greatly improved.
Currently, both Zhihu and Github support these two features for modern browsers. I learned to implement them when I had nothing to do. Today I will talk about what functions this 1kb plug-in implements, how to use it and its principles.
First take a look at the insertion effect:
After taking a screenshot, paste it directly and upload it.


2. Usage example
Direct call:
XML/HTML CodeCopy content to clipboard
- <div id="box" style="width: 800px; height: 400px; border: 1px solid;" contenteditable="true">div>
- <script type="text/ javascript" src="UploadImage.js">script>
- new UploadImage("box", "UploadHandler.ashx").upload(function (xhr) {//Callback after upload is completed
- var img = new Image();
- img.src = xhr.responseText;
- this.appendChild(img);
- });
AMD/CMD
XML/HTML CodeCopy content to clipboard
- <div id="box" style="width: 800px; height: 400px; border: 1px solid;" contenteditable="true">div>
- <script type="text/javascript" src="require.js">script>
- <script>
- require(['UploadImage'], function (UploadImage) {
- new UploadImage("box", "UploadHandler.ashx").upload(function (xhr) {//上传完成后的回调
- var img = new Image();
- img.src = xhr.responseText;
- this.appendChild(img);
- });
- })
- script>
三.浏览器支持
当前版本只支持以下,浏览器,后期可能会支持更多浏览器。
•IE11
•Chrome
•FireFox
•Safari(未测式,理论应该支持)
四.原理及源码
1.粘贴上传
处理目标容器(id)的paste事件,读取e.clipboardData中的数据,如果是图片进行以下处理:
用H5 File API(FileReader)获取文件的base64代码,并构建FormData异步上传。
2.拖拽上传
处理目标容器(id)的drop事件,读取e.dataTransfer.files(H5 File API: FileList)中的数据,如果是图片并构建FormData异步上传。
以下是初版本代码,比较简单。不再赘述。
部份核心代码
XML/HTML Code复制内容到剪贴板
- function UploadImage(id, url, key)
- {
- this.element = document.getElementById(id);
- this.url = url; //The path for back-end image processing
- this.imgKey = key || "PasteAreaImgKey"; //Name mentioned to the backend
- }
- UploadImage.prototype.paste = function (callback, formData)
- {
- var thatthat = this;
- this.element.addEventListener('paste', function (e) {//Handle the paste event of the target container (id)
- if (e.clipboardData && e.clipboardData.items[0].type.indexOf('image') > -1) {
- var that = this,
- reader = new FileReader();
- file = e.clipboardData.items[0].getAsFile();//Read the data in e.clipboardData: Blob object
- reader.onload = function (e) { //After reader reading is completed, xhr is uploaded
- var xhr = new XMLHttpRequest(),
- fd = formData || (new FormData());;
- xhr.open('POST', thatthat.url, true);
- xhr.onload = function () {
- callback.call(that, xhr);
- }
- fd.append(thatthat.imgKey, this.result); // this.result gets the base64 of the image
- xhr.send(fd);
- }
- reader.readAsDataURL(file);//Get base64 encoding
- }
- }, false);
- }
Statement:
The content of this article is voluntarily contributed by netizens, and the copyright belongs to the original author. This site does not assume corresponding legal responsibility. If you find any content suspected of plagiarism or infringement, please contact admin@php.cn
Previous article:Html5 large file breakpoint resume implementation method_html5 tutorial skillsNext article:Html5 large file breakpoint resume implementation method_html5 tutorial skills
Related articles
See more- AlloyTouch full-screen scrolling plug-in creates a smooth H5 page in 30 seconds
- HTML5 actual combat and analysis of touch events (touchstart, touchmove and touchend)
- Detailed explanation of image drawing examples in HTML5 canvas 9
- Regular expressions and new HTML5 elements
- How to combine NodeJS and HTML5 to drag and drop multiple files to upload to the server

