
Home >Operation and Maintenance >Nginx >How nginx+tomcat achieves load balancing under Windows system
How nginx+tomcat achieves load balancing under Windows system

- WBOYWBOYWBOYWBOYWBOYWBOYWBOYWBOYWBOYWBOYWBOYWBOYWBforward
- 2023-05-16 13:28:061448browse
First, install two tomcats. You can copy the same one into two, or you can download two different versions of tomcat. I downloaded two different versions.
(This is version 8.0, just find two versions that are not particularly old).
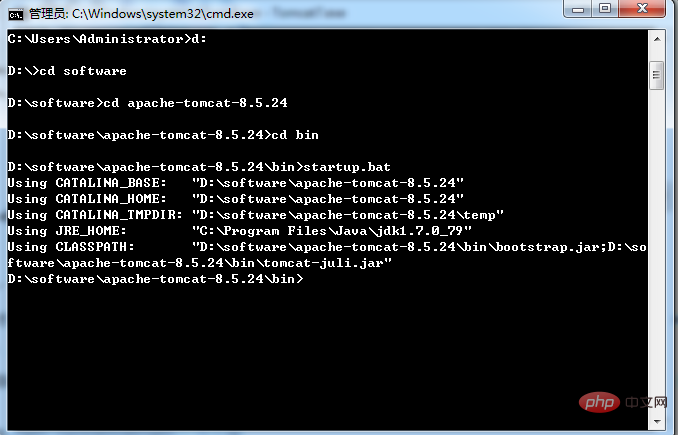
Then start two tomcats. Before starting, change the port number of one of them so that there will be no port conflict when the two tomcats are started. One is its own 8080 port, and the other is changed to Port 9080. After configuration, open the cmd command window. My tomcat is placed in the d:\software\apache-tomcat-8.5.24 directory. Follow the following command to start. If the startup is successful, another window will pop up, as shown below:

Open the browser and enter http://localhost:9080/. When the following interface appears, tomcat starts successfully. Just follow the same steps for the other one.
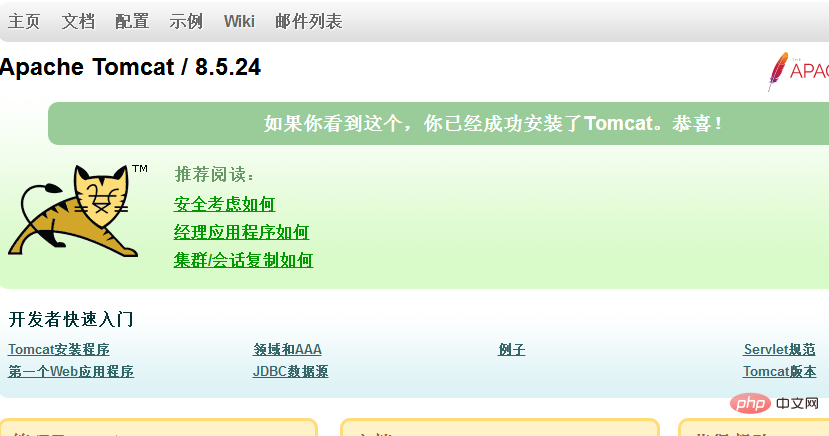
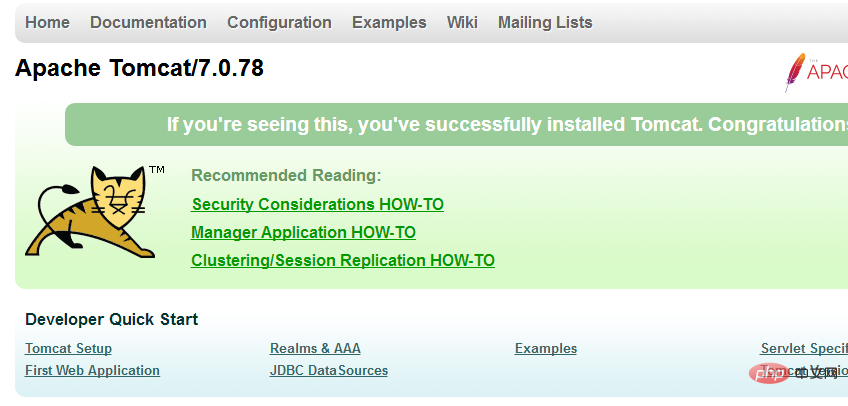
Figure 1: tomcat8 Figure 2: tomcat7
After that, install an nginx. I installed the stable version of nginx, download address : http://nginx.org/download/nginx-1.12.2.zip, unzip and use
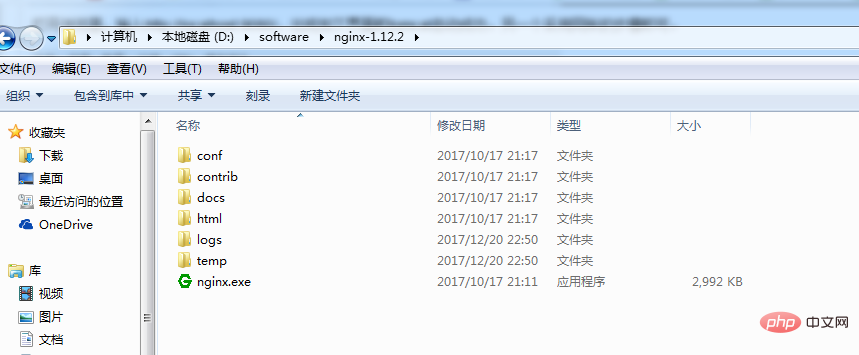
Before starting, you must configure nginx. The load balancing function can be realized. Open the conf folder. There is an nginx.conf file below. The configuration is as follows:
#user nobody;
worker_processes 1;
#error_log logs/error.log;
#error_log logs/error.log notice;
#error_log logs/error.log info;
#pid logs/nginx.pid;
events {
worker_connections 1024;
}
http {
include mime.types;
default_type application/octet-stream;
#log_format main '$remote_addr - $remote_user [$time_local] "$request" '
# '$status $body_bytes_sent "$http_referer" '
# '"$http_user_agent" "$http_x_forwarded_for"';
#access_log logs/access.log main;
sendfile on;
#tcp_nopush on;
#keepalive_timeout 0;
keepalive_timeout 65;
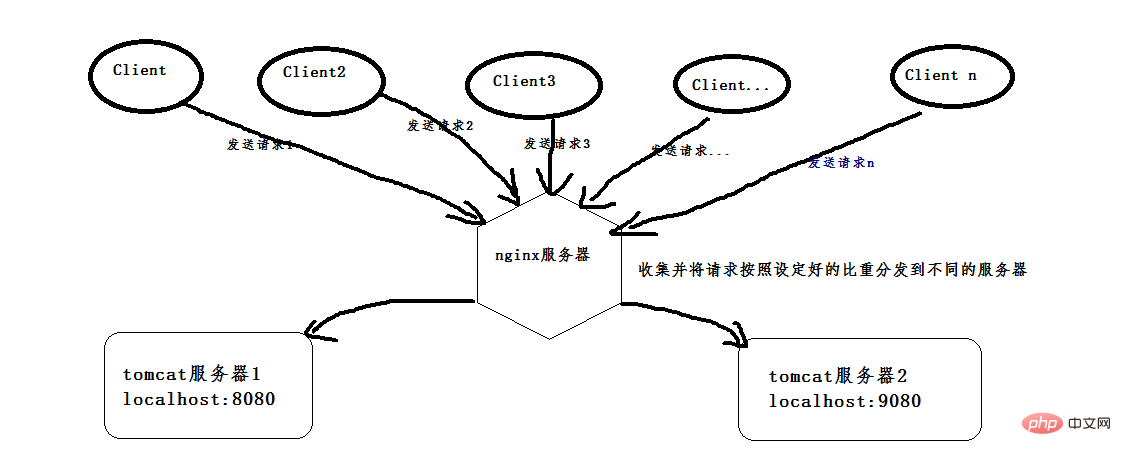
gzip on;# The following four lines are newly added. The two IPs are the access addresses of the two tomcats. Weight represents the proportion of requests assigned to the server. If both are 1, they will be distributed according to 1:1.
upstream netitcast.com{
server 127.0.0.1:8080 weight=1;
server 127.0.0.1:9080 weight=2;
}
server {
listen 80;
server_name localhost;
#charset koi8-r;
#access_log logs/host.access.log main;
#The next two lines are modified, http://netitcast.com and the above addition To be consistent
location / {
proxy_pass http://netitcast.com;
proxy_redirect default;
}
#error_page 404 /404.html;
# redirect server error pages to the static page /50x.html
#
error_page 500 502 503 504 /50x.html;
location = /50x.html {
root html;
}
# proxy the php scripts to apache listening on 127.0.0.1:80
#
#location ~ \.php$ {
# proxy_pass http://127.0.0.1;
#}
# pass the php scripts to fastcgi server listening on 127.0.0.1:9000
#
#location ~ \.php$ {
# root html;
# fastcgi_pass 127.0.0.1:9000;
# fastcgi_index index.php;
# fastcgi_param script_filename /scripts$fastcgi_script_name;
# include fastcgi_params;
#}
# deny access to .htaccess files, if apache's document root
# concurs with nginx's one
#
#location ~ /\.ht {
# deny all;
#}
}

# another virtual host using mix of ip-, name-, and port-based configuration
#
#server {
# listen 8000;
# listen somename:8080;
# server_name somename alias another.alias;
# location / {
# root html;
# index index.html index.htm;
# }
#}

# https server
#
#server {
# listen 443 ssl;
# server_name localhost;
# ssl_certificate cert.pem;
# ssl_certificate_key cert.key;
# ssl_session_cache shared:ssl:1m;
# ssl_session_timeout 5m;
# ssl_ciphers high:!anull:!md5;
# ssl_prefer_server_ciphers on;
# location / {
# root html;
# index index.html index.htm;
# }
#}
}
Or open the cmd window, enter the above directory, execute the command: start nginx, it will start successfully, then enter the URL: http://localhost/index.jsp, and continue to access it. You will find that Figure 1 and Figure 2 shown above are interactively displayed. Because the above configuration weight is allocated with a ratio of 1:2, the proportion of port 9080 is larger. The probability of accessing Figure 1 (9080 port) is relatively high, and the probability of accessing Figure 2 (8080 port) is relatively high. Small, the probability is one-third and one-third.
The above is the detailed content of How nginx+tomcat achieves load balancing under Windows system. For more information, please follow other related articles on the PHP Chinese website!