Home >Java >javaTutorial >How to develop a springboot application
How to develop a springboot application
- WBOYWBOYWBOYWBOYWBOYWBOYWBOYWBOYWBOYWBOYWBOYWBOYWBforward
- 2023-05-12 18:43:131206browse
How to write springboot applications
In fact, there are routines.
1. Introduce scenario dependencies
Since you want to develop a springboot application, the scenario must be clearly defined first, such as web, cache, message queue, etc.
Then find the relevant scenario dependencies according to the specific scenario, which includes the dependencies provided by springboot and the scenario dependencies provided by third parties.

Then just introduce it in pom.xml, for example, spring-boot-starter-web is introduced here.

2. Check the automatic configuration
This is not necessary. You can also develop it directly after introducing scene dependencies. If you want to know what configurations are enabled, you can check it out.
Here is a way to add configuration in the application.properties configuration file and turn on debug mode:
#开启debug模式
debug=true
At this time, when starting the application, you can see more in the console Log output, including effective and ineffective configurations.
Negative matches: Configurations with insufficient conditions are listed here, and they are not effective.

#Positive matches: Configurations that meet the conditions are listed here and are effective.

corresponds to the effective configuration. If you are interested, you can analyze it by referring to the automatic configuration process you learned before.
3. Whether it needs to be modified
1. Modify the configuration items according to the document
After injecting dependencies, confirm whether there are any configuration items that need to be modified.
For example, when using a database or the like, it is natural to configure the user name, password, etc. used for connection.
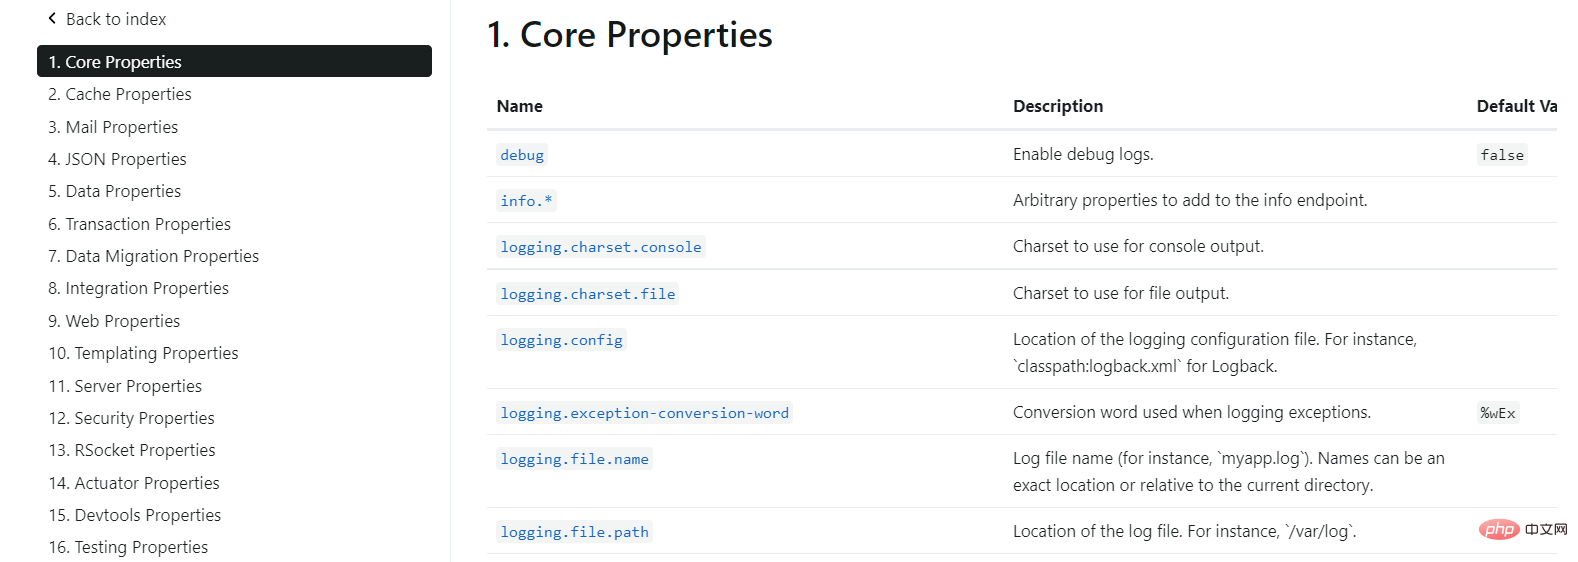
When modifying the configuration, you can refer to the official documentation and find the corresponding configuration items to modify.

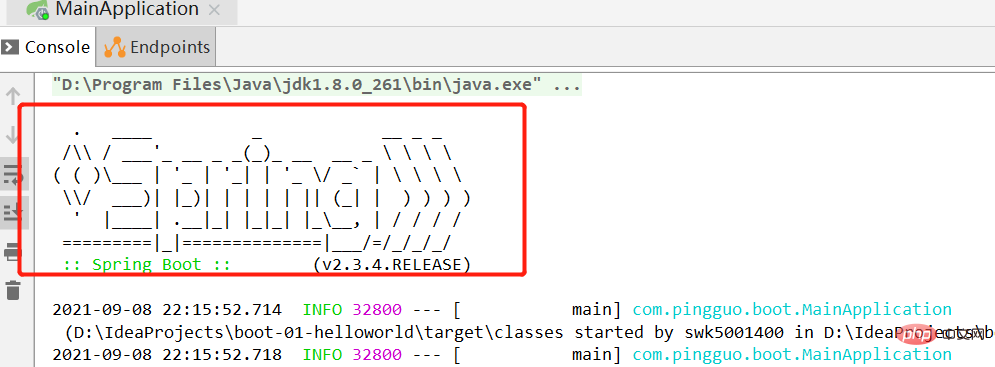
There are a lot of configuration items here. For example, let’s configure the banner image displayed when the application starts. The default is this:

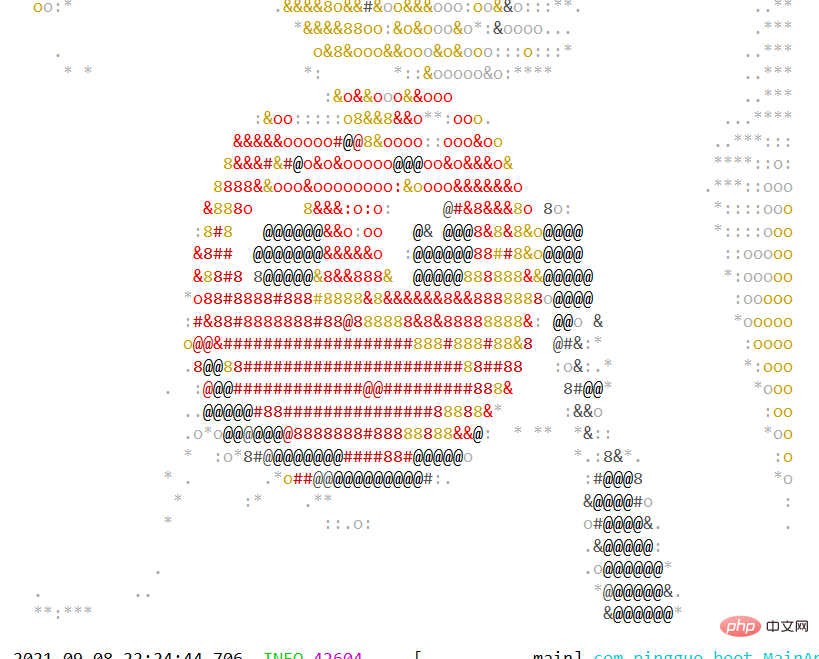
I will replace it with another picture now, just use the avatar of the official account, and put the picture banner1 in the resources directory:

Find spring.banner.image.location in Core Properties in the document.

Configure it in the application.properties file:
spring.banner.image.location=classpath:banner1.jpg
Start the application and see the effect:

Configuration successful.
2. Add custom components or replace original components
If the configuration still does not meet the needs after changing the configuration in some cases, we can also customize the components to increase our customized functions. Directly replace the underlying component with @Bean yourself.
Although there is still a lot of content in springboot, after completing the above steps, springboot can basically be used.
The above is the detailed content of How to develop a springboot application. For more information, please follow other related articles on the PHP Chinese website!

