Home >Common Problem >How to remove watermark from Word document
How to remove watermark from Word document
- PHPzforward
- 2023-04-15 12:46:065116browse
How to Remove Watermark on Windows
The Microsoft Word application has some subtle differences depending on whether you are using it on Windows or Mac. This means that the steps to remove the watermark will vary depending on the type of computer you are using.
Using the Design menu you should be able to remove the watermark from your Word document. If it doesn't work, you can try the header and footer methods outlined below.
How to remove a watermark from a Word document using the Design Menu
The Design menu is where you find the watermark tool in Microsoft Word. This tool is used to create watermarks for your documents and can also be used to remove watermarks.
To remove a watermark from a Word document using the Design menu on Windows:
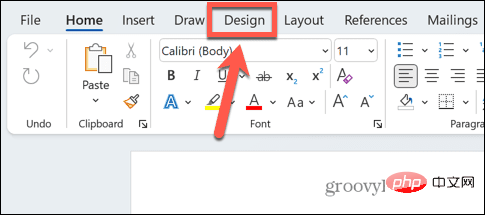
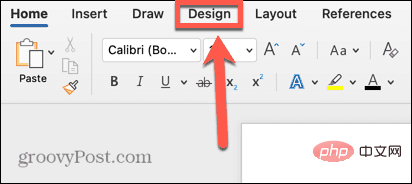
- Click the Design menu.

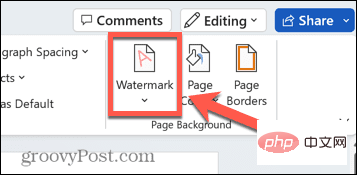
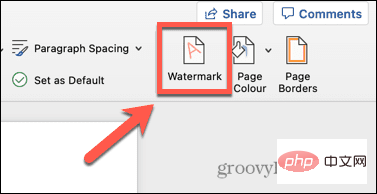
- In the ribbon, click the Watermark icon.

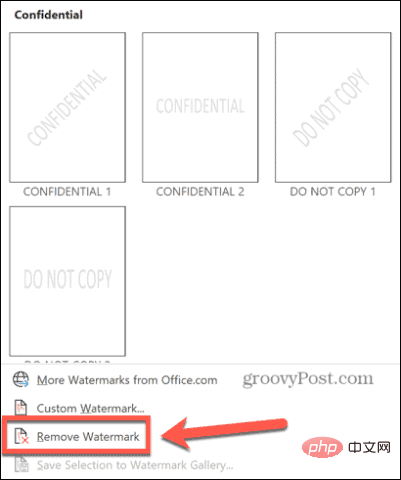
- Select Remove watermark.

- Your watermark should now be removed. If this doesn't work, try the method shown below.
How to remove watermark through header and footer
If the watermark tool method does not work, you can try to remove the watermark manually, when you access the header and footer, the watermark Should be editable.
To remove watermark via header and footer:
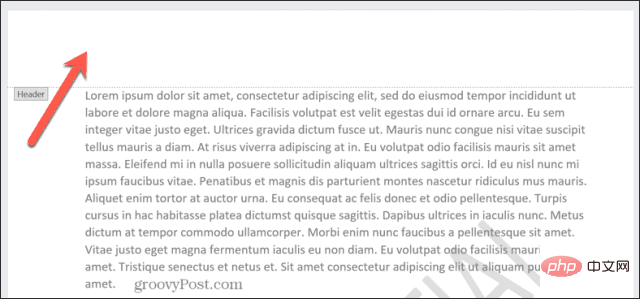
- Double-click the top of the page to open the header and footer.

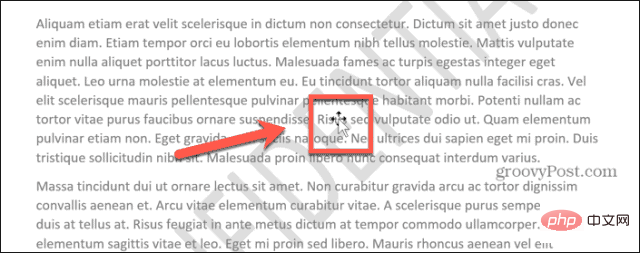
- Hover your mouse over the watermark until the cursor changes to a four-way arrow. If this doesn't happen automatically, try clicking on the watermark.

- After the cursor changes to a four-way arrow, click the watermark to select it.

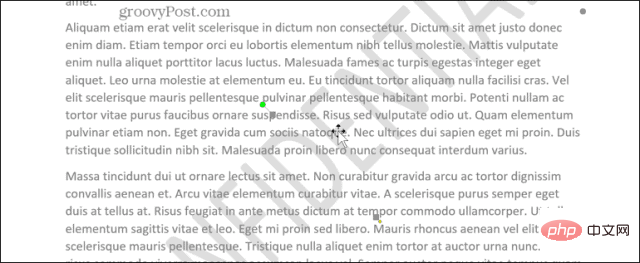
- Press the Delete key on your keyboard to delete the watermark.
- Repeat the process for any other watermarks on the page.
- Click to close the header and footer to return to editing the document normally.

How to Remove Watermark on Mac
If you are using Word on a Mac, these steps are slightly different than on Windows. Try removing the watermark again through the Design menu, or try removing the watermark manually through the header and footer if that doesn't work.
How to remove a watermark using the Design menu
The Design menu is where you can create a watermark for your Word document, and you should be able to remove the watermark through the same menu.
To remove a watermark from a Word document using the Design menu on Mac:
- Click the Design menu.

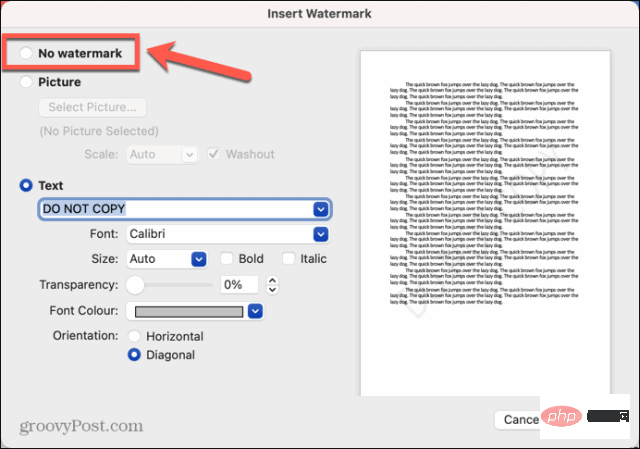
- In the ribbon, click the Watermark tool.

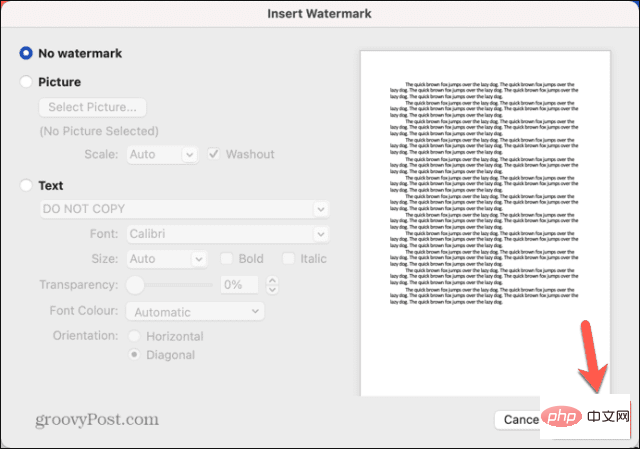
- Select the No watermark radio button.

- Click OK.

- Your watermark should be removed. If not, try the following.
How to remove watermark using header and footer
You can also remove watermark manually. In order to select the watermark instead of the document text, you need to enter header and footer editing mode.
To remove a watermark using headers and footers:
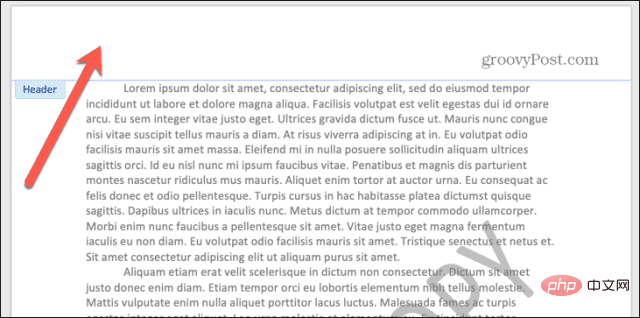
- Double-click the top of the document to open the headers and footers.

- Click on the watermark and a box will appear around the watermark.

- Hover your mouse over one of the borders of the box until a four-way arrow appears.

- Click again and the watermark will be selected.
- Press the Backspace key on your keyboard.
- Your watermark should now be removed.
- Remove any other watermarks and click to close the header and footer.

- You can now continue editing your Word document as normal.
Create Microsoft Word Document
Learning how to remove watermarks from Word documents can ensure that the finished document looks exactly how you want it. There are many other techniques to make your Word document look exactly like you imagined it in your head.
The above is the detailed content of How to remove watermark from Word document. For more information, please follow other related articles on the PHP Chinese website!


