Home >Web Front-end >Front-end Q&A >How to achieve mouse hiding effect in css3
How to achieve mouse hiding effect in css3
- WBOYWBOYWBOYWBOYWBOYWBOYWBOYWBOYWBOYWBOYWBOYWBOYWBOriginal
- 2022-04-27 17:20:583172browse
In CSS, you can use the cursor attribute to achieve the mouse hiding effect. This attribute is used to define the cursor shape used when the mouse pointer is placed within the boundary of an element. When the attribute value is set to none, this can be achieved. Mouse hiding effect, the syntax is "element {cursor:none}".

The operating environment of this tutorial: Windows 10 system, CSS3&&HTML5 version, Dell G3 computer.
How to achieve the mouse hiding effect in css3
The cursor attribute defines the cursor shape used when the mouse pointer is placed within the boundary of an element
Common mouse styles are as follows:
urlThe URL of the custom cursor to be used. Note: Always define a normal cursor at the end of this list in case there is no cursor defined by URL available.
default Default cursor (usually an arrow)
auto Default. The cursor set by the browser.
crosshair The cursor is rendered as crosshairs.
pointer The cursor appears as a pointer (a hand) indicating a link
move This cursor indicates that an object can be moved.
e-resize This cursor indicates that the edge of the rectangular box can be moved to the right (east).
ne-resize This cursor indicates that the edge of the rectangular box can be moved up and to the right (North/East).
The example is as follows:
<!DOCTYPE html>
<html>
<head>
<meta charset="utf-8">
<title>123</title>
</head>
<style>
div{height:150px;
width:150px;
border:1px solid #000;}
</style>
<body>
<p>请把鼠标移动到元素上,可以看到鼠标指针发生变化:</p>
<div style="cursor:none"></div>
</body>
</html>
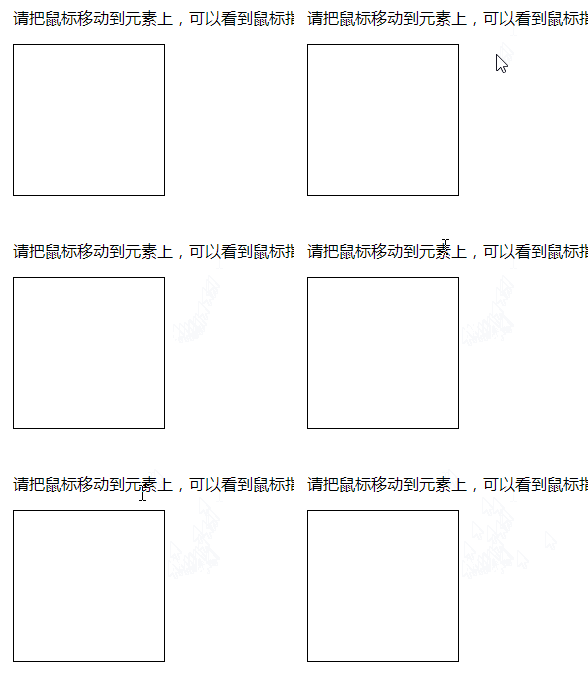
Output result:

(Learning video sharing: css video Tutorial)
The above is the detailed content of How to achieve mouse hiding effect in css3. For more information, please follow other related articles on the PHP Chinese website!

