Home >Database >Mysql Tutorial >How to solve mysql 1053 error
How to solve mysql 1053 error
- 藏色散人Original
- 2021-12-22 11:54:239617browse
Mysql 1053 error solution: 1. Uninstall the service through the "mysqld-nt remove mysqlservice" command; 2. Re-register the service; 3. Restart MYSQL.

The operating environment of this article: Windows 7 system, mysql8.0.22 version, Dell G3 computer.
How to solve the mysql 1053 error problem?
Solution to MySQL startup 1053 error
When creating the mysql service, the system has prompted that the service was created successfully, but the net start mysql command prompts that the startup failed, and Error 1053 is prompted in services.msc
Solution 1:
Some people on the Internet say that the "Login" tab of the service should be set to administrator;
Some people also say It is said that the service needs to be deleted first and then re-created (you can consider these two aspects first);
But after trying it, I found that it did not work. After checking, I found that it was still caused by the mysqld --install command. The main reason
is that the path pointed to by --defaults-file cannot be within single quotes, but must be within double quotes. In short, replace the single quotes with double quotes and the problem is solved.
Make a career It’s really not easy for a webmaster. I saw that the service was a little stuck. I restarted it, but I didn’t expect that MYSQL would fail!
MYSQL 1053 error solution:
Use the
step on the DOS command line:
mysqld-nt remove mysqlservice
to uninstall this service, it prompts that the uninstallation was successful. , (means success in English)
Second step:
mysqld-nt install mysqlservice
Re-register for the service and everything will return to normal.
(It will also show success in English)
The third step:
Open the service>>>>Disable MYSQL>>>>Restart MYSQL
It will be OK
Solution 2:
Problems encountered:
Windows cannot start the MYSQL80 service Error 1053: The service did not respond to the startup or control request in a timely manner
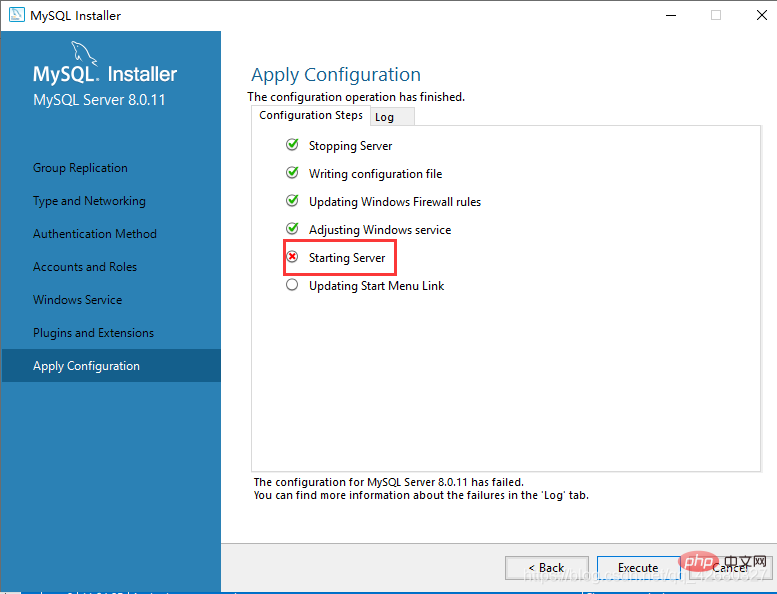
1. In the last step of installing MySQL, when configuring to start the MySQL service, MySQL failed to start, as follows:

2. On my computer - >Right-click->Management->Services and Applications->Find the MySQL80 service in the service, right-click to start, and the error is as shown below:

3. Because of the editor In the recently installed operating system, insufficient permissions have appeared before, so the first step is to locate the fault as a permissions issue. Because the MySQL80 service displays the account number in Computer Management->Services as: Network Service. As shown below:

Method:
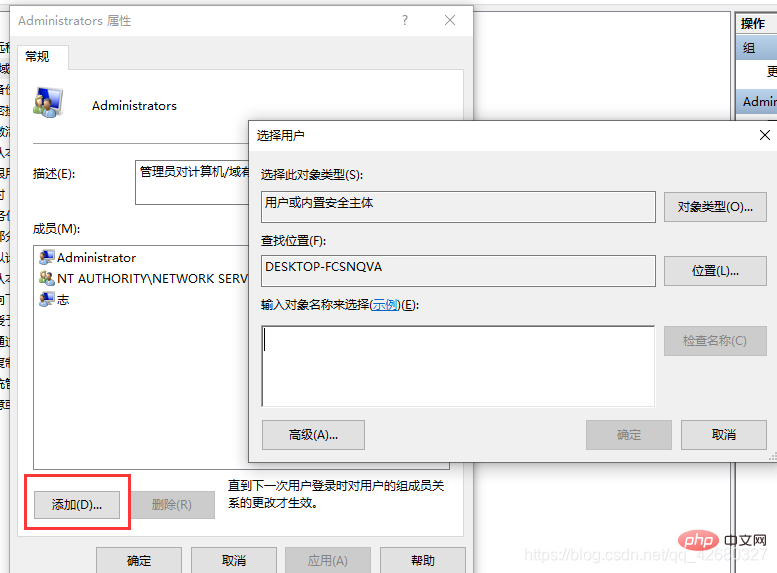
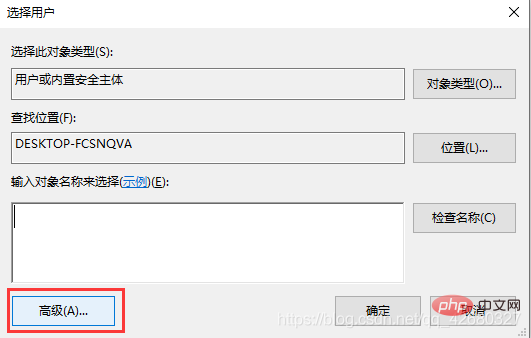
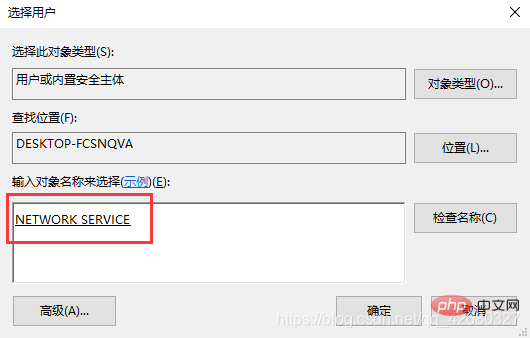
1. In order to increase the network service permissions, you need to add the network service to the administrator group. The steps are as follows:
(1), Computer->Management->Local Users and Groups->Group, double-click, the effect is as follows:


mysql video tutorial]
The above is the detailed content of How to solve mysql 1053 error. For more information, please follow other related articles on the PHP Chinese website!

