Home >Web Front-end >CSS Tutorial >How to use css positioning attribute (detailed explanation with examples)
How to use css positioning attribute (detailed explanation with examples)
- WBOYWBOYWBOYWBOYWBOYWBOYWBOYWBOYWBOYWBOYWBOYWBOYWBforward
- 2021-12-20 16:26:333212browse
This article brings you relevant knowledge about the position positioning attribute in CSS. Position is used as an attribute to specify the positioning type of an element. Different attribute values have different positioning styles. I hope it will be helpful to everyone.

Position
background-position Background position
If, when it comes to floating, the key lies in the word "floating", then the key to our positioning lies in a "position".
PS: Positioning is one of the most difficult aspects of our CSS, but you must learn it well. Our CSS is inseparable from positioning, especially the subsequent js special effects, which we deal with positioning every day. Don't resist it, but fall in love with it. It can make our work easier!
Why use positioning?
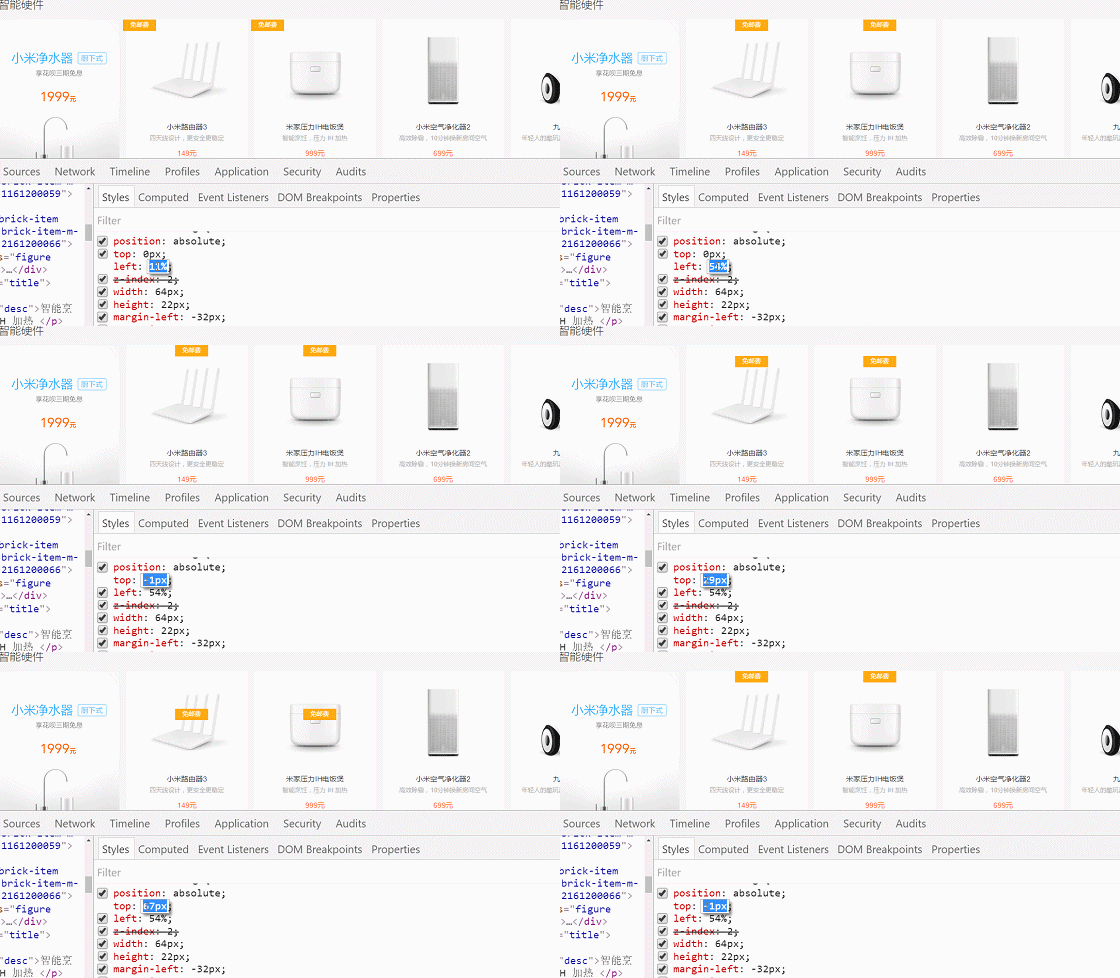
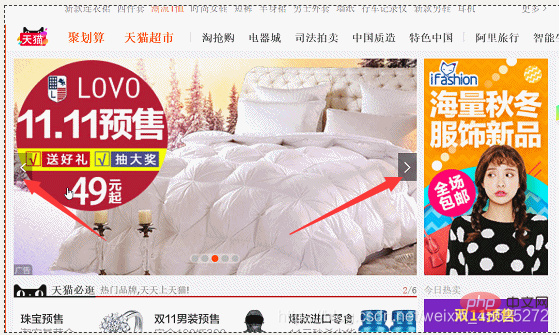
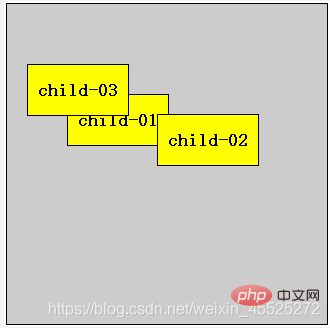
So positioning, where is the longest application scenario? Take a look at a few pictures, you will definitely have some insights!
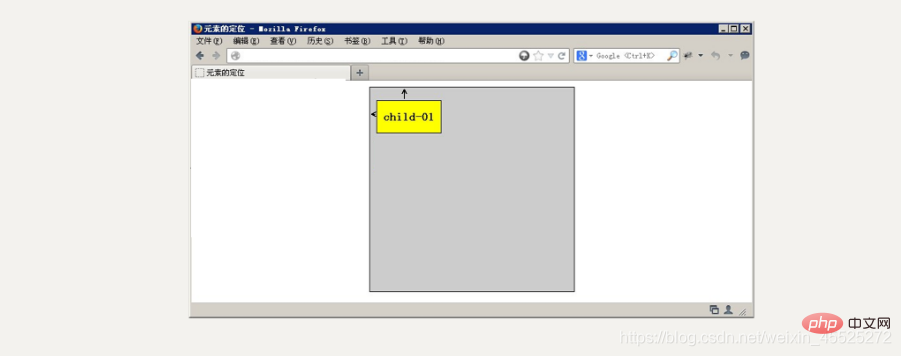
The small yellow block can be moved on the picture:

Press the left and right arrows on the picture:

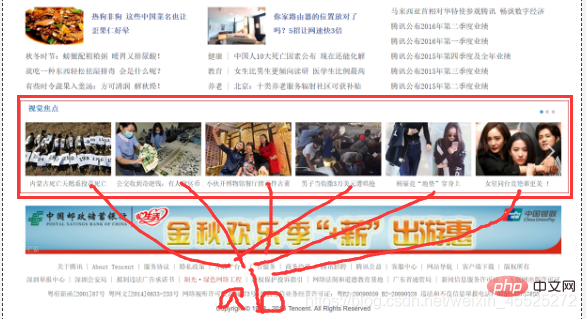
hot There is an extra piece outside the box, which is more prominent:

If you use standard streams or floats in the above three small places, the implementation will be more complicated. Or it is difficult to achieve, at this time we use positioning to do it.
Positioning attributes of elements
Positioning attributes of elements mainly include positioning mode and edge offset.
1. Edge offset
| Edge offset attribute | Description |
|---|---|
| top | Top offset, defines the distance of the element relative to the upper edge of its parent element |
| bottom | Bottom offset Amount, defines the distance of the element relative to the bottom line of its parent element |
| left | Left offset, defines the distance of the element relative to the left edge of its parent element |
| right | Right offset, defines the distance of the element relative to the right line of its parent element |
In other words, in the future, positioning will be used in conjunction with the offset here, such as top: 100px; left: 30px; etc.
2. Positioning mode (positioning classification)
In CSS , the position attribute is used to define the positioning mode of the element. Its basic syntax format is as follows:
Selector {position: attribute value;}
Common values for the position attribute
| Value | Description | ||
|---|---|---|---|
| Auto positioning (Default positioning method) | |||
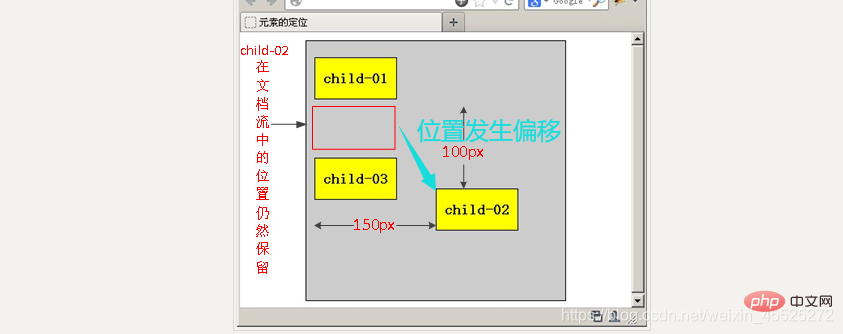
| Relative positioning, positioned relative to the position of its original document flow | |||
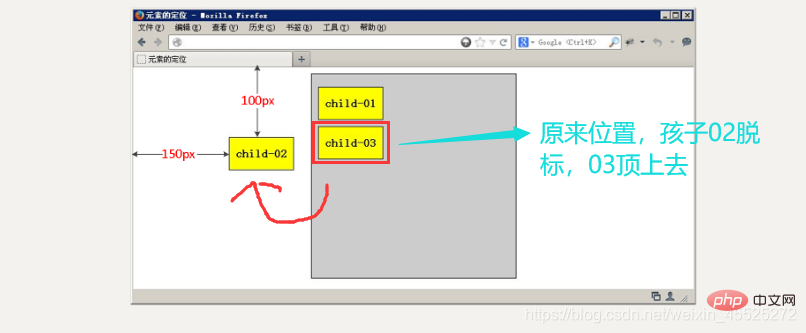
| Absolute positioning, positioned relative to its previous positioned parent element | |||
| Fixed positioning, positioned relative to the browser window |
| 定位模式 | 是否脱标占有位置 | 是否可以使用边偏移 | 移动位置基准 |
|---|---|---|---|
| 静态static | 不脱标,正常模式 | 不可以 | 正常模式 |
| 相对定位relative | 脱标,占有位置 | 可以 | 相对自身位置移动(自恋型) |
| 绝对定位absolute | 完全脱标,不占有位置 | 可以 | 相对于定位父级移动位置(拼爹型) |
| 固定定位fixed | 完全脱标,不占有位置 | 可以 | 相对于浏览器移动位置(认死理型) |
定位模式转换
跟 浮动一样, 元素添加了 绝对定位和固定定位之后, 元素模式也会发生转换, 都转换为行内块模式,
行内块 的宽度和高度 跟内容有关系
** 因此 比如 行内元素 如果添加了 绝对定位或者 固定定位后 浮动后,可以不用转换模式,直接给高度和宽度就可以了。**
顺丰案例

<!DOCTYPE html><html lang="en"><head>
	<meta charset="UTF-8">
	<title>Document</title>
	<style>
		* {
			margin: 0;
			padding: 0;
		}
		.sf {
			width: 1259px;
			height: 472px;
			margin: 100px auto;
			position: relative;
		}
		.nav {
			width: 960px;
			height: 80px;
			background-color: #000;
			position: absolute;
			bottom: 0;
			left: 50%;
			margin-left: -480px;
		}
		.nav li {
			list-style-type: none;
			width: 160px;
			height: 80px;
			float: left;
		}
		.nav li a {
			width: 160px;
			height: 80px;
			display: block;
			text-align: center;
			line-height: 80px;
			color: #fff;
			text-decoration: none;
		}
		.nav li a:hover {
			color: #000;
			background-color: #fff;
		}

	</style></head><body>
	<p class="sf">
		<a href="#">
			<img src="/static/imghwm/default1.png"  data-src="images/sf.png"  class="lazy"   alt=""    style="max-width:90%"  style="max-width:90%">
		</a>
		<p class="nav">
			<ul>
				<li><a href="#">快递查询</a></li>
				<li><a href="#">快递查询</a></li>
				<li><a href="#">快递查询</a></li>
				<li><a href="#">快递查询</a></li>
				<li><a href="#">快递查询</a></li>
				<li><a href="#">快递查询</a></li>
			</ul>

		</p>
</p></body></html>(学习视频分享:css视频教程)
The above is the detailed content of How to use css positioning attribute (detailed explanation with examples). For more information, please follow other related articles on the PHP Chinese website!


