Home >Web Front-end >CSS Tutorial >How to set mouse prohibition style in css3
How to set mouse prohibition style in css3
- WBOYWBOYWBOYWBOYWBOYWBOYWBOYWBOYWBOYWBOYWBOYWBOYWBOriginal
- 2021-12-15 16:57:569947browse
In CSS, you can use the "cursor" attribute to set the mouse-disabled style. This attribute is used to set the cursor shape displayed by the mouse. When the value of the attribute is set to "not-allowed", the mouse can be disabled. Set to prohibit style, the syntax is "element {cursor:not-allowed;}".

The operating environment of this tutorial: Windows 10 system, CSS3&&HTML5 version, Dell G3 computer.
How to set the mouse prohibition style in css3
In css, if you want to set the mouse prohibition style, you need to use the cursor attribute.
The cursor attribute specifies the type (shape) of the cursor to be displayed.
This attribute defines the cursor shape used when the mouse pointer is placed within the boundary of an element.
You only need to add the cursor:not-allowed; style to the element to set the cursor when the mouse is on the element. The mouse style is prohibited style.
The example is as follows:
<!DOCTYPE html>
<html lang="en">
<head>
  <meta charset="UTF-8">
  <meta name="viewport" content="width=device-width, initial-scale=1.0">
  <meta http-equiv="X-UA-Compatible" content="ie=edge">
  <title>Document</title>
  <style>
  div{
    cursor:not-allowed;
    width:150px;
    height:150px;
    border:1px solid #000;
  }
  </style>
</head>
<body>
  <div></div>
</body>
</html>
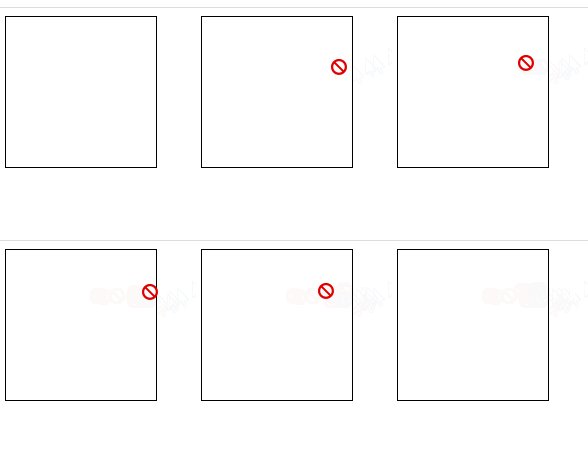
Output result:

(Learning video sharing: css video tutorial)
The above is the detailed content of How to set mouse prohibition style in css3. For more information, please follow other related articles on the PHP Chinese website!

