Home >Web Front-end >JS Tutorial >Detailed explanation of root templates and attribute templates in Angular
Detailed explanation of root templates and attribute templates in Angular
- 青灯夜游forward
- 2021-06-01 11:19:382041browse
This article will introduce to you the root template and feature template in Angular10. It has certain reference value. Friends in need can refer to it. I hope it will be helpful to everyone.

The premise is that
Angular cliis installed. Most of the following file creation depends onInstructions provided by cli
# Feature template and root template (AppModule) in Angular
The difference is that feature templates can divide applications. My personal understanding is similar to componentization1. Instructions for creating feature templates
ng g module article, what is used here is ng g module article --routing can generate a article-routing.module.ts routing file. [Related tutorial recommendations: "angular tutorial"]2. At this time,
will create another folder under the app folder article, article folder contains two files article.module.ts and article-routing.module.ts 3. Use
to generate two components, specify the template as article, and the specified template will be automatically imported into article.modules.ts , and registered to the declarations array, Note: Do not delete the components registered in declarations, otherwise some of the components specified in the component will not be available
- ng g component Description
- ng g component article/article-list -m=article
- , generated in the
articlefolderarticle-listFolder component ng g component article/article-create -m=article - , generated under the
articlefolderarticle-createFolder component 4,
In the feature module generated by the CLI, there are two JavaScript imports at the top of the file Statement: The first one imports NgModule, which allows you to use the @NgModule decorator just like in the root module; the second one imports CommonModule, which Many common directives like ngIf and ngFor are provided. Feature modules import CommonModule, not BrowserModule, which should only be imported once in the root module. CommonModule only contains information about commonly used directives, such as ngIf and ngFor, which are used in most templates, while BrowserModule Application configurations made for the browser are only used once. <pre class="brush:js;toolbar:false;">import { NgModule } from &#39;@angular/core&#39;;
import { CommonModule } from &#39;@angular/common&#39;;
import { ArticleRoutingModule } from &#39;./article-routing.module&#39;;
import { ArticleListComponent } from &#39;./article-list/article-list.component&#39;;
import { ArticleCreateComponent } from &#39;./article-create/article-create.component&#39;;
@NgModule({
declarations: [ArticleListComponent, ArticleCreateComponent],
imports: [
CommonModule,
ArticleRoutingModule
]
})
export class ArticleModule { }</pre>5,
, Routing address nested configuration, the address setting here is because in app-routing.module The routing prefix of the current module has been set in the root routing module to article, so the following routes only need to be set directly. When accessing, bring the routing prefix set by the root routing.
- article
- , the setting here is
list, and the access address needs to bearticle/list -

import { NgModule } from '@angular/core'
import { Routes, RouterModule } from '@angular/router'

import { ArticleListComponent } from './article-list/article-list.component'
import { ArticleCreateComponent } from './article-create/article-create.component'
const routes: Routes = [
    {
        path: '',
        children: [
            {
                path: '',
                pathMatch:'full',
                redirectTo: '/article/list'
            },
            {
                path: 'list',
                component: ArticleListComponent
            },
            {
                path: 'create',
                component: ArticleCreateComponent
            }
        ]
    }
]
@NgModule({
    imports: [RouterModule.forChild(routes)],
    exports: [RouterModule]
})
export class ArticleRoutingModule {}
6. Root module
, import the app-routing.module file, which can be configured Global routing <pre class="brush:js;toolbar:false;">import { HttpClientModule } from &#39;@angular/common/http&#39;;
import { NgModule } from &#39;@angular/core&#39;;
import { FormsModule } from &#39;@angular/forms&#39;;
import { BrowserModule } from &#39;@angular/platform-browser&#39;;
import { AppRoutingModule } from &#39;./app-routing.module&#39;
import { AppComponent } from &#39;./app.component&#39;;
@NgModule({
declarations: [
AppComponent
],
imports: [
BrowserModule,
FormsModule,
HttpClientModule,
AppRoutingModule
],
providers: [],
bootstrap: [AppComponent]
})
export class AppModule { }</pre>7, root module routing
loadChildren uses the lazy loading feature module default In this case, NgModule is loaded urgently, which means that it will be loaded as soon as possible when the application is loaded. This is true for all modules, whether they are needed immediately or not. For larger applications with many routes, consider using lazy loading - a pattern of loading NgModule on demand. Lazy loading reduces the initial bundle size and therefore load time. <pre class="brush:js;toolbar:false;">import { NgModule } from &#39;@angular/core&#39;
import { Routes, RouterModule } from &#39;@angular/router&#39;
import { LoginComponent } from &#39;./login/login.component&#39;
const routes: Routes = [
{ path: &#39;login&#39;, component: LoginComponent },
{
path: &#39;article&#39;,
loadChildren: () => import(&#39;./article/article.module&#39;).then((m) => m.ArticleModule)
}
]
@NgModule({
imports: [RouterModule.forRoot(routes)],
exports: [RouterModule]
})
export class AppRoutingModule {}</pre>8. Finally, if you want to access the
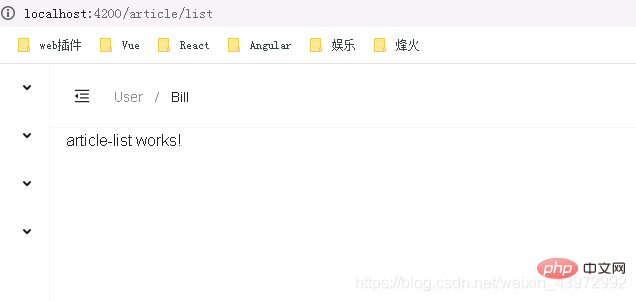
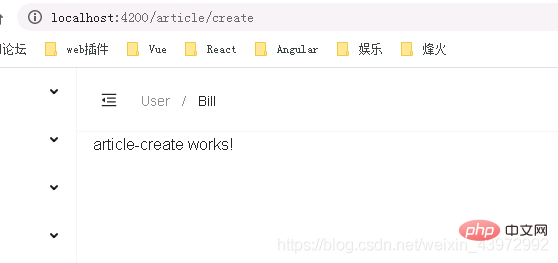
and create routes below article, enter the address article/list in the browser
- article/list
-
 or article/create
 -
 For more programming-related knowledge, please visit:
The above is the detailed content of Detailed explanation of root templates and attribute templates in Angular. For more information, please follow other related articles on the PHP Chinese website!
Related articles
See more- A brief discussion on how to import local JSON files in Angular
- A brief discussion on the relationship between controllers, services and instructions in Angular
- A brief discussion on 4 ways of angular controller communication
- Detailed explanation of several ways to add css classes to HTML elements in angular
- A brief discussion on the 4 design patterns in angular instructions

