Home  >  Article  >  Topics  >  Detailed pictures and texts explain how to configure the pagoda panel and build a website

Detailed pictures and texts explain how to configure the pagoda panel and build a website

藏色散人
藏色散人forward
2021-05-17 16:53:0913303browse

The following is the Pagoda panel tutorial column to introduce to you how to configure the Pagoda panel and build a website. I hope it will be helpful to friends in need!
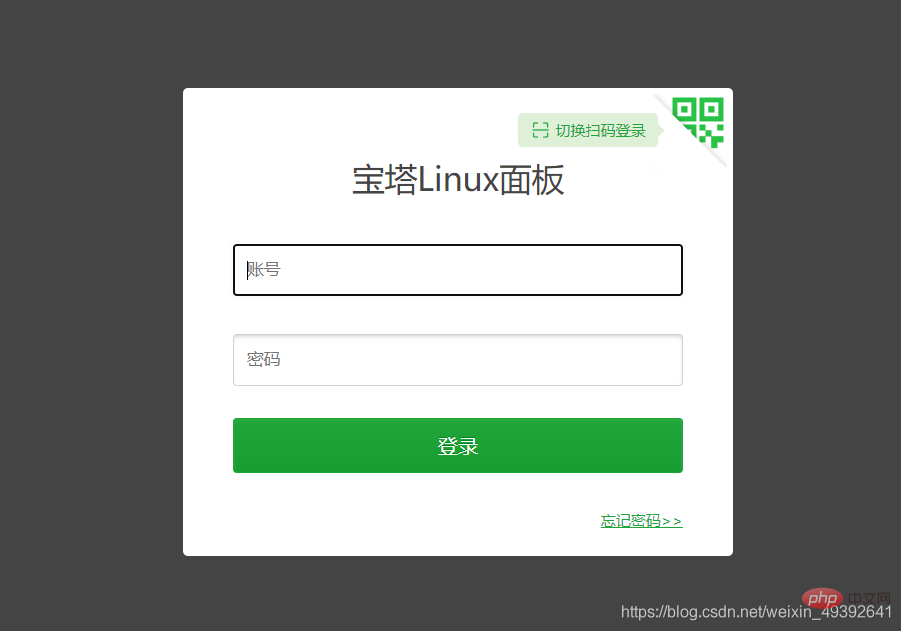
##1. Configure the Pagoda panel

1. Log in to the Pagoda website

Detailed pictures and texts explain how to configure the pagoda panel and build a website

Detailed pictures and texts explain how to configure the pagoda panel and build a website

2. Configure the Pagoda Panel

1. Click on the software store to download the required software and find the corresponding version.

Detailed pictures and texts explain how to configure the pagoda panel and build a website

1. Build a website

1. Click on the website

Detailed pictures and texts explain how to configure the pagoda panel and build a website

2. Configure your own website Port

1.Set your own domain name and root directory storage location

Domain name: Please fill in the real domain name if online,

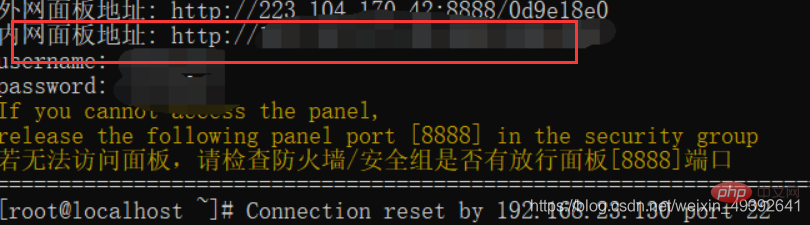
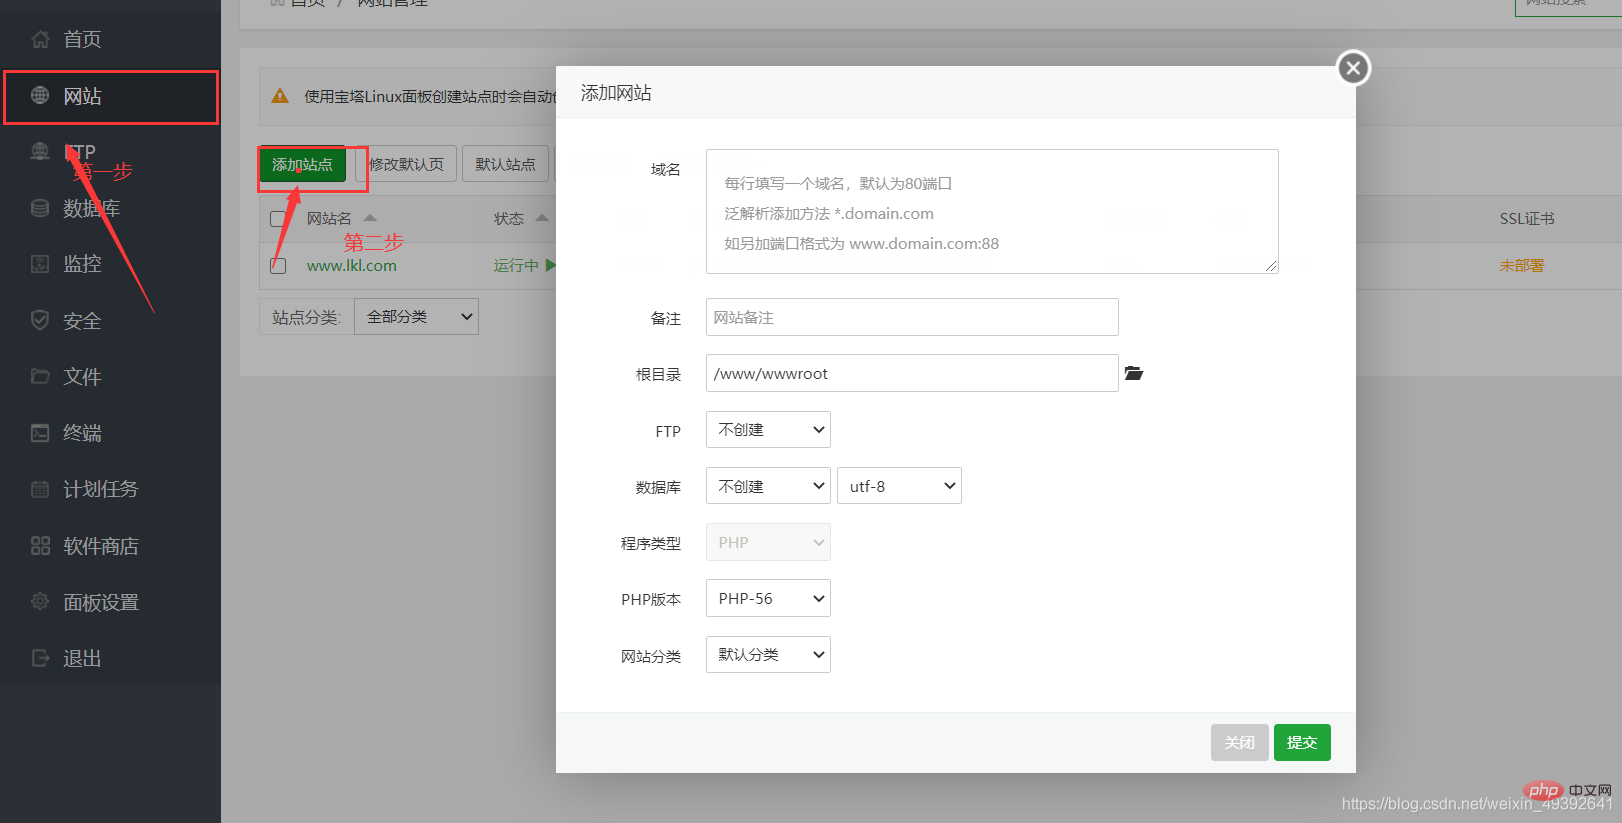
Please fill in the ip address offline Remarks:
Fill in the root by yourself Directory: The default is the website domain name folder
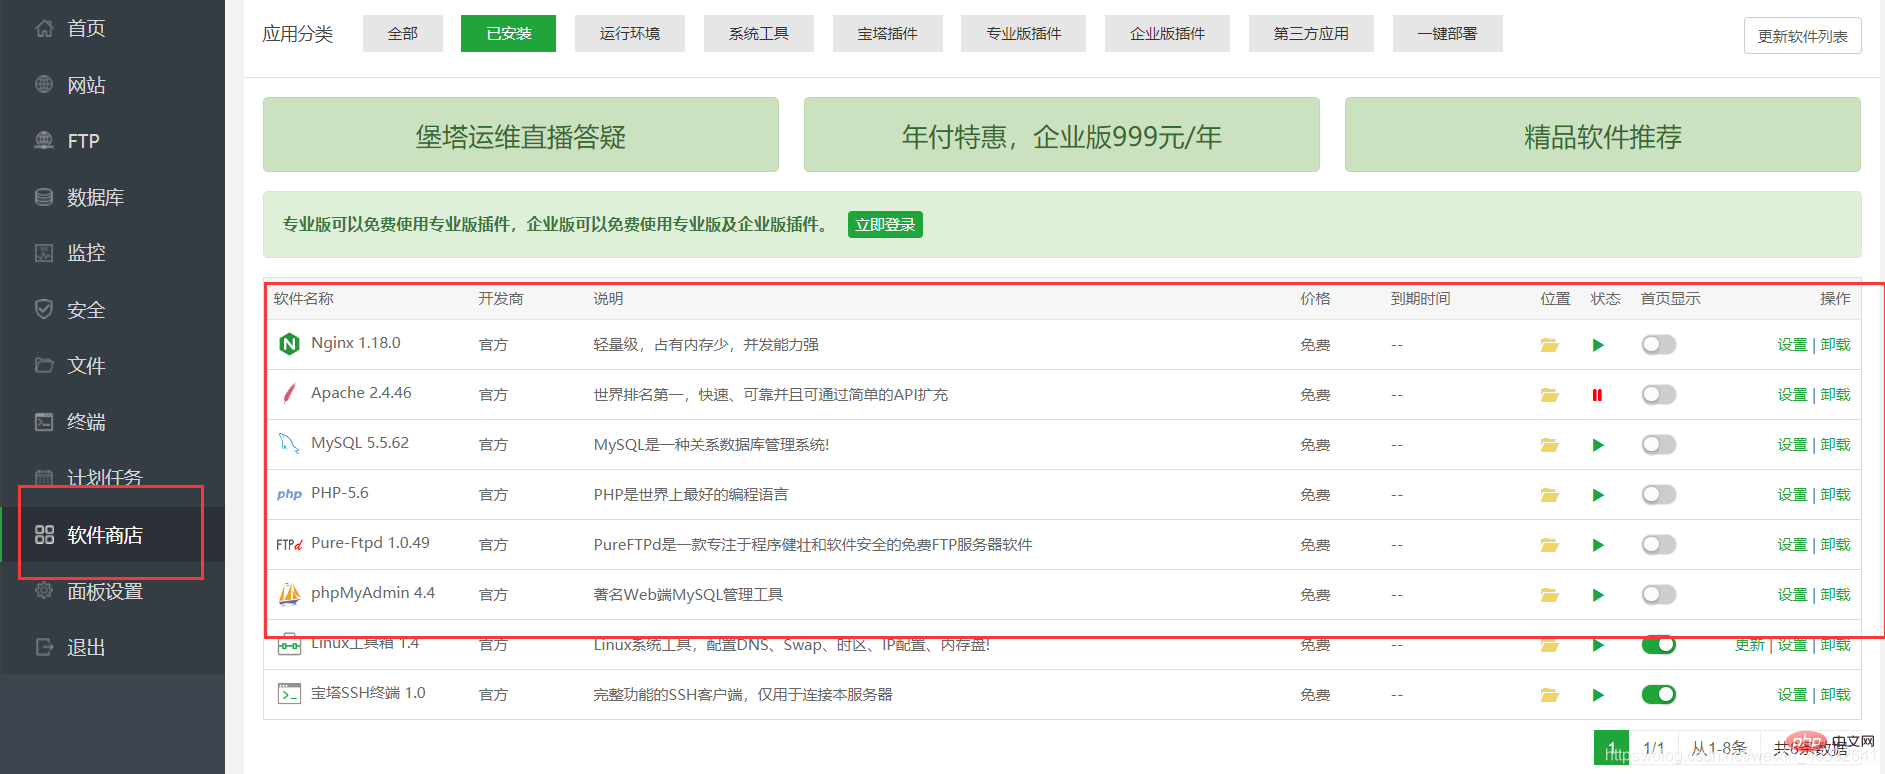
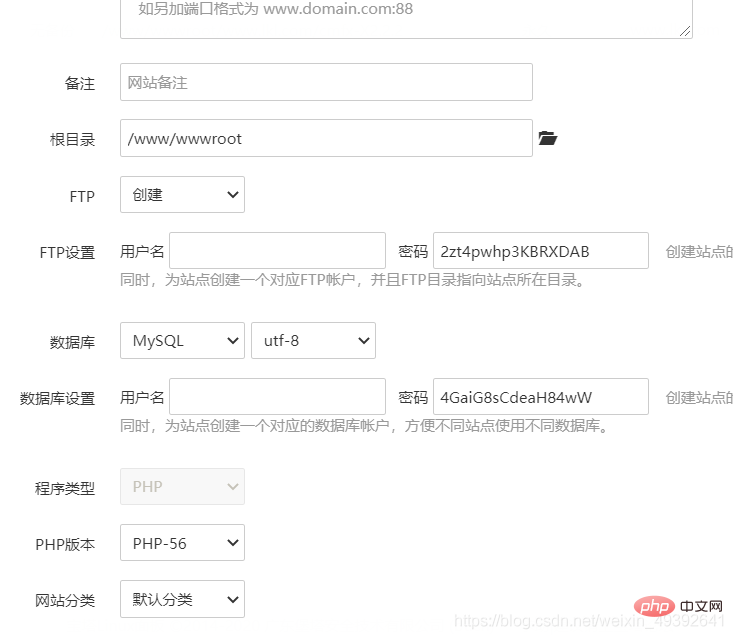
FTP: Choose to create FTP: Set the user name and password, I personally think it is better to use the ones provided by the system
Database: Select mysql, other information can be defaulted, the database user name and password can be You can set the subsequent parameters by yourself without making any changes. After the addition is successful, you will be prompted for the username and password of the database and FTP. You can keep the record. If you forget it, you can check it on the FTP and database on the left side of the panel;

Detailed pictures and texts explain how to configure the pagoda panel and build a website

2. Open the domain name

Click on the website to find the website name, click


Detailed pictures and texts explain how to configure the pagoda panel and build a website 
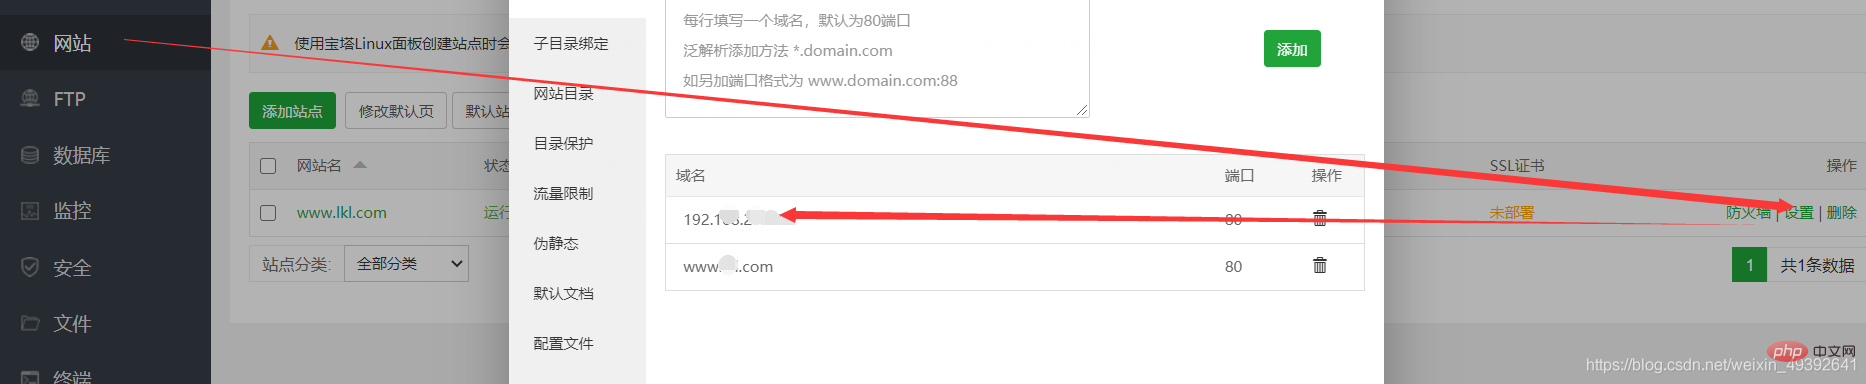
and then select the domain name to open

Detailed pictures and texts explain how to configure the pagoda panel and build a website
Detailed pictures and texts explain how to configure the pagoda panel and build a website 
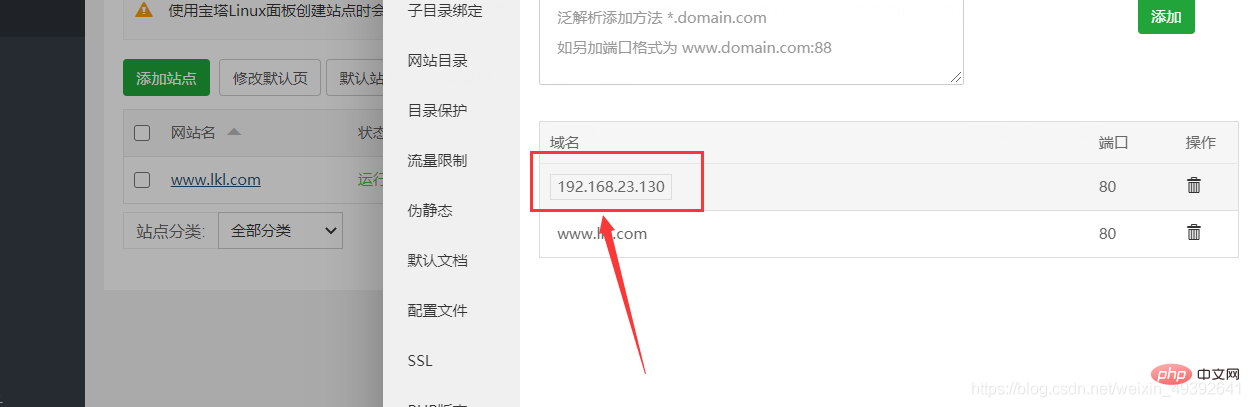
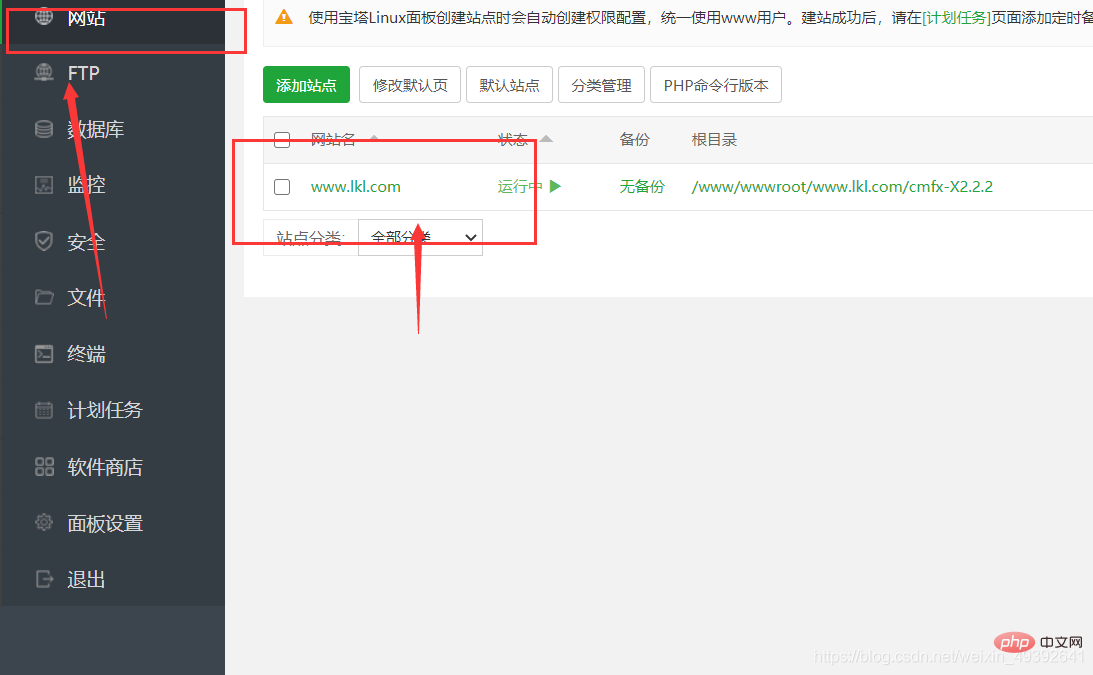
In this way, the creation is successful

2. Change the site file to place the project code

1. We download the thinkphp3.2 version code package from the thinkphp official website, select "File" on the left side of the panel, and then Click "Upload"

Detailed pictures and texts explain how to configure the pagoda panel and build a website

5. Unzip the file
Select the code compression package we have downloaded to upload. After the upload is successful, we will decompress the package. , place the mouse on the package name and see an unzip button on the right, click it and then unzip.


Detailed pictures and texts explain how to configure the pagoda panel and build a website

So our wwwroot directory has three folders, one is generated by the website we just created, one is the default that comes with the system, and the other is the one we just decompressed ; Next, delete the directory generated by the website we created (the deleted files can be found in the recycle bin), return to "Website", and select "Settings" on the website we created

2. Open Website

Detailed pictures and texts explain how to configure the pagoda panel and build a website 
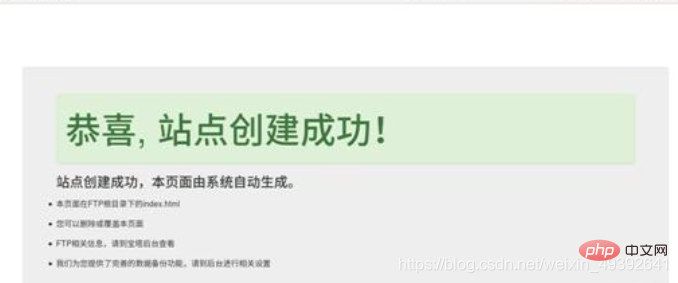
Click the domain name to open the

Detailed pictures and texts explain how to configure the pagoda panel and build a website website in the browser, and the website is successfully built.

The above is the detailed content of Detailed pictures and texts explain how to configure the pagoda panel and build a website. For more information, please follow other related articles on the PHP Chinese website!

Statement:
This article is reproduced at:csdn.net. If there is any infringement, please contact admin@php.cn delete