How to install, start and configure Redis under windows
- coldplay.xixiforward
- 2020-12-11 17:50:0919386browse
Redis usage tutorialThe column introduces how to install Redis under windows

Recommended (free):Redis usage tutorial
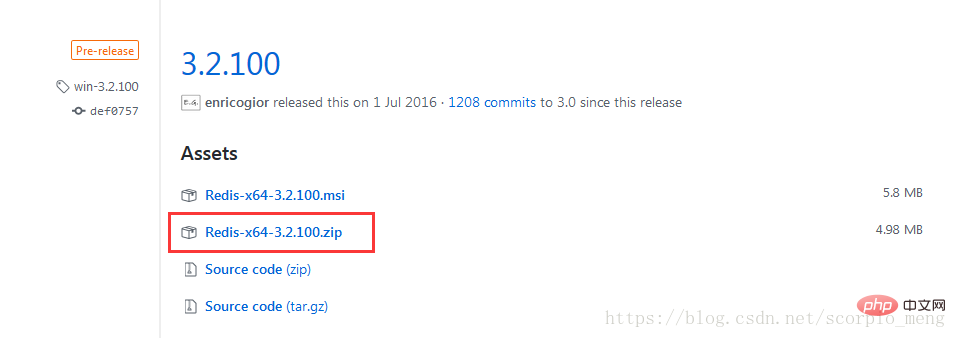
1, download address: https://github.com/MicrosoftArchive/redis/releases

2, unzip it in the folder Create two folders dbcache and logs.
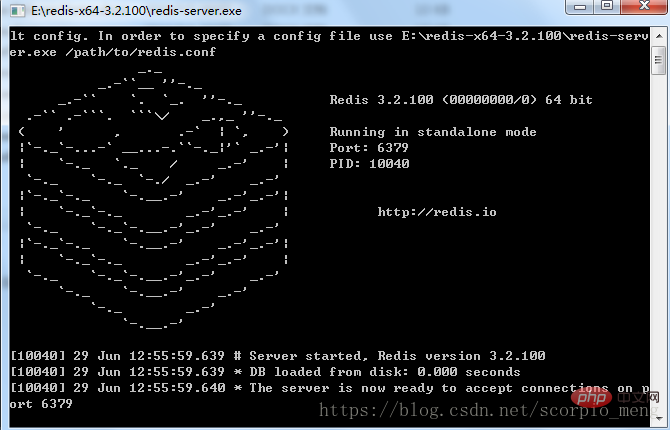
3. Double-click redis-server.exe to start redis. The following picture indicates that the startup is successful.

#4. The above startup is generally used to detect whether redis can be started successfully. If successful, next, redis must be registered as a system service and placed in the "Service" item middle.
Open the command line, enter the redis directory, execute redis-server.exe --service-install redis.windows.conf --loglevel verbose, and then view "Service". In addition, configure the environment variables and add the redis path to the path.

#If started through the command line, the service will also be closed after the command window is closed.
5, configuration of the redis.windows.conf file (the name in Linux is redis.conf), only 5 basic parameters are configured here:
daemonize no Configure whether redis runs in the background
pidfile /var/run/redis_6379.pid Set the process saving path
logfile "./logs/logfile.log" Log saving directory
databases 16 Number of databases supported
dir ./dbcache The directory where data files are saved
6. In the service item, start redis, and use netstat -ano on the command line to check whether port 6379 is started

7, connect redis through the command line, enter redis-cli

8, set a data

9. Check the logs folder and dbcache folder. If there are logfile.log and dump.rdb, it means the configuration is successful and the operation is normal.
The above is the detailed content of How to install, start and configure Redis under windows. For more information, please follow other related articles on the PHP Chinese website!

