Home >Web Front-end >JS Tutorial >JS resumable file upload implementation tutorial
JS resumable file upload implementation tutorial
- Guanhuiforward
- 2020-07-30 18:00:543759browse

When I first started learning front-end development, I encountered a problem with file uploading, and I also asked to be able to resume the upload at a broken point. After checking a lot of information, we found that H5's file API could just meet our needs. We also encountered some problems, so we recorded them to provide some help to friends with the same needs.
1. First, in order to introduce the file object, you need to place a file type input tag on the H5 page.
<input type="file" onchange="fileInfo()">
Display file related information after selecting a file:
 function fileInfo() {
   let fileObj = document.getElementById('file').files[0];
   console.log(fileObj);
 }
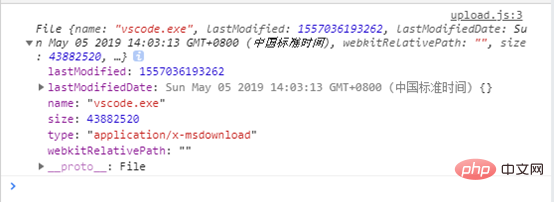
The object we obtained is itself an array. Only one file is selected here. If you need to select multiple files, you can add them in the input tag. multiple attribute. Now when we open the browser console, we can see that the last modification time, file size and file name of the file are output:

2. Okay, when we get After selecting the file object, you now need to upload the file to the server. You can simulate the form event for uploading. You need to introduce the FormData object. Secondly, due to HTTP restrictions on the file upload size, you need to upload the file into chunks and receive the file on the server. The blocks are then spliced into a whole, and finally a progress bar is needed to show the upload progress. After clarifying the idea, start to implement it:
First place a progress bar on the H5 page, and at the same time replace the event of selecting the file change with the function upload of uploading file blocks (starting to upload bytes), here We start uploading from the 0th byte, that is, starting from the beginning:
d815209e593ff09ed0198853188d4205
d2e3cd0a4d399cc573d29cee78bb5379a211cb70e7878dbce34a6f8dc0175647
Then implement the file block upload function:
// 文件切块大小为1MB
const chunkSize = 1024 * 1024;

// 从start字节处开始上传
function upload(start) {
  let fileObj = document.getElementById('file').files[0];
  // 上传完成
  if (start >= fileObj.size) {
    return;
  }
  // 获取文件块的终止字节
  let end = (start + chunkSize > fileObj.size) ? fileObj.size : (start + chunkSize);
  // 将文件切块上传
  let fd = new FormData();
  fd.append('file', fileObj.slice(start, end));
  // POST表单数据
  let xhr = new XMLHttpRequest();
  xhr.open('post', 'upload.php', true);
  xhr.onload = function() {
    if (this.readyState == 4 && this.status == 200) {
      // 上传一块完成后修改进度条信息,然后上传下一块
      let progress = document.getElementById('progress');
      progress.max = fileObj.size;
      progress.value = end;
      upload(end);
    }
  }
  xhr.send(fd);
}
Here, native JS is used to send a request to the server, the file is cut into pieces using the function slice (start position, end position), and then the file blocks are encapsulated into the FormData object to simulate the file upload of the form. In the background, I use PHP to receive data, and other back-end languages can also be used:
<?php // 追加文件块 $fileName = $_FILES['file']['name']; file_put_contents('files/' . $fileName, file_get_contents($_FILES['file']['tmp_name']), FILE_APPEND); ?>
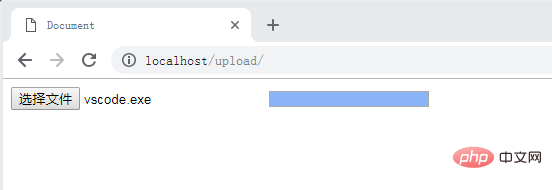
Here I created a new folder files and store the uploaded files here. The obtained file block content is in the form of append FILE_APPEND. So we open the browser to upload the file:

Then check whether the vscode.exe file is received under the files folder:

3. With the file upload function, we need to implement the breakpoint resume function. Based on the file cutting in the previous step, resuming the upload becomes very simple. If the network is suddenly disconnected or the browser is closed unexpectedly, incomplete files will be uploaded. We only need to query the server after selecting the file. The size of the same file name on the server, and then set the start upload position (bytes) to this size:
Define an initialization function first and then query the server for the size of the uploaded file after selecting the file:
// 初始化上传大小
function init() {
  let fileObj = document.getElementById('file').files[0];
  let xhr = new XMLHttpRequest();
  xhr.onreadystatechange = function() {
    if (this.readyState == 4 && this.status == 200) {
      // 将字符串转化为整数
      let start = parseInt(this.responseText);
      // 设置进度条
      let progress = document.getElementById('progress');
      progress.max = fileObj.size;
      progress.value = start;
      // 开始上传
      upload(start);
    }
  }
  xhr.open('post', 'fileSize.php', true);
  // 向服务器发送文件名查询大小
  xhr.send(fileObj.name);
}
Use fileSize.php on the server side to query the uploaded file size:
<?php
// 接收文件名
$fileName = file_get_contents('php://input');
$fileSize = 0;
$path = 'files/' . $fileName;
//查询已上传文件大小
if (file_exists($path)) {
$fileSize = filesize($path);
}
echo $fileSize;
?>Finally, change the onchange event of the input tag on the H5 page to init():
<input type="file" onchange="init()">
At the same time, upload the function There is no need to repeatedly set the maximum value of the progress bar, change it to:
// Modify the progress bar information after uploading a block, and then upload the next block
document.getElementById('progress').value = end;
upload(end);
Then open the browser and deliberately close the browser during the upload process. The next time you select the same file, you can resume the upload from the breakpoint position.
4. Although the file upload function that can be resumed at breakpoints has been implemented, the interface still needs to be beautified. The bootstrap framework is quoted here, which requires jquery. By the way, jquery's ajax is used instead of the native JS's ajax. It needs to be noted. The most important thing is that the processData and contentType properties of $.ajax must be set to false:
// POST表单数据
$.ajax({
  url: 'upload.php',
  type: 'post',
  data: fd,
  processData: false,
  contentType: false,
  success: function() {
    upload(end);
  }
});
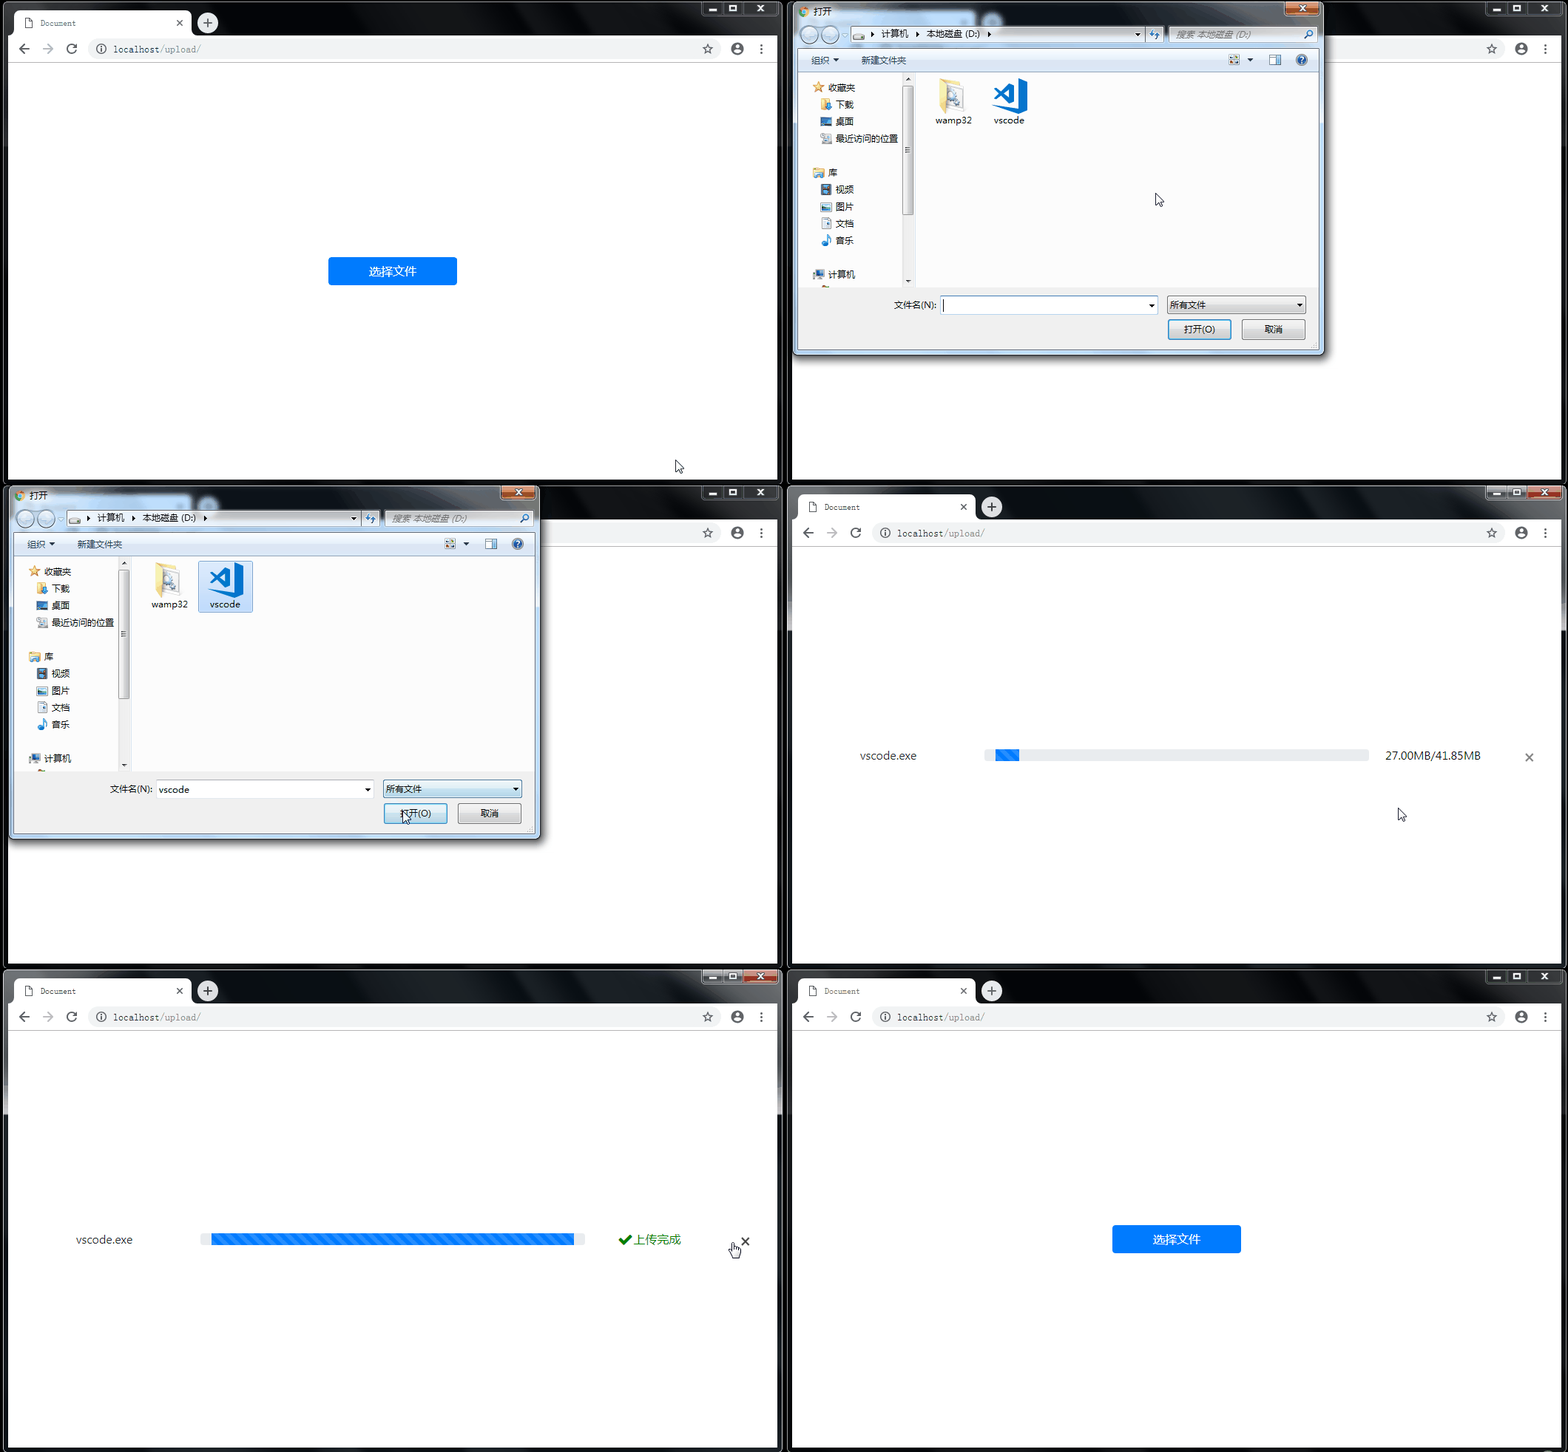
The final beautification rendering is as follows:

Recommended tutorial: " JS Tutorial》
The above is the detailed content of JS resumable file upload implementation tutorial. For more information, please follow other related articles on the PHP Chinese website!

