Home >Web Front-end >PS Tutorial >How to erase unwanted hair in PS
How to erase unwanted hair in PS
- 藏色散人Original
- 2019-08-13 09:19:1316853browse
psHow to erase unwanted hair?
To erase unwanted hair in PS, it is generally easier, more convenient and more effective to use the Spot Healing Brush tool. Adjust the size of the tool, apply it and then erase it. For more complex ones that are difficult to erase with the Spot Healing Brush Tool, you can use the Clone Stamp Tool or the Brush Tool, which requires certain operating skills. The specific method is as follows:
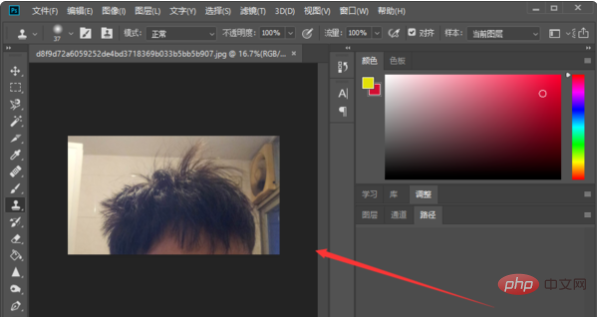
1. First open the PS software, and then open the picture that needs to be modified in PS, as shown in the figure below.
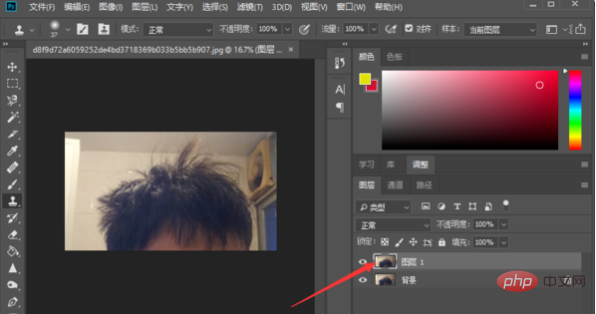
#2. Next, copy the background layer and perform the operation on the copied layer to avoid damaging the original layer, as shown in the figure below.
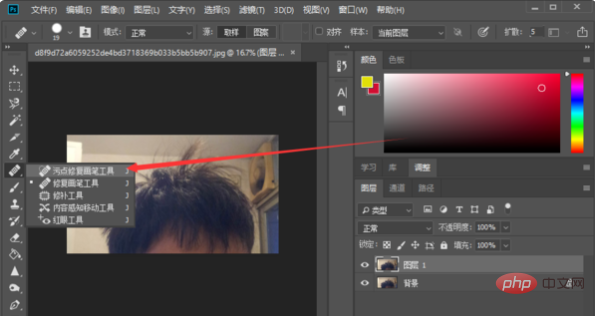
#3. Next, select the “Blemish Repair Tool” in the left toolbar and adjust the size, as shown in the figure below.
#4. Then you can operate on the layer. Hold down the left mouse button and smear on the area that needs to be eliminated, as shown in the picture below.
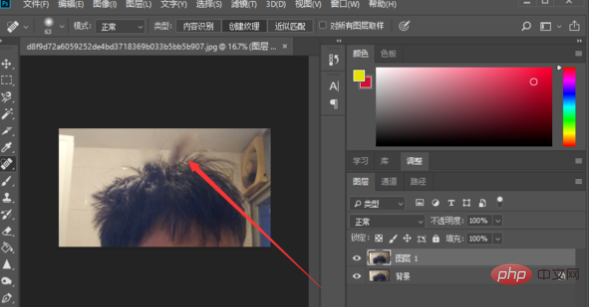
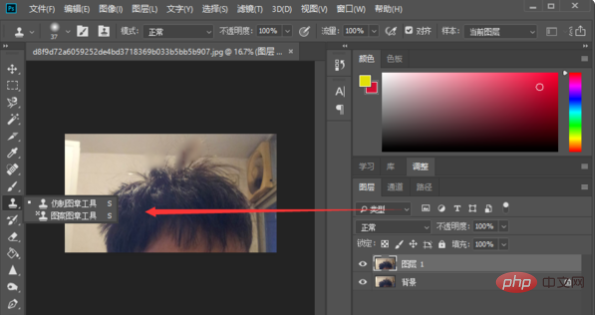
#5. You can also use the Clone Stamp Tool or the Brush Tool to operate. The method is to select the tool and then hold down the left mouse button on the area to be painted.
The above is the detailed content of How to erase unwanted hair in PS. For more information, please follow other related articles on the PHP Chinese website!

