这篇教程是向脚本之家的朋友介绍用Photoshop画直线的3种方法,教程比较基础,适合新手来学习,推荐到脚本之家,来看看吧
如何用Photoshop画直线呢?小编这就与您分享3种简单易学的方法!小编用的是Photoshop7.0,其它版本的方法基本一样,一起来看看吧!
方法1
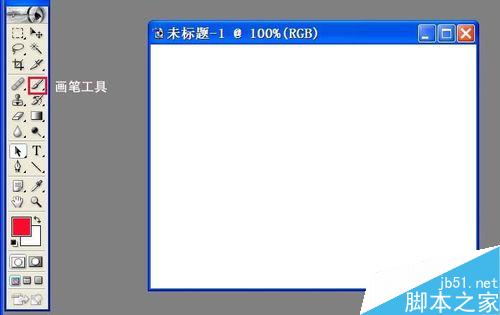
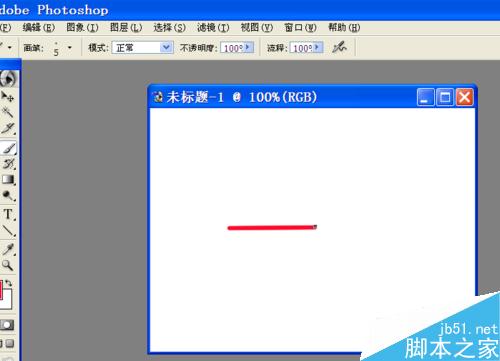
打开Photoshop软件,打开需绘制直线的图片,选择“画笔工具“。
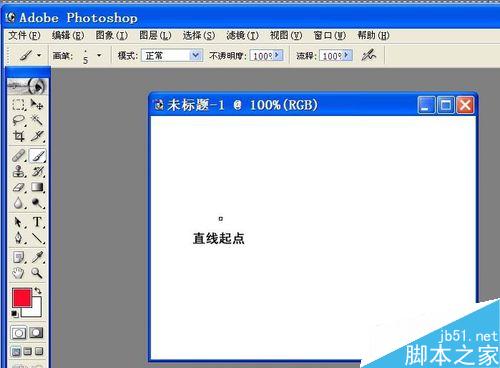
用鼠标点击所需直线的起点位置。
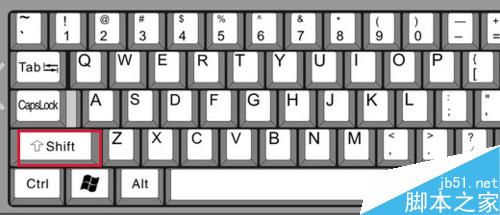
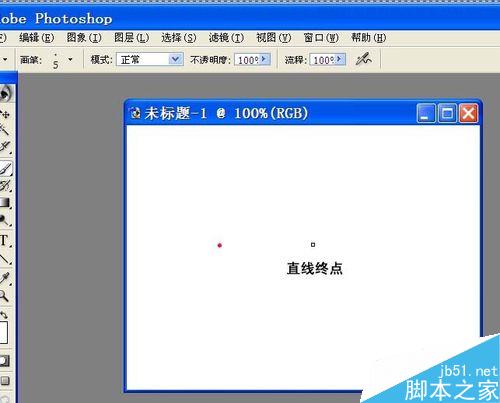
按住电脑键盘上的”shift“键,再点击所需直线的终点位置,一条直线就画好了。
方法2
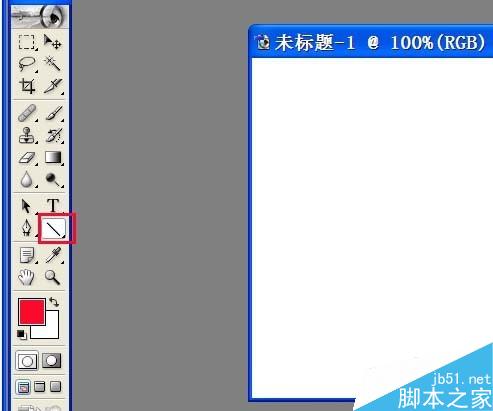
选择”\"直线工具。
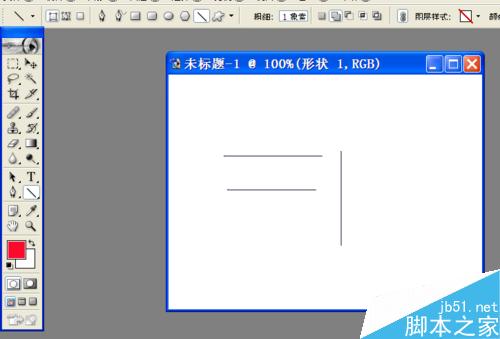
按住电脑键盘上的”shift“键,就可以开始画直线了,什么角度的直线都可以画。
方法3
选择”矩形选框工具“,选择1像素。
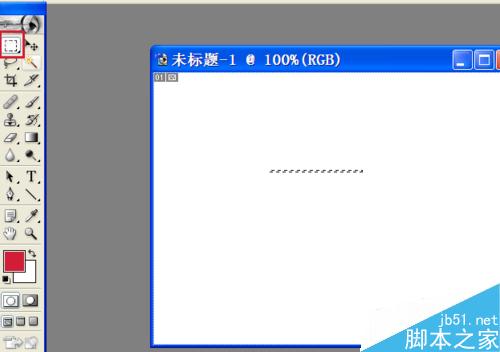
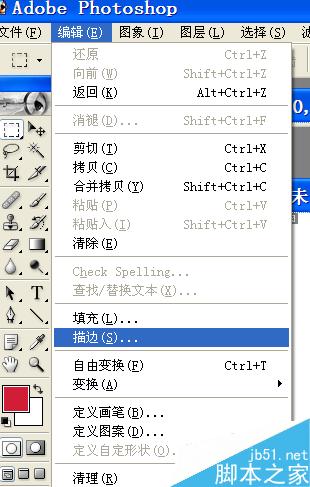
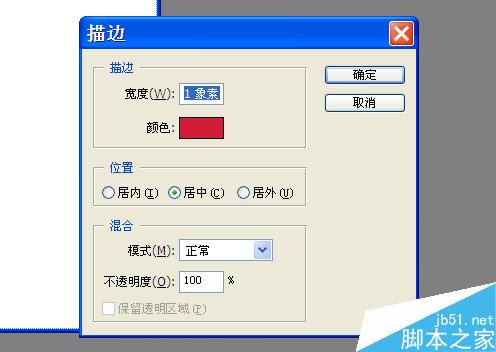
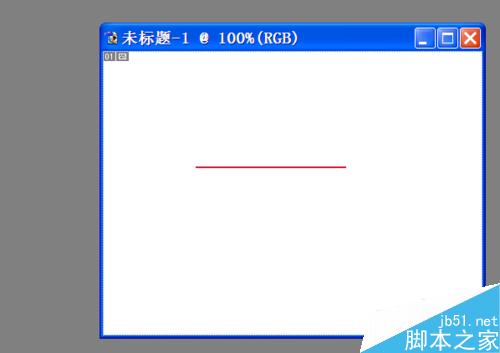
点击菜单”编辑“——”描边“,选择1像素,一条直线就画好了。
以上就是用Photoshop画直线的3种方法介绍,操作很简单的,大家学会了吗?希望能对大家有所帮助!
 Using Photoshop: Creative Possibilities and Practical UsesApr 22, 2025 am 12:09 AM
Photoshop is very practical and creative in practical applications. 1) It provides basic editing, repairing and synthesis functions, suitable for beginners and professionals. 2) Advanced features such as content recognition fill and layer style can improve image effects. 3) Mastering shortcut keys and optimizing layer structure can improve work efficiency.
 Photoshop: Advanced Techniques and ToolsApr 21, 2025 am 12:08 AM
Advanced features of Adobe Photoshop include advanced selection tools, layer blending modes, and actions and scripts. 1) Advanced selection tools such as the Quick Selection Tool and the Color Range Selection Tool can accurately select image areas. 2) Layer blending mode such as "overlapping" mode can create unique visual effects. 3) Actions and scripts can automate repetition of tasks and improve work efficiency.
 Photoshop's Main Feature: Retouching and EnhancementApr 20, 2025 am 12:07 AM
Photoshop's powerful functions in photo editing and enhancement include: 1. Use the "Repair Brush Tool" to remove acne, 2. Use the "Liquefaction Tool" to slim face, 3. Use the "Frequency Separation" technology to accurately retouch images. These functions are implemented through algorithms and image processing technology to optimize image processing effects.
 Photoshop's Key Features: A Deep DiveApr 19, 2025 am 12:08 AM
Key features of Photoshop include layers and masks, adjustment tools, filters and effects. 1. Layers and masks allow independent editing of image parts. 2. Adjust tools such as brightness/contrast can modify image tone and brightness. 3. Filters and effects can quickly add visual effects. Mastering these features can help creative professionals achieve their creative vision.
 Photoshop and Digital Art: Painting, Illustration, and CompositingApr 18, 2025 am 12:01 AM
Photoshop's applications in digital art include painting, illustration and image synthesis. 1) Painting: Using brushes, pencils and mixing tools, the artist can create realistic effects. 2) Illustration: With vector and shape tools, artists can accurately draw complex graphics and add effects. 3) Synthesis: Using mask and layer blending mode, artists can seamlessly blend different image elements.
 Advanced Photoshop Tutorial: Master Retouching & CompositingApr 17, 2025 am 12:10 AM
Photoshop's advanced photo editing and synthesis technologies include: 1. Use layers, masks and adjustment layers for basic operations; 2. Use image pixel values to achieve photo editing effects; 3. Use multiple layers and masks for complex synthesis; 4. Use "liquefaction" tools to adjust facial features; 5. Use "frequency separation" technology to perform delicate photo editing, these technologies can improve image processing level and achieve professional-level effects.
 Using Photoshop for Graphic Design: Branding and MoreApr 16, 2025 am 12:02 AM
The steps to using Photoshop for brand design include: 1. Use the Pen tool to draw basic shapes, 2. Add shadows and highlights through layer styles, 3. Adjust colors and details, 4. Use smart objects and actions to automatically generate different versions of the design. Photoshop helps designers create and optimize brand elements with the flexibility of layers and masks, ensuring consistency and professionalism of designs, from simple logos to complex branding guides.
 Photoshop's Subscription Model: What You Get for Your MoneyApr 15, 2025 am 12:17 AM
Photoshop's subscription model is worth buying. 1) Users can access the latest version and use across devices at any time. 2) The subscription fee is low, and continuous updates and technical support are provided. 3) Advanced functions such as neural filters can be used for complex image processing. Despite the high long-term costs, its convenience and feature updates are valuable to professional users.


Hot AI Tools

Undresser.AI Undress
AI-powered app for creating realistic nude photos

AI Clothes Remover
Online AI tool for removing clothes from photos.

Undress AI Tool
Undress images for free

Clothoff.io
AI clothes remover

Video Face Swap
Swap faces in any video effortlessly with our completely free AI face swap tool!

Hot Article

Hot Tools

Atom editor mac version download
The most popular open source editor

SublimeText3 Linux new version
SublimeText3 Linux latest version

mPDF
mPDF is a PHP library that can generate PDF files from UTF-8 encoded HTML. The original author, Ian Back, wrote mPDF to output PDF files "on the fly" from his website and handle different languages. It is slower than original scripts like HTML2FPDF and produces larger files when using Unicode fonts, but supports CSS styles etc. and has a lot of enhancements. Supports almost all languages, including RTL (Arabic and Hebrew) and CJK (Chinese, Japanese and Korean). Supports nested block-level elements (such as P, DIV),

Zend Studio 13.0.1
Powerful PHP integrated development environment

SecLists
SecLists is the ultimate security tester's companion. It is a collection of various types of lists that are frequently used during security assessments, all in one place. SecLists helps make security testing more efficient and productive by conveniently providing all the lists a security tester might need. List types include usernames, passwords, URLs, fuzzing payloads, sensitive data patterns, web shells, and more. The tester can simply pull this repository onto a new test machine and he will have access to every type of list he needs.


