Home >Web Front-end >PS Tutorial >Follow me in PS Day 01: How to extract the seal from the document
Follow me in PS Day 01: How to extract the seal from the document
- 零到壹度Original
- 2018-08-25 10:55:4615692browse
Learn PS from me
##Day 01: How to extract the seal from the document
I don’t know if you have I don’t have this feeling. Every time I send documents such as contracts or drawings to others, I need to stamp them. This is very troublesome and cumbersome. Just imagine, if we use photoshop to cut out the official seal and print it directly on the document. It will be very convenient. Let the editor tell you how to extract the official seal from a document in photoshop. Let’s learn together.
First we find a piece of material on the Internet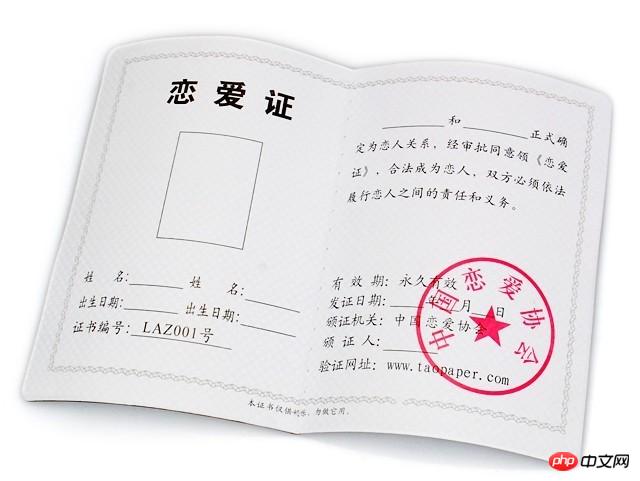
1. Open this picture in PS, Ctrl J Duplicate this layer to get layer 1
2. In layer 1, select "Select—Color Range"
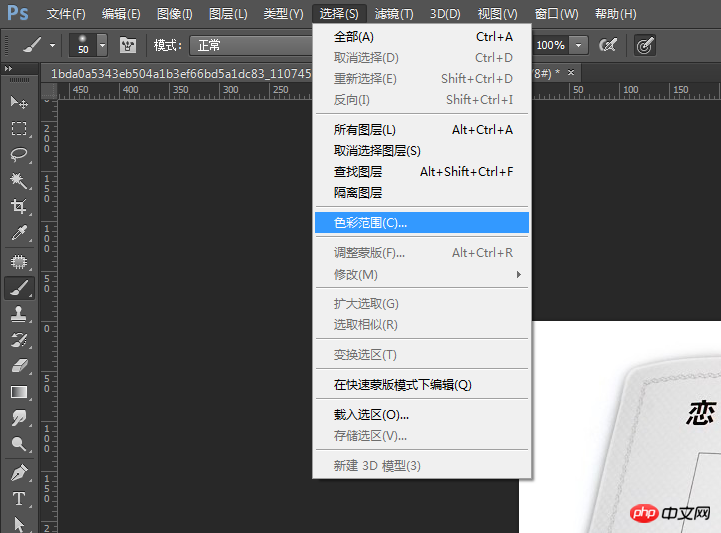
Then, a straw-style instruction appears in the pop-up box, click on the stamp area, absorb the color from the stamp, and set the following parameters
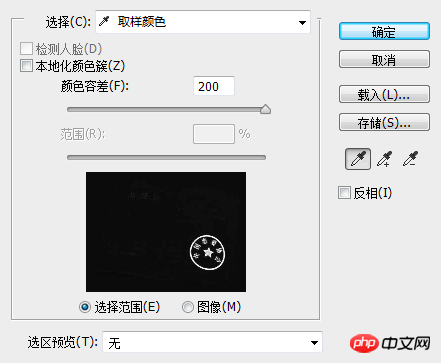
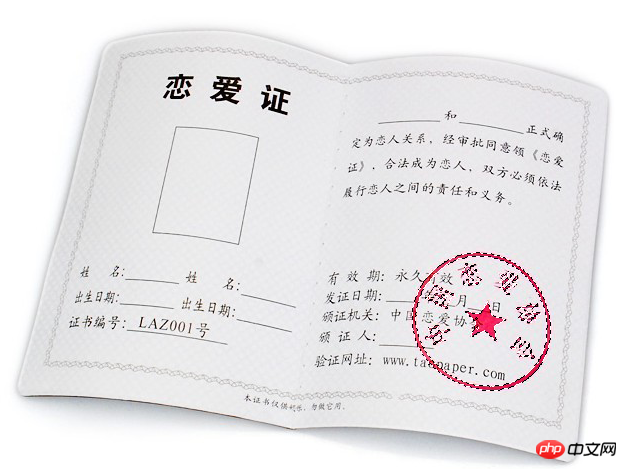
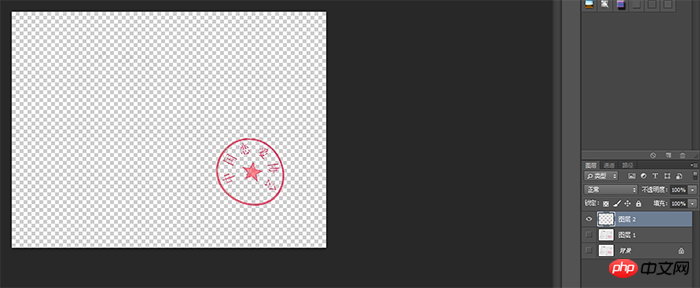
After getting the prototype , it may not be very clear, then you can continue to make multiple copies, and then ctrl E to merge the layers, or Ctrl J to copy the layers, so as to get a clear seal
The above is the detailed content of Follow me in PS Day 01: How to extract the seal from the document. For more information, please follow other related articles on the PHP Chinese website!

