Home >Web Front-end >JS Tutorial >Detailed explanation of the basic functions of the image library using JavaScript (with code)
Detailed explanation of the basic functions of the image library using JavaScript (with code)
- php是最好的语言Original
- 2018-07-28 16:27:421819browse
To use js to implement the basic functions of the picture library: When you click on a link, you can stay on this page to view the pictures instead of going to another window. When you click on a link, you can see that picture and the original picture list on this page at the same time. apache php mysql
Picture library html:
<!DOCTYPE html>
<html lang="en">
<head>
    <meta charset="UTF-8">
    <title>Image Gallery</title>
    <link rel="stylesheet" href="static/layout.css" media="screen" />
</head>
<body>
    <h1>Avengers</h1>
    <ul>
        <li>
            <a href="./images/1.jpg" title="avengers1" onclick="showPic(this); return false;">AAAAR1</a>
        </li>
        <li>
            <a href="./images/2.jpg" title="avengers2" onclick="showPic(this); return false;">AAAAR2</a>
        </li>
        <li>
            <a href="./images/3.jpg" title="avengers3" onclick="showPic(this); return false;">AAAAR3</a>
        </li>
        <li>
            <a href="./images/4.jpg" title="avengers4" onclick="showPic(this); return false;">AAAAR4</a>
        </li>
    </ul>
    <img src="/static/imghwm/default1.png"  data-src="./images/5.jpg"  class="lazy"  id="placeholder"  alt="AAAAR5" />
    <p id="description">Choose an image.</p>
    <script src="static/showPic.js"></script>
</body>
</html>
css rendering file:
body {
	font-family: "Helvetica", "Arial", serif;
	color: #333;
	background-color: #ccc;
	margin: 1em 10%;
}
h1 {
	color:#333;
	background-color: transparent;
}
a {
	color:#60;
	background-color: transparent;
	font-weight: bold;
	text-decoration: none;
}
ul {
	padding: 0;
}
li {
	float: left;
	padding: 1em;
	list-style:none;
}
img {
	display: block;
	clear: both;
}
Proposed solution:
Pass a placeholder image method to reserve a browsing area for pictures on this homepage.
When a link is clicked, intercept the default behavior of this web page.
When a link is clicked, replace the placeholder image with the image corresponding to that link.
First select a picture as a placeholder:
<img src="/static/imghwm/default1.png" data-src="./images/5.jpg" class="lazy" id="placeholder" alt="AAAAR5" />
If you want to replace the placeholder picture with the picture you want to view, you need to change its src attribute. The setAttribute function in js can do this. You can use this feature to write a js function to solve the problem.
function showPic(whichpic)
This function only accepts one image link parameter to convert the image. As an element node, whichpic can use the getAttribute function to get its href attribute:
var source = whichpic.getAttribute("href");Then get the placeholder image:
var placeholder = document.getElemntById("placeholder");After getting the placeholder image object, you can The properties of the bitmap object are set, that is, the corresponding picture is replaced.
placeholder.setAttribute("src", source);Complete function:
function showPic(whichpic) {
	var source = whichpic.getAttribute("href");
	var placeholder = document.getElementById("placeholder");
	placeholder.setAttribute("src", source);
}
The next step is to combine this js function with the markup document.
Event handling function: The function of the event handling function is to call specific js code when a specific event occurs.
Here you want to trigger an action when the user clicks a link, so you need to use the onclick event handler.
The showPic function requires one parameter: an element node parameter with a href attribute. You can use the this keyword here, which refers to the current label element.
Similarly, I also want to prevent jumping to another window when the link is clicked, so I need to block the default behavior when the link is clicked, and only perform the image replacement behavior triggered by the js function.
Here you can add a return value of false to the js function, so that the onclick function will think that the link has not been clicked and will not open a new window.
Specific code:
<a href="./images/1.jpg" title="avengers1" onclick="showPic(this); return false;">AAAAR1</a>
The this keyword here refers to the element node .
This completes the function required by the picture library.
Expand this function:
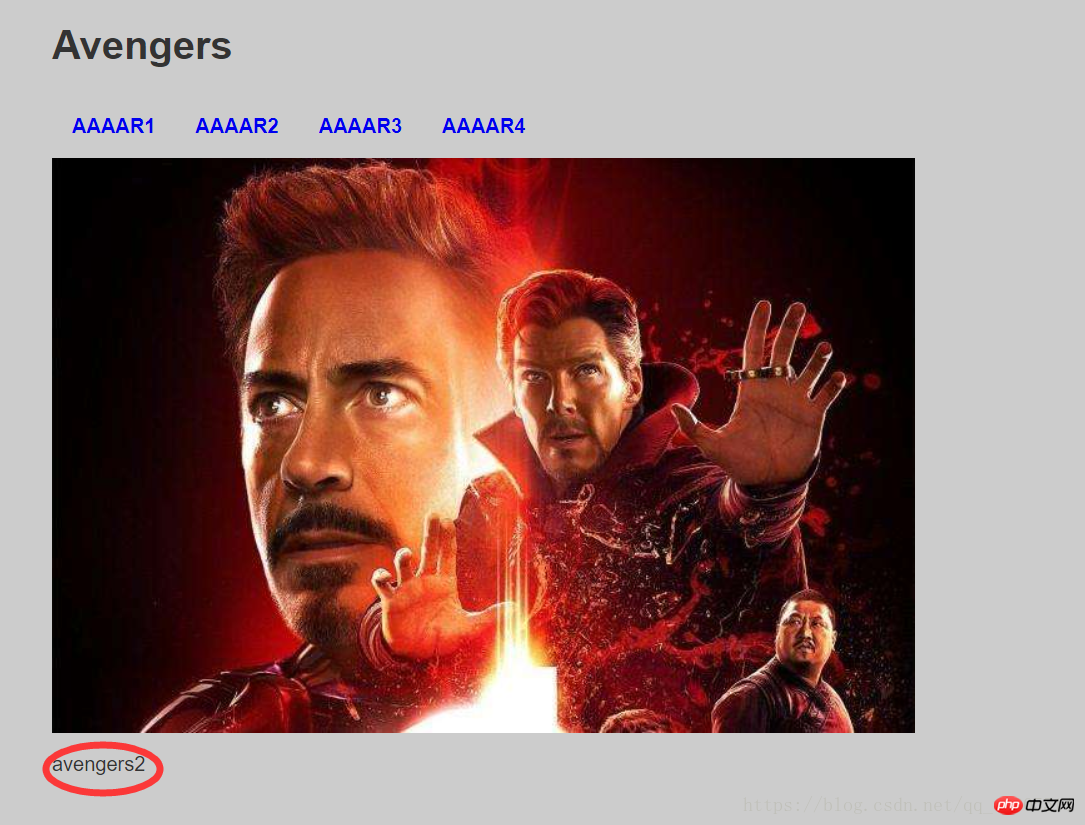
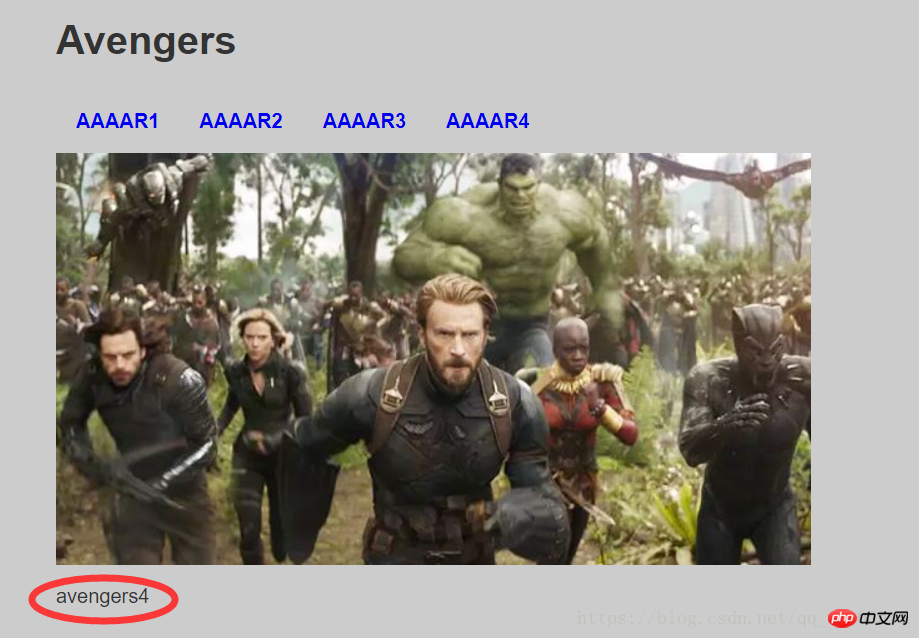
I also want to switch the description of the image when clicking on the page. Each picture in the picture library document has a title attribute. The same idea:
var text = whichpic.getAttribute("title");Get the title attribute first and then replace it.
childNodes attribute: can be used to get all child elements of any element.
Suppose you need to extract all sub-elements in the body element: check how many sub-elements the body has.
var body_element = document.getElementsByTagName = ("body")[0];
alert(body_element.childNodes.length);
[0] means that the first (and only) body element in the array is obtained.
The array returned by the childNodes property contains nodes of all types, not just element nodes. In fact, almost everything in the document is a node. So the returned value is very large.
nodeType attribute: Use the nodeType attribute to find the corresponding node. However, the return value of nodeType is not in English:
Element node returns 1;
Attribute node returns 2;
Text node returns 3;
alert(body_element.nodeType);
Passed This statement to view the node.
Back to the function to be added: First, like the picture, add a placeholder with a text description, set the id attribute
<p id="description">Choose an image.</p>
and place it below the picture, and then Let the title of the image replace the text content:
var text = whichpic.getAttribute("title");
var description = document.getElementById("description");
nodeValue attribute: If you want to change the value of a text node, you must use the nodeValue attribute of the DOM method.
In this example, the text node contained in the p element is the first child node of the
element. Therefore, what needs to be obtained is the nodeValue attribute value of the first child node.
alert(description.childNodes[0].nodeValue);
firstChild and lastChild values
childNodes[0] can be replaced with firstChild, and the last child node is represented by lastChild.
Finally, use nodeValue to refresh the text:
Complete code:
function showPic(whichpic) {
	var source = whichpic.getAttribute("href");
	var placeholder = document.getElementById("placeholder");
	placeholder.setAttribute("src", source);
	var text = whichpic.getAttribute("title");
	var description = document.getElementById("description");
	description.firstChild.nodeValue = text;
}
Pass the value of text to the text node of the
element, and the goal is achieved.
Page effect:


Related articles:
JavaScript image local preview function Implementation method
JavaScript imitates Pinterest to implement image preloading function
Related videos:
Using JavaScript-Li Yanhui Javascript video Tutorial
The above is the detailed content of Detailed explanation of the basic functions of the image library using JavaScript (with code). For more information, please follow other related articles on the PHP Chinese website!
Related articles
See more- An in-depth analysis of the Bootstrap list group component
- Detailed explanation of JavaScript function currying
- Complete example of JS password generation and strength detection (with demo source code download)
- Angularjs integrates WeChat UI (weui)
- How to quickly switch between Traditional Chinese and Simplified Chinese with JavaScript and the trick for websites to support switching between Simplified and Traditional Chinese_javascript skills

