Home >Web Front-end >JS Tutorial >Virtual scroll bars about 2.x in vue.js
Virtual scroll bars about 2.x in vue.js
- 亚连Original
- 2018-06-09 17:25:551802browse
This article mainly introduces the sample code of the virtual scroll bar based on vue.js 2.x. Now I share it with you and give it as a reference.
Preface
I remember that I once browsed an open source cms project by chance, and found that the menu on the left side of the project exceeded the width of windows. I was curious why. There is no scroll bar? Then I took a closer look and found a small p on the left side of it. Then I tried dragging it and found that it was the same as the native scroll bar! By looking at its source code, I discovered that this scroll bar is called slimScroll. Then I went to its github repository and looked at it. After studying the source code, I felt that I could also make the same scroll bar! Achieved through vue!
Design
Okay, now we start the steps of designing the scroll bar:
Design scroll bar dom
The first thing to think about is: If you want to scroll the content you need to scroll, the first thing is that its parent dom must have a fixed length and width, that is, the excess part must be hidden, that is, add a style: overflow: hidden, Therefore, we add a wrapper to the content to be scrolled so that its length and width are equal to the parent dom, and then there is a style called: overflow: hidden, and the wrapped element is called scrollPanel
Secondly: we know, We want to make it as powerful as the native scroll bar! It is necessary to design horizontal scroll bars and vertical scroll bars. The scroll bar and scrollPanel belong to the relationship between sibling nodes. Because the existence of the scroll bar cannot make the original style layout error, and supports top and left to control its position, so the scroll bar The position must be absolute. Okay, let's call the horizontal scroll bar: hBar, and the vertical scroll bar: vBar
Finally: we designed scrollPanel, vBar, hBar, and we need a parent p to wrap them , and then add a style: position: relative
Practice
Design component structure
First of all, our plug-ins are 4 components, 3 of which are child components and 1 is a parent component, namely: vueScroll (parent component), scrollPanel (subcomponent that wraps content that needs to be scrolled), vBar (vertical scroll bar), hBar (horizontal scroll bar)
Secondly, let us design the functions that each component is responsible for. The components here are divided into control layer components and display components (students familiar with react should know this). The display layer components only complete the display function: vBar, hBar, scrollPanel. The control layer components are somewhat similar to CPU and can control sub-components. Various states, such as width, height, color, transparency, position, etc. The control layer component is: vueScroll.
Specific implementation
##hBar/vBar
hBar/vBar These two are horizontal scroll bars and vertical scroll bars respectively. , the functions implemented are roughly the same, so the old ones are mentioned together. Here we take vBar as an example. props receives the properties passed by the parent component, specifically:{
height: vm.state.height + 'px', //滚动条的高度
width: vm.ops.width, // 滚动条的宽度
position: 'absolute',
background: vm.ops.background, // 滚动条背景色
top: vm.state.top + 'px', // 滚动条的高度
transition: 'opacity .5s', // 消失/显示 所用的时间
cursor: 'pointer', //
opacity: vm.state.opacity, // 透明度
userSelect: 'none'
}2 event, which mainly displays the scroll bar when the mouse moves. ...
render(_c){
return _c(
// ...
{
mouseenter: function(e) {
vm.$emit('showVBar'); // 触发父组件事件,显示滚动条
}
}
// ...
)
} Among them, state represents the state, which can be changed at runtime, and ops is the configuration parameter, which is passed by the user.
scrollPanel
The component that wraps the scrolling content, the style needs to be set to: overflow: hidden. 1. Stylevar style = vm.scrollContentStyle;
style.overflow = 'hidden';
// ...
{
style: style
}
// ...2. Event// ...
render(_c) {
// ...
on: {
mouseenter: function() {
vm.$emit('showBar');
},
mouseleave: function() {
vm.$emit('hideBar');
}
}
// ...
}
// ...
vuescroll
Control component. Control the status displayed by sub-components, add various listening events, etc. 1. Obtain the dom element of the sub-component to obtain real-time information of the dom.// ...
initEl() {
this.scrollPanel.el = this.$refs['vueScrollPanel'] && this.$refs['vueScrollPanel'].$el;
this.vScrollBar.el = this.$refs['vScrollBar'] && this.$refs['vScrollBar'].$el;
this.hScrollBar.el = this.$refs['hScrollBar'] && this.$refs['hScrollBar'].$el;
}
// ...2. Display scroll barDisplay scroll bar, including displaying horizontal scroll bar and displaying vertical scroll bar. Here is taking displaying vertical scroll bar as an example: // ...
var temp;
var deltaY = {
deltaY: this.vScrollBar.ops.deltaY // 获取用户配置的deltaY
};
if(!this.isMouseLeavePanel || this.vScrollBar.ops.keepShow){
if ((this.vScrollBar.state.height = temp = this.getVBarHeight(deltaY))) { // 判断条件
// 重新设置滚动条的状态
this.vScrollBar.state.top = this.resizeVBarTop(temp);
this.vScrollBar.state.height = temp.height;
this.vScrollBar.state.opacity = this.vScrollBar.ops.opacity;
}
}
// ...3 , Get the height of the scroll barBecause the height of the dom element is not fixed, you need to get the real height of the dom in real time. The calculation formula for the height of the scroll bar is as follows:var height = Math.max(
scrollPanelHeight /
(scrollPanelScrollHeight / scrollPanelHeight),
this.vScrollBar.minBarHeight
);That is: scroll Bar height: scrollPanel height == scrollPanel height: dom element height 4. resizeVBarTop, in order to prevent errors, and the height of the scroll bar from the parent element can be found. resizeVBarTop({height, scrollPanelHeight, scrollPanelScrollHeight, deltaY}) {
// cacl the last height first
var lastHeight = scrollPanelScrollHeight - scrollPanelHeight - this.scrollPanel.el.scrollTop;
if(lastHeight < this.accuracy) {
lastHeight = 0;
}
var time = Math.abs(Math.ceil(lastHeight / deltaY));
var top = scrollPanelHeight - (height + (time * this.vScrollBar.innerDeltaY));
return top;
}5. Monitor wheel scrolling events. // ...
on: {
wheel: vm.wheel
}
// ...
wheel(e) {
var vm = this;
vm.showVBar();
vm.scrollVBar(e.deltaY > 0 ? 1 : -1, 1);
e.stopPropagation();
}
// ...6. Listen for scroll bar drag events listenVBarDrag: function() {
var vm = this;
var y;
var _y;
function move(e) {
_y = e.pageY;
var _delta = _y - y;
vm.scrollVBar(_delta > 0 ? 1 : -1, Math.abs(_delta / vm.vScrollBar.innerDeltaY));
y = _y;
}
function t(e) {
var deltaY = {
deltaY: vm.vScrollBar.ops.deltaY
};
if(!vm.getVBarHeight(deltaY)) {
return;
}
vm.mousedown = true;
y = e.pageY; // 记录初始的Y的位置
vm.showVBar();
document.addEventListener('mousemove', move);
document.addEventListener('mouseup', function(e) {
vm.mousedown = false;
vm.hideVBar();
document.removeEventListener('mousemove', move);
});
}
this.listeners.push({
dom: vm.vScrollBar.el,
event: t,
type: "mousedown"
});
vm.vScrollBar.el.addEventListener('mousedown', t); // 把事件放到数组里面,等销毁之前移除掉注册的时间。
}7. Adapt to mobile terminals and listen for touch events. The principle is similar to that of drag events, except that there is an additional judgment to determine whether the current direction is x or y. listenPanelTouch: function() {
var vm = this;
var pannel = this.scrollPanel.el;
var x, y;
var _x, _y;
function move(e) {
if(e.touches.length) {
var touch = e.touches[0];
_x = touch.pageX;
_y = touch.pageY;
var _delta = void 0;
var _deltaX = _x - x;
var _deltaY = _y - y;
if(Math.abs(_deltaX) > Math.abs(_deltaY)) {
_delta = _deltaX;
vm.scrollHBar(_delta > 0 ? -1 : 1, Math.abs(_delta / vm.hScrollBar.innerDeltaX));
} else if(Math.abs(_deltaX) < Math.abs(_deltaY)){
_delta = _deltaY;
vm.scrollVBar(_delta > 0 ? -1 : 1, Math.abs(_delta / vm.vScrollBar.innerDeltaY));
}
x = _x;
y = _y;
}
}
function t(e) {
var deltaY = {
deltaY: vm.vScrollBar.ops.deltaY
};
var deltaX = {
deltaX: vm.hScrollBar.ops.deltaX
};
if(!vm.getHBarWidth(deltaX) && !vm.getVBarHeight(deltaY)) {
return;
}
if(e.touches.length) {
e.stopPropagation();
var touch = e.touches[0];
vm.mousedown = true;
x = touch.pageX;
y = touch.pageY;
vm.showBar();
pannel.addEventListener('touchmove', move);
pannel.addEventListener('touchend', function(e) {
vm.mousedown = false;
vm.hideBar();
pannel.removeEventListener('touchmove', move);
});
}
}
pannel.addEventListener('touchstart', t);
this.listeners.push({
dom: pannel,
event: t,
type: "touchstart"
});
}8. Scroll contentThe principle of scrolling content is nothing more than changing the scrollTop/scrollLeft of the scrollPanel to achieve the purpose of controlling the content to move up, down, left, and right. scrollVBar: function(pos, time) {
// >0 scroll to down <0 scroll to up
var top = this.vScrollBar.state.top;
var scrollPanelHeight = getComputed(this.scrollPanel.el, 'height').replace('px', "");
var scrollPanelScrollHeight = this.scrollPanel.el.scrollHeight;
var scrollPanelScrollTop = this.scrollPanel.el.scrollTop;
var height = this.vScrollBar.state.height;
var innerdeltaY = this.vScrollBar.innerDeltaY;
var deltaY = this.vScrollBar.ops.deltaY;
if (!((pos < 0 && top <= 0) || (scrollPanelHeight <= top + height && pos > 0) || (Math.abs(scrollPanelScrollHeight - scrollPanelHeight) < this.accuracy))) {
var Top = top + pos * innerdeltaY * time;
var ScrollTop = scrollPanelScrollTop + pos * deltaY * time;
if (pos < 0) {
// scroll ip
this.vScrollBar.state.top = Math.max(0, Top);
this.scrollPanel.el.scrollTop = Math.max(0, ScrollTop);
} else if (pos > 0) {
// scroll down
this.vScrollBar.state.top = Math.min(scrollPanelHeight - height, Top);
this.scrollPanel.el.scrollTop = Math.min(scrollPanelScrollHeight - scrollPanelHeight, ScrollTop);
}
}
// 这些是传递给父组件的监听滚动的函数的。
var content = {};
var bar = {};
var process = "";
content.residual = (scrollPanelScrollHeight - scrollPanelScrollTop - scrollPanelHeight);
content.scrolled = scrollPanelScrollTop;
bar.scrolled = this.vScrollBar.state.top;
bar.residual = (scrollPanelHeight - this.vScrollBar.state.top - this.vScrollBar.state.height);
bar.height = this.vScrollBar.state.height;
process = bar.scrolled/(scrollPanelHeight - bar.height);
bar.name = "vBar";
content.name = "content";
this.$emit('vscroll', bar, content, process);
},9. Destroy registered events. We have just put the registered events into the listeners array, and we can destroy them in the beforedestroy hook. // remove the registryed event.
this.listeners.forEach(function(item) {
item.dom.removeEventListener(item.event, item.type);
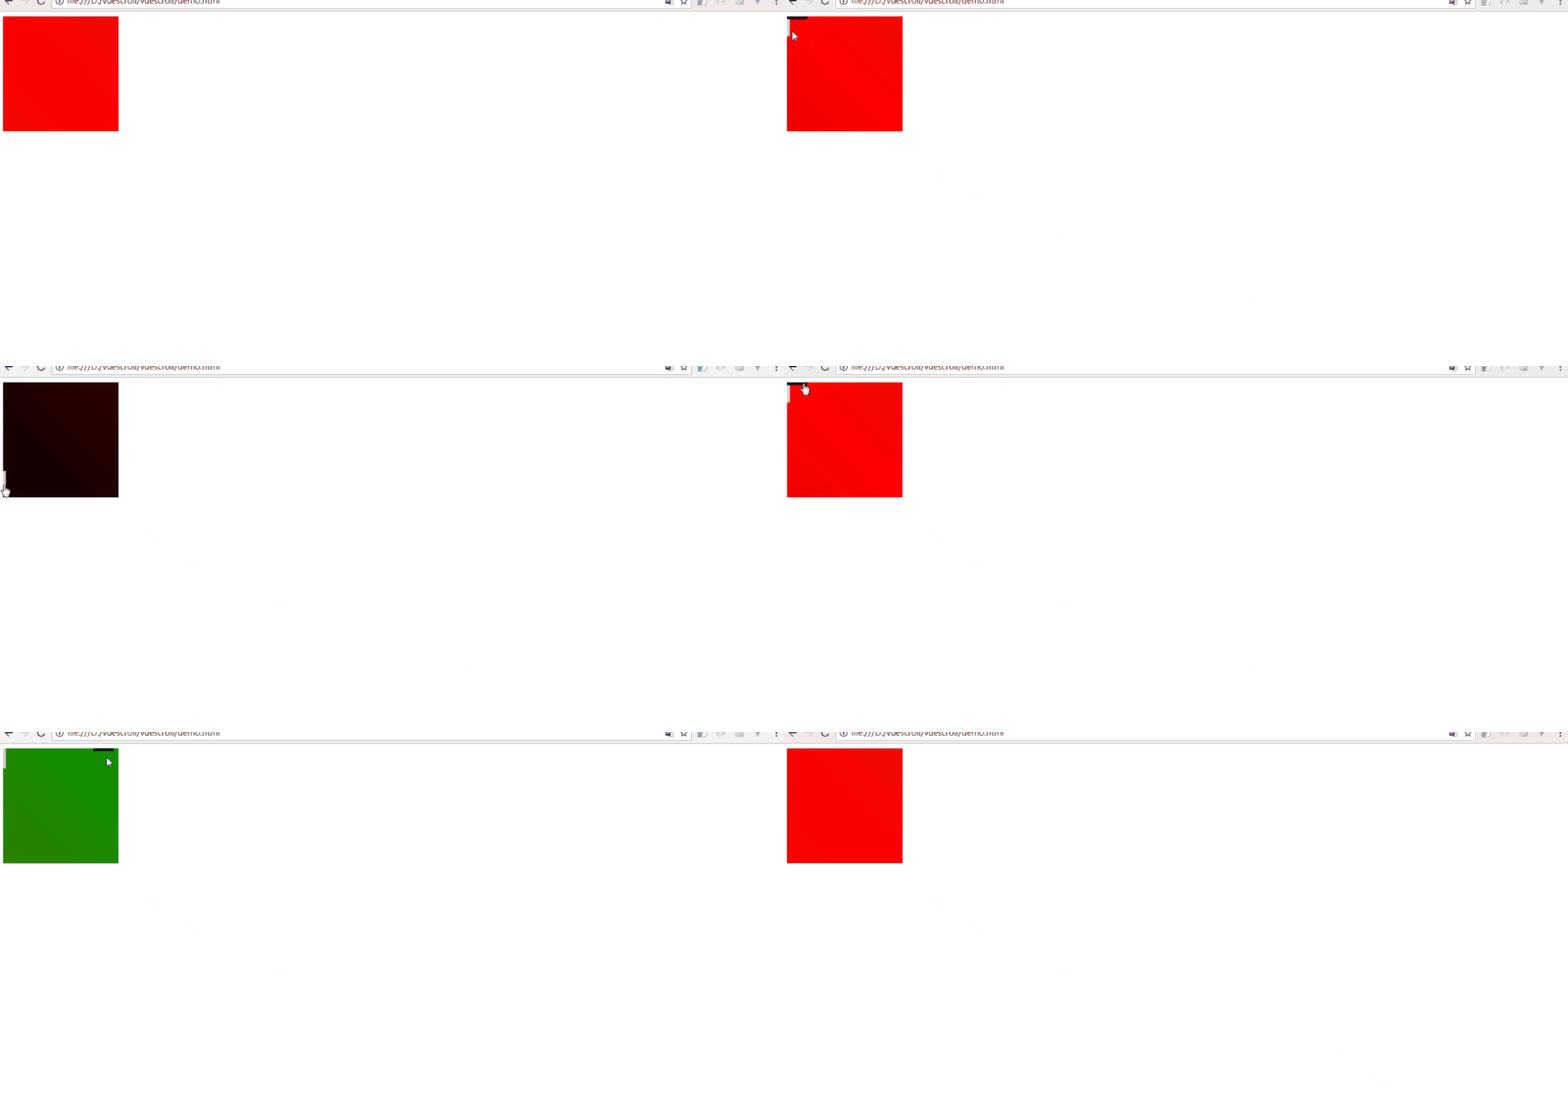
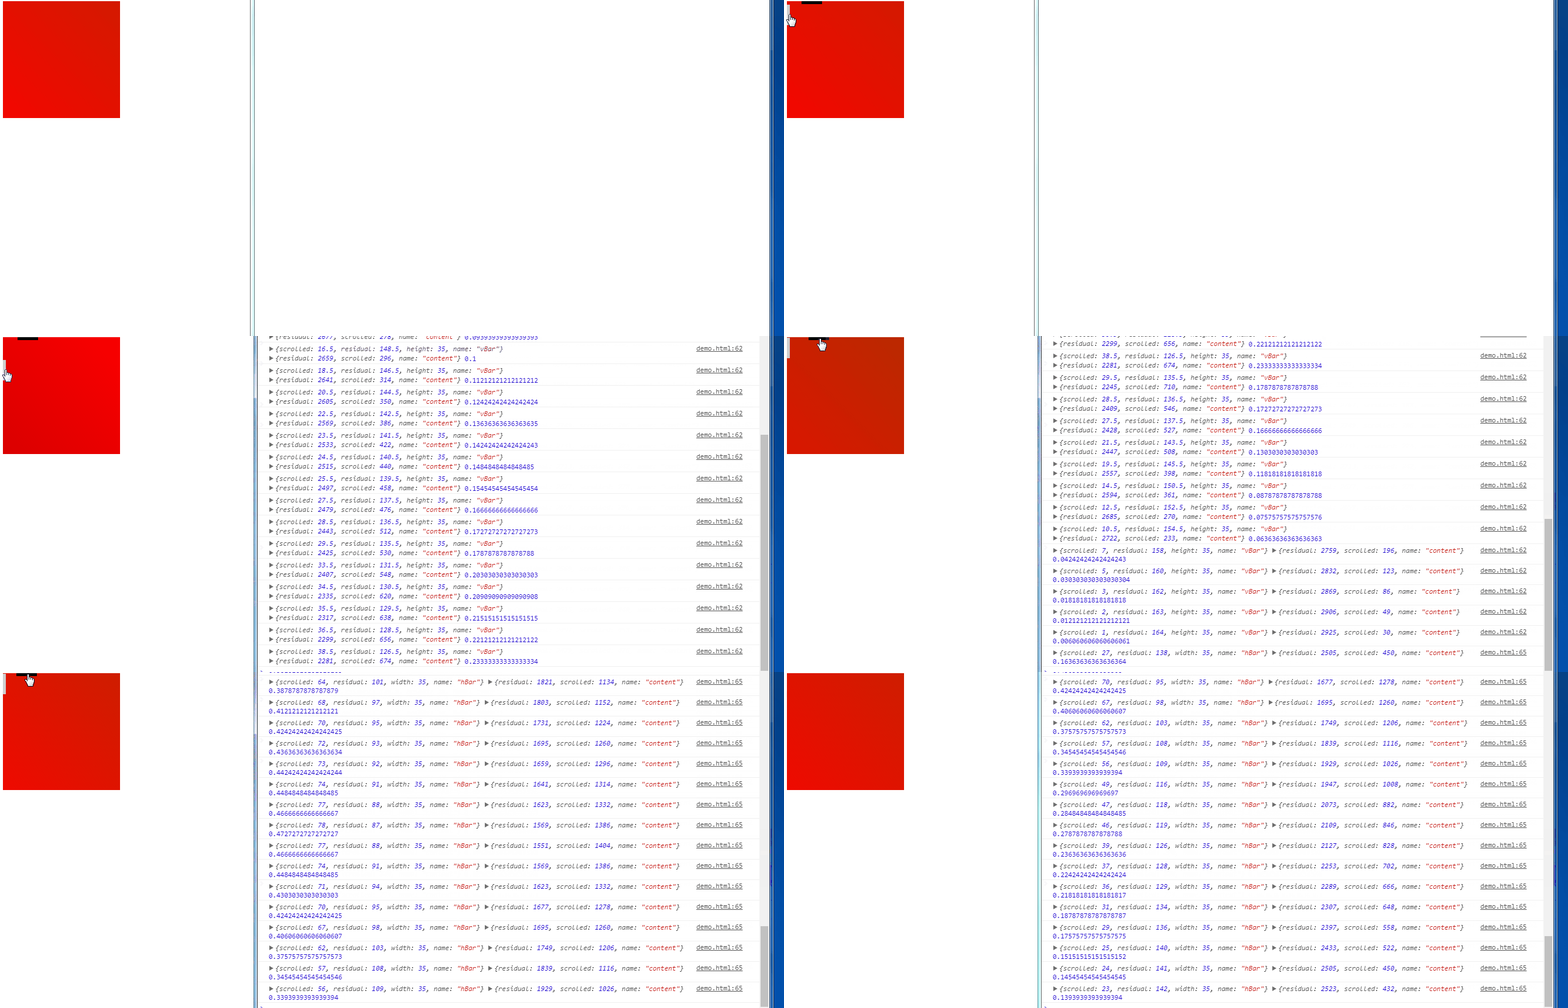
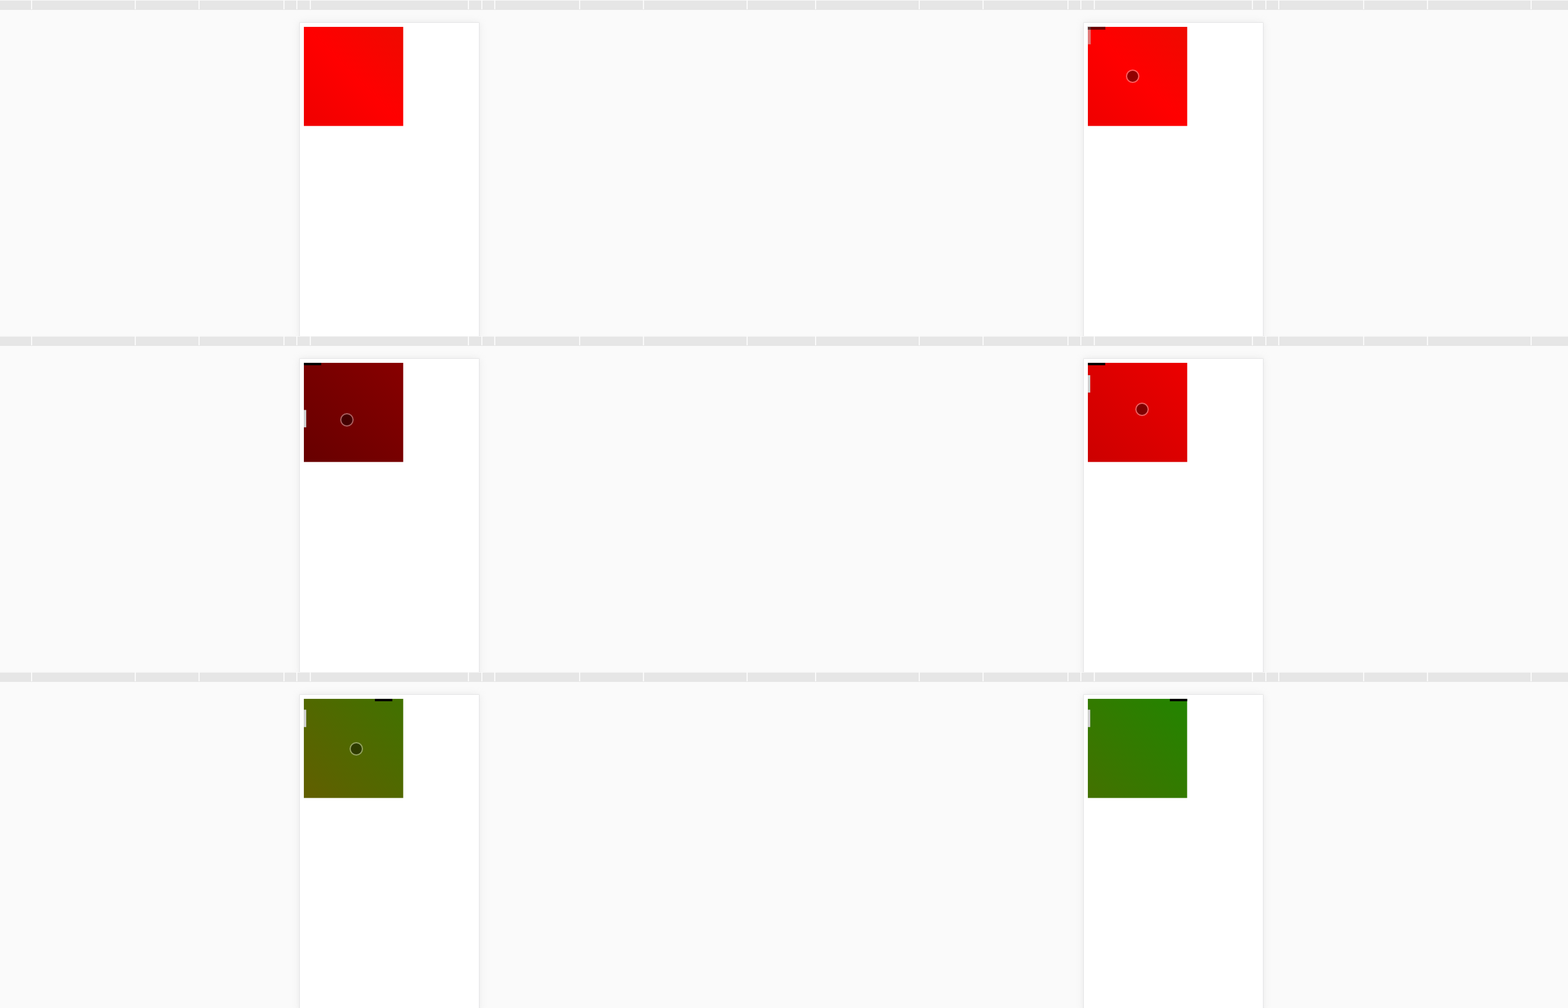
});Running screenshotsThe PC side running screenshots are as shown below:


It can be seen that the performance effect is consistent with the native scroll bar.
Conclusion & Reflection
The above is basically the design of the scroll bar I designed. First of all, I am very grateful to the Nuggets for giving me such a sharing platform, and then I would like to thank slimScroll. The author gave me such an idea. After finishing this plug-in, I know more about scrollWidth, scrollHeigh, scrollTop, and scrollLeft of DOM elements.
The above is what I compiled for everyone. I hope it will be helpful to everyone in the future.
Related articles:
3 basic modes of vue routing parameters (detailed tutorial)
Implement dynamic introduction of files in webpack
The above is the detailed content of Virtual scroll bars about 2.x in vue.js. For more information, please follow other related articles on the PHP Chinese website!
Related articles
See more- An in-depth analysis of the Bootstrap list group component
- Detailed explanation of JavaScript function currying
- Complete example of JS password generation and strength detection (with demo source code download)
- Angularjs integrates WeChat UI (weui)
- How to quickly switch between Traditional Chinese and Simplified Chinese with JavaScript and the trick for websites to support switching between Simplified and Traditional Chinese_javascript skills

