Home >Backend Development >PHP Tutorial >Detailed explanation of the steps to install yaf extension in Ubuntu
Detailed explanation of the steps to install yaf extension in Ubuntu
- php中世界最好的语言Original
- 2018-05-19 14:00:431367browse
This time I will bring you a detailed explanation of the installationyaf extension steps in Ubuntu. What are the precautions for installing the yaf extension in Ubuntu? The following is a practical case, let’s take a look.
1. Download
yaf extension download address
http://pecl.php.net/package/yaf
Select the package you want to download
wget http://pecl.PHP.net/get/yaf-2.3.5.tgz
tar zxvf yaf-2.3.5.tgz
cd yaf-2.3.5
2. Installation

#whereis phpize
/data/yaf-2.3.5# /usr/bin/phpize
#whereis php-config
php-config: /usr/bin/php-config /usr/share/man/man1/php-config.1.gz
/data/yaf-2.3.5# ./configure --with-php-config=/usr/bin/php-config
/data/yaf-2.3.5# make && make install
Solution:
An error may occur on the last command: compilation terminated. make: * [yaf_router.lo] Error 1
sudo apt-get install libpcre3 libpcre3-dev openssl libssl-dev
Then execute the last command.
If everything goes well, it should look like this:

也可以执行以下make test
There may also be errors like this: cp:cannot create regular file '/usr/lib/php5/20121212/#INST@13121#':Permission denied
This is insufficient permission. The current user is not root. You can switch to root through su and enter the root password. Forget it. The password can be reset: sudo passwd root
Add in php.ini:
extension=yaf.so
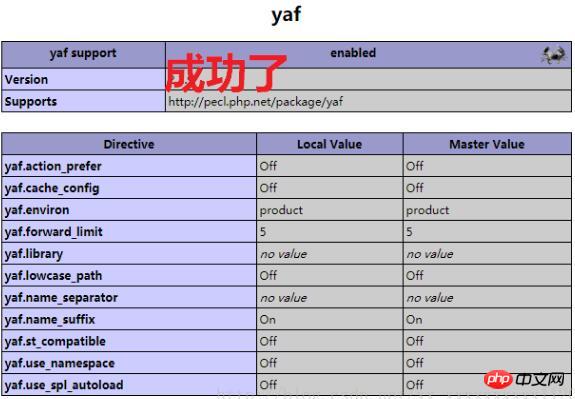
If you don’t know where php.ini is, you can seephpinfo

Finally, restart the server

I believe you have mastered the method after reading the case in this article. For more exciting information, please pay attention to other php Chinese websites related articles!
Recommended reading:
How PHP can record visitor browsing information
Detailed explanation of the steps for PHP to use foreach to convert an array
The above is the detailed content of Detailed explanation of the steps to install yaf extension in Ubuntu. For more information, please follow other related articles on the PHP Chinese website!

