Home >Web Front-end >JS Tutorial >Detailed explanation of two-way binding in vue.js
Detailed explanation of two-way binding in vue.js
- 小云云Original
- 2018-03-21 17:07:501871browse
This article mainly shares with you the detailed explanation of two-way binding of vue.js. What is two-way binding? First of all, we all understand one-way binding, which is to add a listener. When one is triggered, the other is triggered at the same time. .
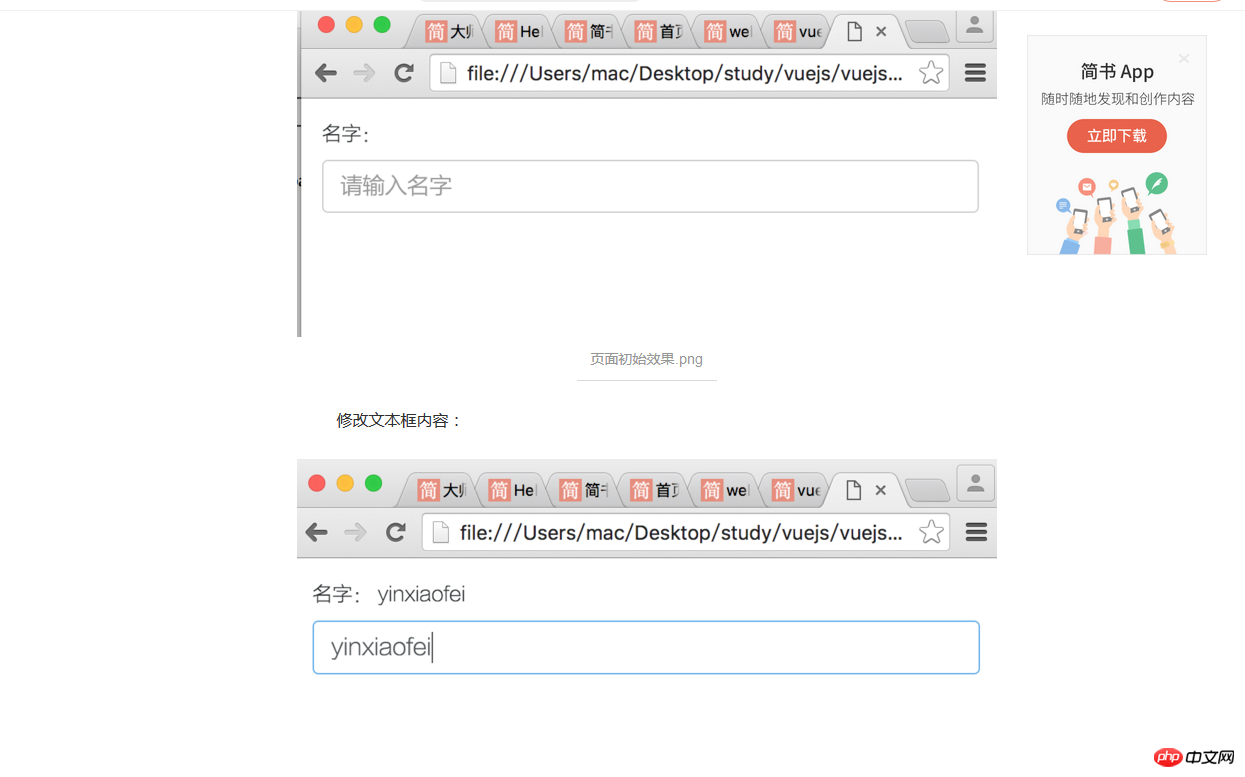
Add a picture to see:

When I entered the content in the text box below, the above also changed. This is one side, and secondly, I can modify relevant content in the code, which is the other side.
The latter is easy to do, but the former is difficult.
And vue.js helps us do this.

If you guests want to see what his specific principles are:
Here is the link: https://www.cnblogs.com /kidney/p/6052935.html?utm_source=gold_browser_extension
I will share a reprinted Vue related knowledge later:
Vuejs——(1) Getting started (one-way binding, two-way binding, list rendering, response function)
September 01, 2016 15:01:14
15717 people read ’ s to ’ s to Receive ‐ ‐ ‐ ‐ ‐ to Category:
Directory(?)
[+]


##Copyright Statement: Am I cute~Cute! Mmm~
Directory(?)[-]
One-way binding
Three function return values
Five processing user input
- Six multi-functions
##Seven tags and API summary 1
- Reference link: http://cn.vuejs.org/guide/index.html
【 Getting started】Part
-
This article is based on it to complete and explore in more detail
Well, based on my friend’s suggestion, I switched to the vue camp
(1) One-way binding
- ##
<p id="app"> {{ message }} </p> <script> new Vue({ el: '#app', data: { message: 'Hello Vue.js!' } }) </script>el should mean binding, bindingid=appthis tag
can also be changed to the following:<p class="app"> {{ message }} </p>el: '.app' ,
is only valid for the first one:
<p class="app"> {{ message }} </p> <p class="app"> {{ message }} </p>data#messageVariable, representing the value of {{message}
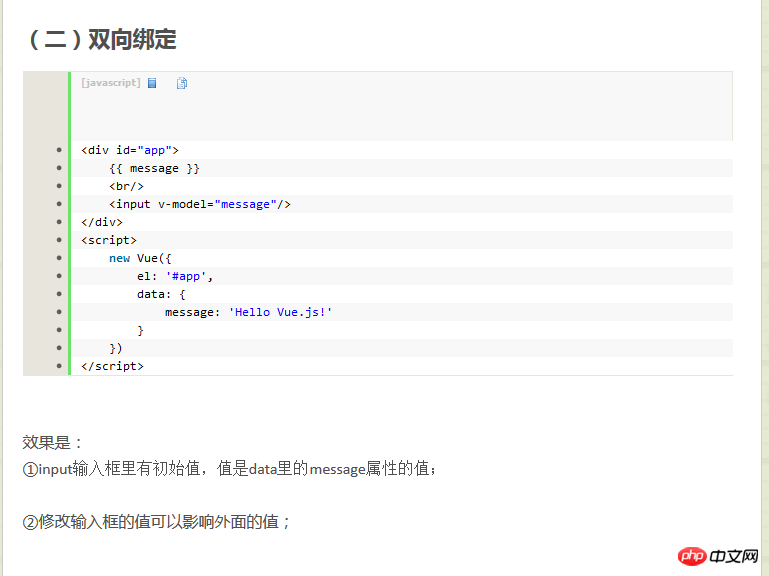
(2) Two-way binding<p id="app"> {{ message }} <br/> <input v-model="message"/> </p> <script> new Vue({ el: '#app', data: { message: 'Hello Vue.js!' } }) </script>inputThere is an initial value in the input box, and the value It is the value of the message attribute in data;
②Modify The value of the input box can affect the outside value;
(3) Function return value<p id="app"> {{ message() }} <br/> <input v-model="message()"/> </p> <script> new Vue({ el: '#app', data: { message: function () { return 'Hello Vue.js!'; } } }) </script>①输出值也是message的返回值;
②缺点:失去双向绑定!
(四)渲染列表
<p id="app"> <ul> <li v-for="list in todos"> {{list.text}} </li> </ul> </p> <script> new Vue({ el: '#app', data: { todos: [ {text: "1st"}, {text: "2nd"}, {text: "3rd"} ] } }) </script>
v-for里的list,类似for in里面的i,
个人认为,
①可以把list in todos,理解为for list in todos
②然后把下一行的list.text理解为 todos[list].text
然后这个v-for标签在哪里,就是以他为单位进行多次复制。
(五)处理用户输入
<p id="app"> <input v-model="message"> <input type="button" value="值+1" v-on:click="add"/> <input type="button" value="值-1" v-on:click="minus"/> <input type="button" value="重置归零" v-on:click="reset"/> </p> <script> new Vue({ el: '#app', data: { message: 1 }, methods: { add: function () { this.message++; //这步要加this才能正确获取到值 }, minus: function () { this.message--; }, reset: function () { this.message = 0; } } }) </script>
效果:
①对输入框的值,点击一次add按钮,则值+1;
②如果不能加,则像正常表达式加错了那样返回结果,例如NaN;
③data里的message的值,是初始值;
④methods里是函数集合,他们之间用逗号分隔;
⑤获取值的时候,要加上this,例如this.message获取的是message的值。
(六)多功能
<p id="app"> <input v-model="val" v-on:keypress.enter="addToList"> <ul> <li v-for="val in values"> {{val.val}} <input type="button" value="删除" v-on:click="removeList($index)"/> </li> </ul> </p> <script> new Vue({ el: '#app', data: { val: "1", values: [] }, methods: { addToList: function () { var val = parseInt(this.val.trim()); //注意,因为当上面的val是字符串类型的时候,才能用trim(),如果是数字类型,则用this.val if (val) { this.values.push({val: val}); } this.val = String(val + 1); }, removeList: function (index) { this.values.splice(index, 1); } } }) </script>
效果:
①初始输入框内值为1;
②在输入框内按回车键,则会将输入框的内容转为数字,并添加到一个列表里,该列表里转换后的数字和一个删除按钮,并且输入框内的值,变为转为数字后的值加一。
如图:

③他的添加,利用的是双向绑定,将输入的值push到data里面的values这个数组之种,然后利用渲染列表的效果,输出多行值。
④在button标签里,函数的参数名给了一个参数,是该行索引,参数名是$index
⑤标签里,触发的函数的函数名,可以加括号,也可以不加括号,实测似乎是没有影响的。
(七)标签和API总结(1)
① {{ 变量名 }}
表示绑定的变量,调用时需要用this.变量名
② v-model=”变量”
双向绑定使用,如果input里不加任何type就是文本,如果加type就是type,例如:
<input v-model="DATE" type="date"/>
<li>{{DATE}}</li>
就会将日期类型的输入框的值,和li标签显示的内容绑定在一起。
③ v-on:click=”函数名”
点击时触发该函数,可加()也可以不加,
$index作为参数表示索引,索引值从0开始。
④ v-for
双向绑定的在数组内容更新后,会实时更新,v-model也是;
类似for in语句,被多次使用的是
⑤ v-on:事件
即触发的事件,有click(点击),keypress(按键按下)
事件后面可以跟更具体的,例如keypress.enter是回车,keypress.space是空格等
更多的需要之查看
⑥ new vue
通过new一个vue的实例,然后传一个对象作为参数给这个实例;
其中:
el 表示绑定的模板(只会匹配到绑定的第一个)
data 表示数据,可以直接被取用,例如用在v-model或者是{{变量名}}中
methods 表示方法
⑦ 函数内部调用变量
通过this.变量名,例如:
data: {
    val: "1",
    values: []
},
methods: {
    addToList: function () {
        console.log(this.val);
这里的this.val就是上面的data.val,也是html里的{{val}},也是v-model=”val”,但不
6d2558e5767e0d1e54e2aa228402a129
{{val.val}}
5187c04fea996ca968333783dbdc00a8
##bed06894275b65c1ab86501b08a632eb
val.val in
. As for the reason, I personally think that the val here is within the scope of v-for. Therefore, the val in val in values has a higher priority in the scope chain.
Related recommendations:js simple two-way binding case code
Examples to explain jQuery’s implementation of html two-way binding function
The above is the detailed content of Detailed explanation of two-way binding in vue.js. For more information, please follow other related articles on the PHP Chinese website!
Related articles
See more- An in-depth analysis of the Bootstrap list group component
- Detailed explanation of JavaScript function currying
- Complete example of JS password generation and strength detection (with demo source code download)
- Angularjs integrates WeChat UI (weui)
- How to quickly switch between Traditional Chinese and Simplified Chinese with JavaScript and the trick for websites to support switching between Simplified and Traditional Chinese_javascript skills


