Home >Web Front-end >PS Tutorial >How to modify the font in the picture in PS
How to modify the font in the picture in PS
- 零到壹度Original
- 2018-03-17 13:32:3718734browse
This time I will bring you some tips and methods on how to use Photoshop to modify certain text in pictures. The following is a detailed analysis, let’s take a look.
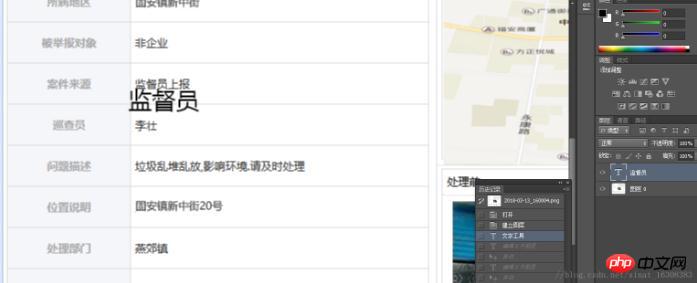
1. First write some text that already exists in the picture, such as "Supervisor" in this example

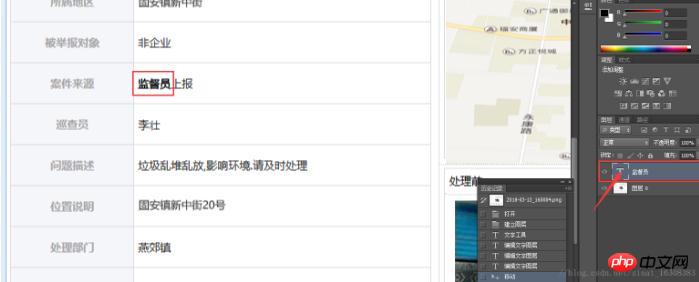
2. Move the text to At the position of the text in the original image, double-click to select the text layer, reduce the font size, and change the font until it overlaps the text in the original image

3. After confirming the font and size, hold down Shift Use the keys to drag the text graphics to keep moving on the same vertical line

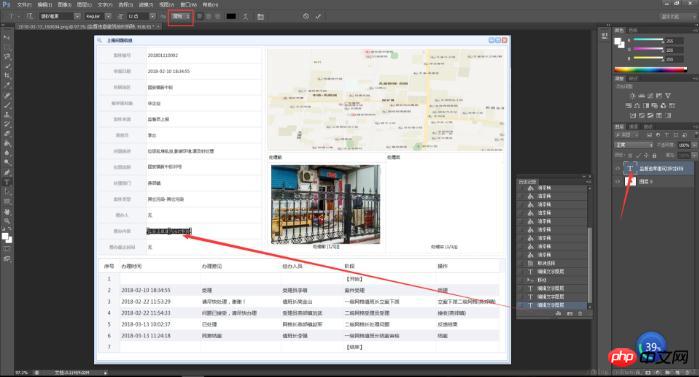
4. Select the text that needs to be removed from the original image in the rectangular box,"Paint Bucket" Hold down the Alt key to absorb color, fill the selection, Ctrl+D to cancel the selection
Select the text layer, and modify it to the required text


The above is the detailed content of How to modify the font in the picture in PS. For more information, please follow other related articles on the PHP Chinese website!

