
Home >Web Front-end >JS Tutorial >Detailed explanation of the core technology of constructing flow charts in js JsPlumb_javascript skills
Detailed explanation of the core technology of constructing flow charts in js JsPlumb_javascript skills

- WBOYWBOYWBOYWBOYWBOYWBOYWBOYWBOYWBOYWBOYWBOYWBOYWBOriginal
- 2016-05-16 15:27:133382browse
The project uses the drag-and-drop flow chart technology JsPlumb in the Web. It is actually not difficult. However, some flash-like effects made using HTML in the project feel pretty good, so I would like to share them here.
1. Rendering display
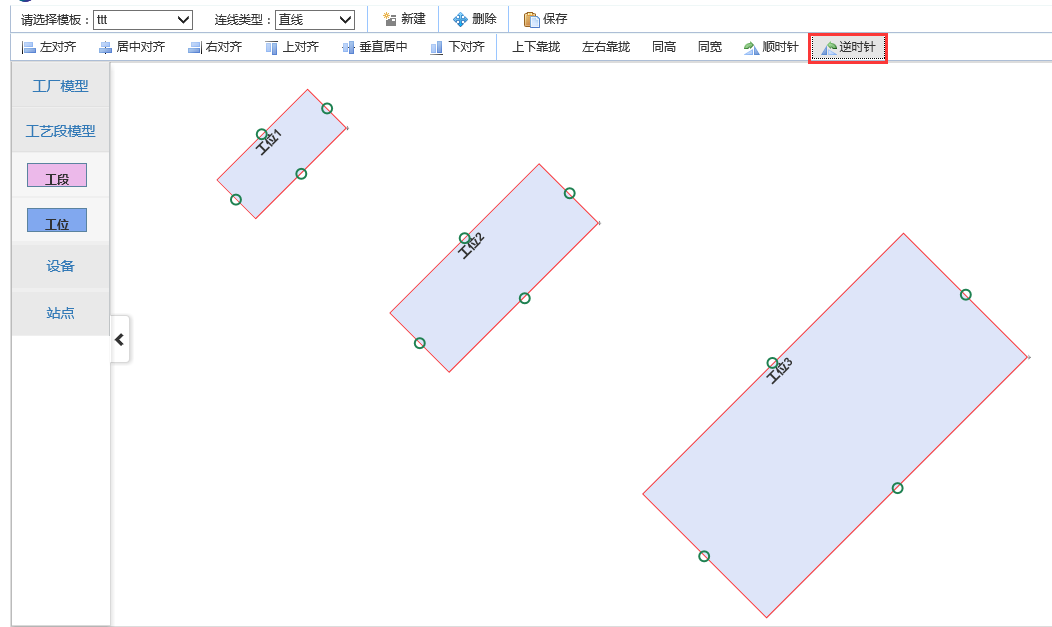
1. Drag the element from the left to the middle area, and then connect the line
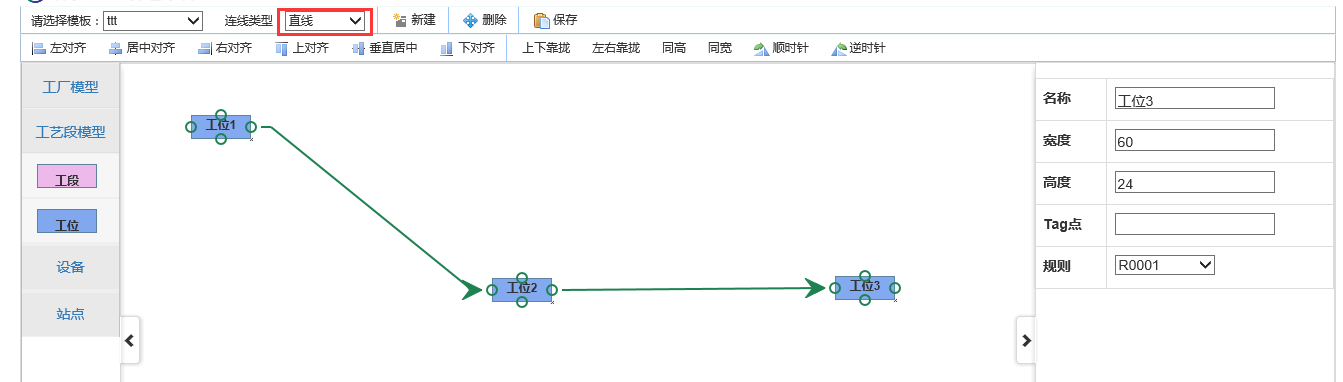
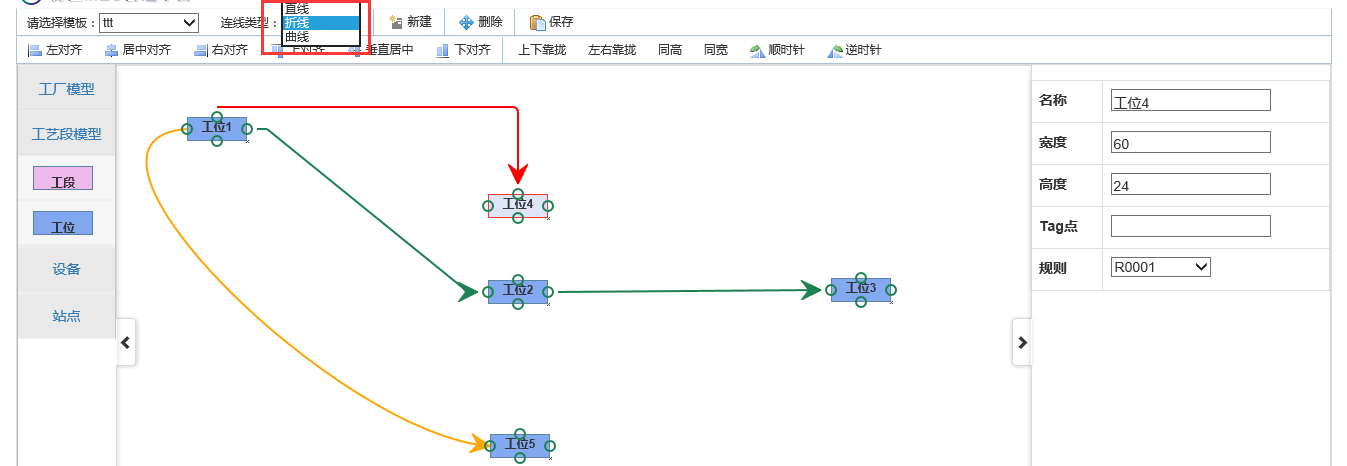
2. The connection type can be customized: here it is defined as straight line, polyline, and curve. In the actual project, we define it as sub-assembly line, sub-assembly branch line, final assembly line, etc. according to the business
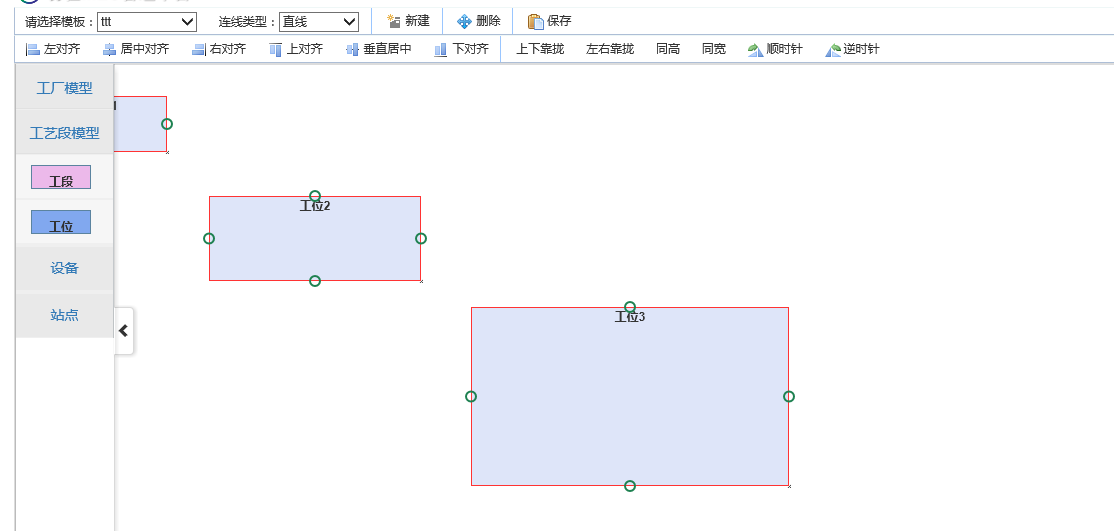
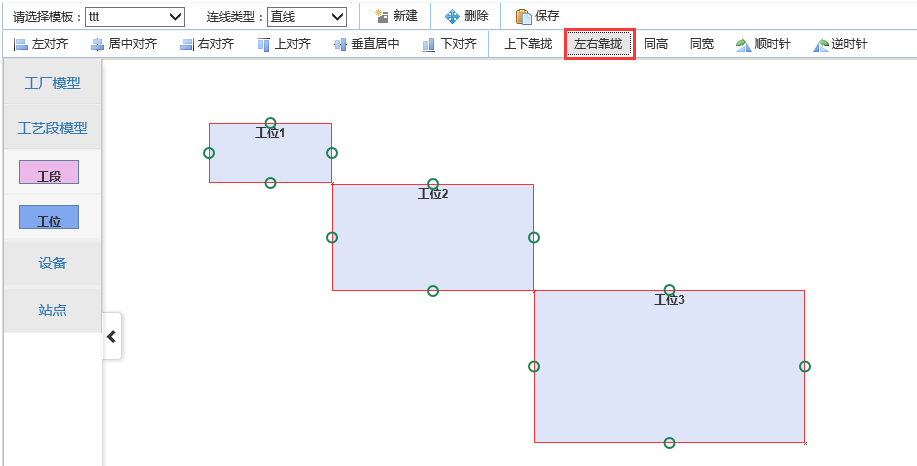
3. Drag the mouse area to select elements, and the selected elements will be dragged to the same position.


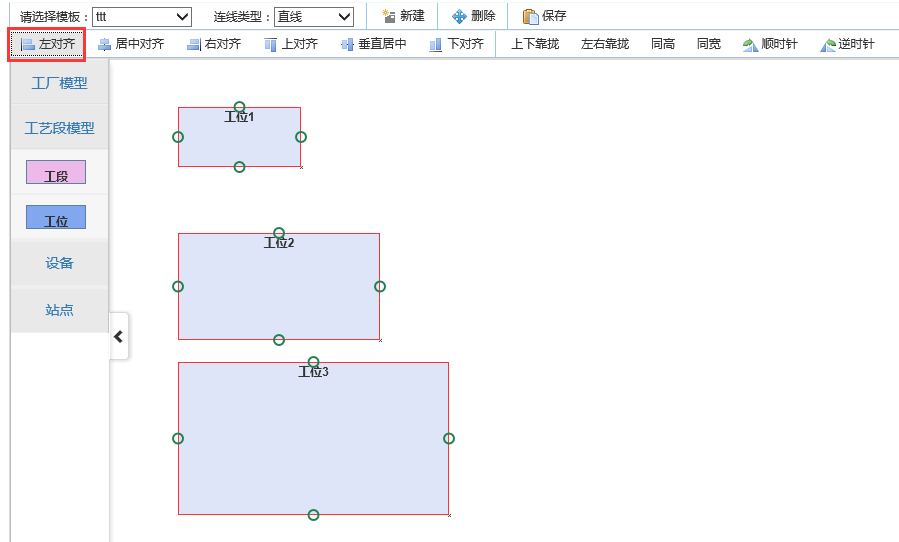
4. Align the selected elements to the left.
5. Center-align the selected elements

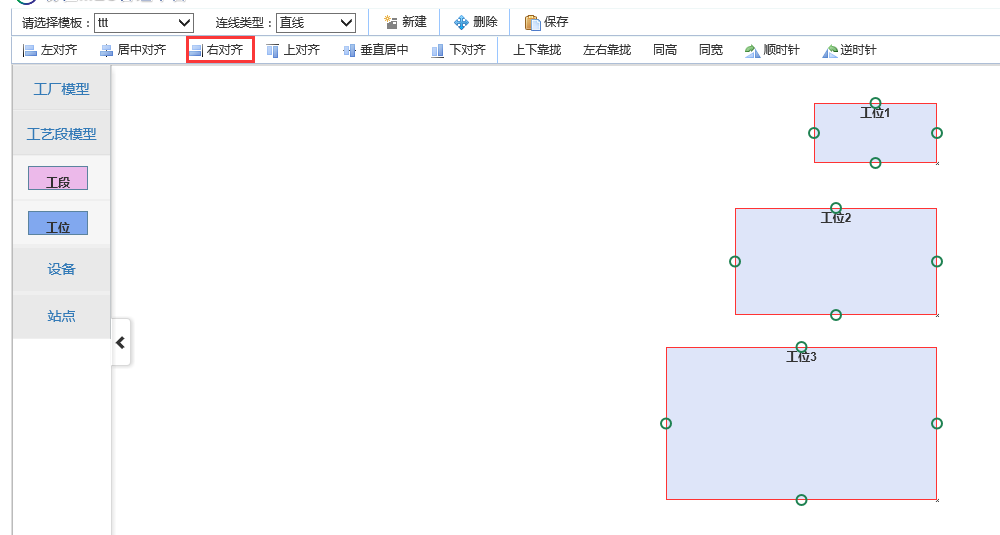
6. Right alignment
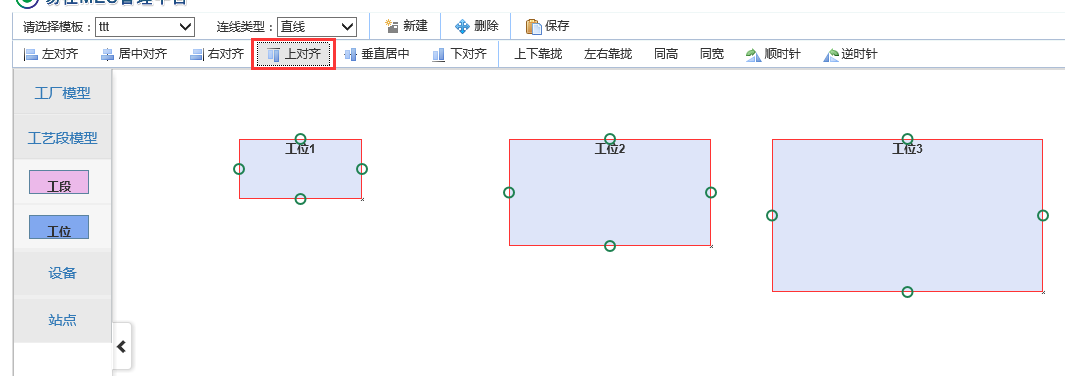
7. Top alignment
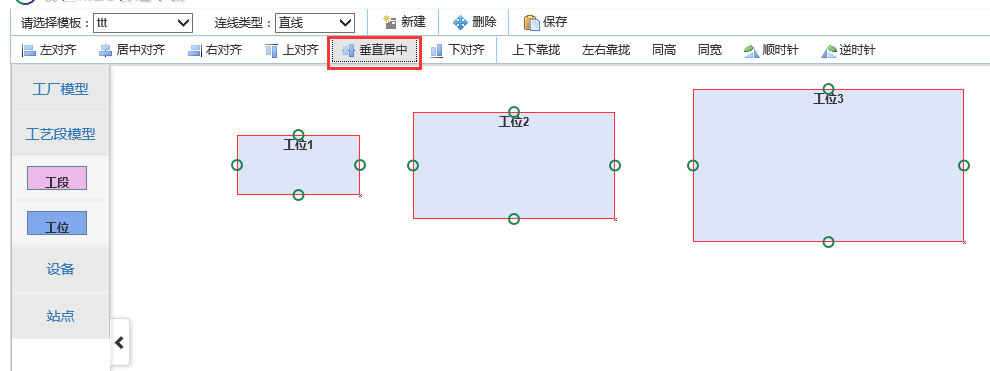
8. Vertical center alignment
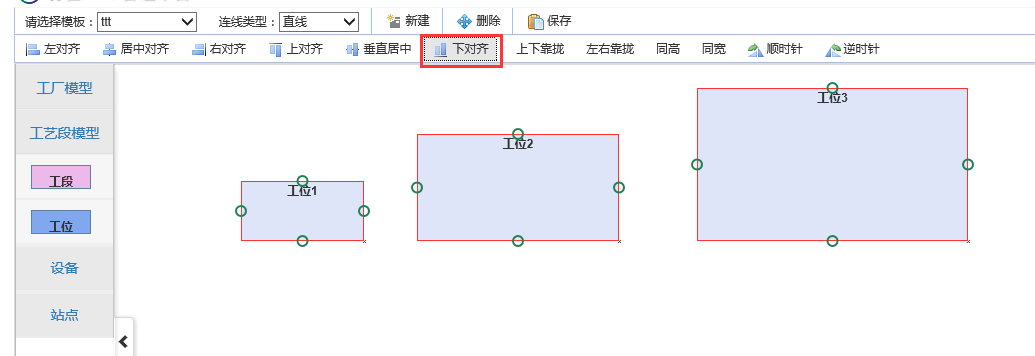
9. Bottom alignment
10. Move up and down based on the first selected element

11. Move left and right according to the first selected element
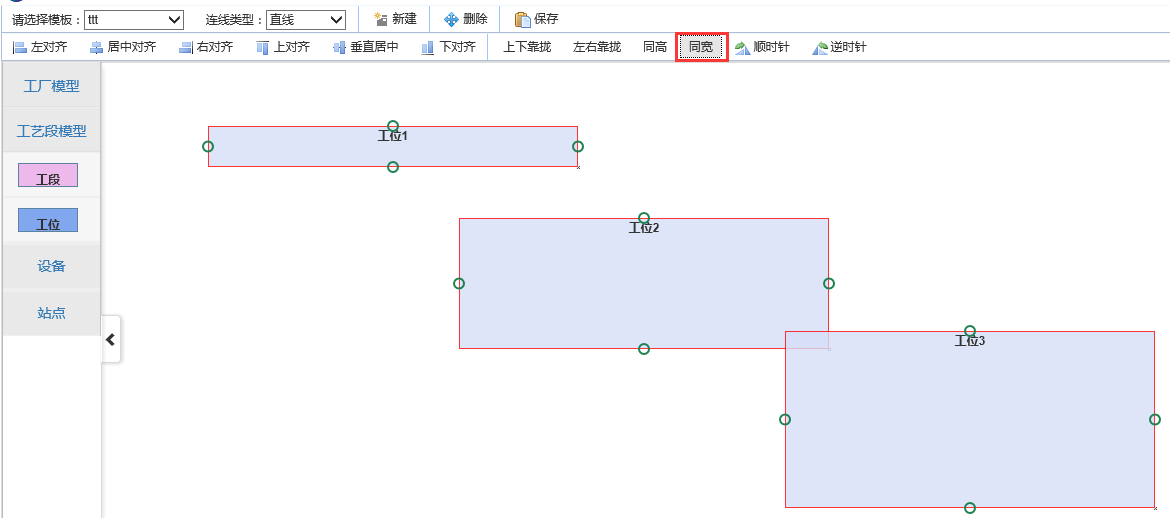
12. The height is the same as the first selected element

13. Same width as the first selected element
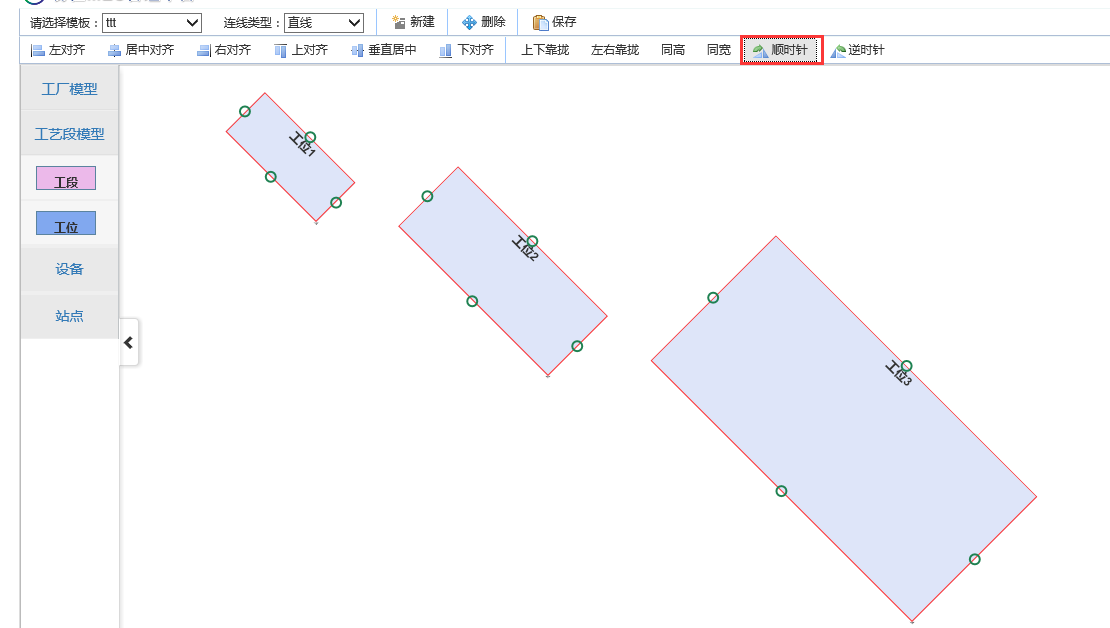
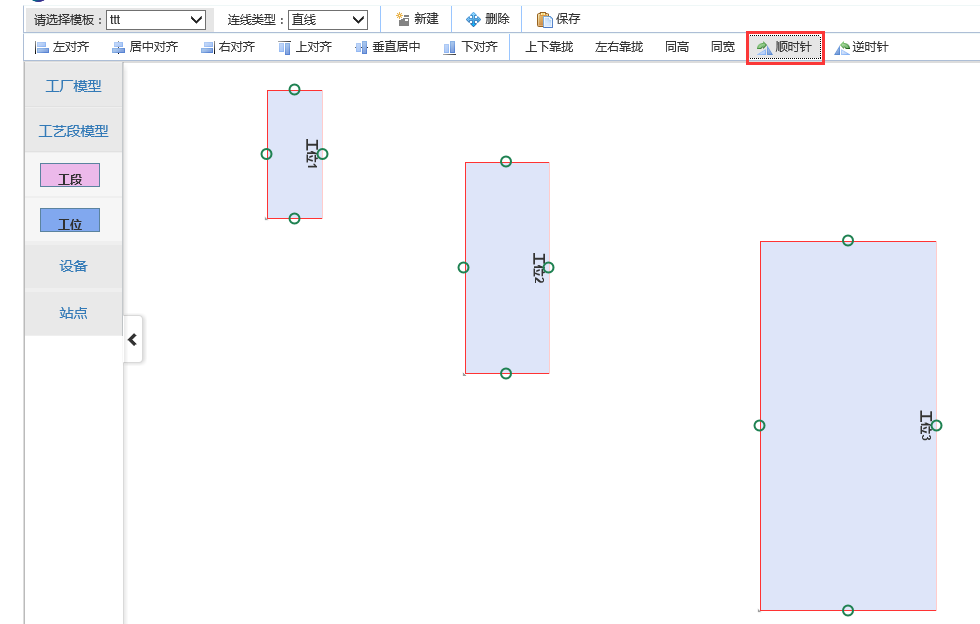
14. Rotate the selected element clockwise and click once to rotate 45 degrees
15. Rotate the selected element counterclockwise.
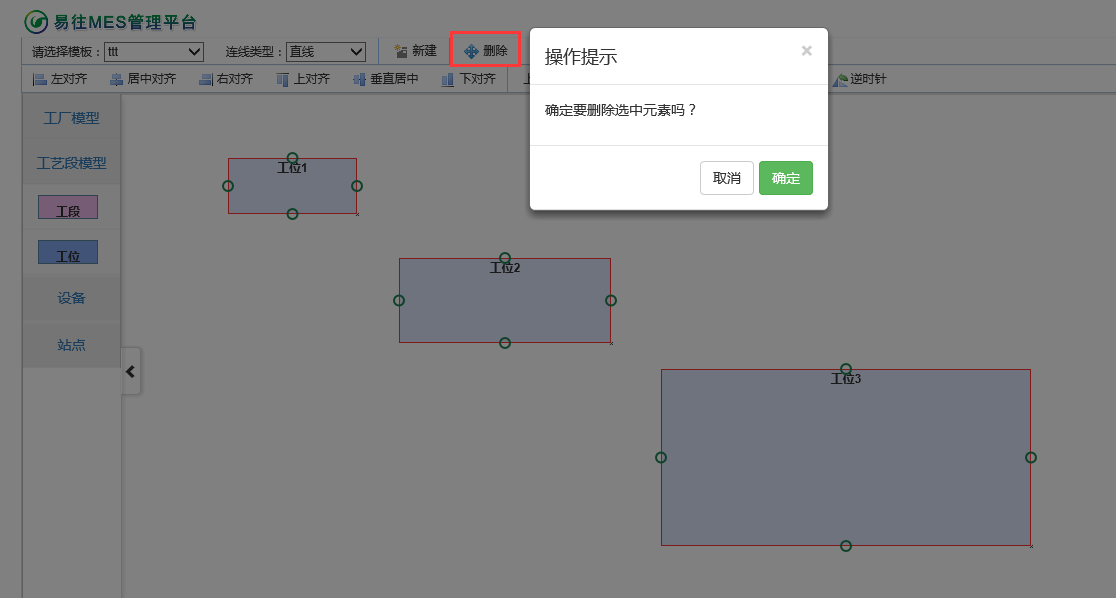
16. Select to delete elements and the connections above them
A lot of the effects here actually don’t play a big role in the project, and many of them are just for display.
2. Detailed code explanation
There are many effects involved here and may be introduced in multiple articles. This article will take a look at the core technology for constructing flow charts: JsPlumb.
1. Overview
Regarding the content of JsPlumb, let’s briefly explain it here. jsPlumb is a powerful JavaScript connection library. It can connect elements in HTML with arrows, curves, straight lines, etc. It is suitable for developing charts, modeling tools, etc. on the Web. It supports three JavaScript frameworks: jQuery jQuery UI, MooTools and YUI3, which is very powerful. In this project, we will still explain it in conjunction with JQuery, which is most familiar to everyone. And another thing to note is the browser compatibility of JsPlumb. JsPlumb supports IE 6 or above, Firefox, Google and other browsers
2. Use
(1) Import JS file
You can go directly to the official website to download the latest js library. Since JsPlumb requires the support of JQuery, according to the Internet, it is only compatible with jQuery 1.3.x and above, and is compatible with jQuery UI 1.7.x, 1.8.x and 1.9.x. The above test passed. So we need to download a higher version of JQuery and JQuery UI. Regarding the content of JsPlumb, you only need to quote a Js. Similar to
<script src="~/Content/jquery-1.9.1.min.js"></script>
<script src="~/Content/jquery-ui-1.11.4.custom/jquery-ui.js"></script>
<link href="~/Content/jquery-ui-1.11.4.custom/jquery-ui.min.css" rel="stylesheet" />
<script src="~/Content/jsPlumb-master/dist/js/jquery.jsPlumb-1.7.5.js"></script>
(2)初始化
使用JsPlumb需要注意一点,JsPlumb的连线的样式是由点确定的,也就是说点的样式里面包含了相关的属性来说明当使用此点来连线的时候,连线的样式应该是什么样的。
在我们项目里面,左边的模型区域,中间才是设计区域。那么要将一个元素从模型区域创建出来,就要用到我们JQuery UI里面的draggable和droppable事件。首先我们注册左边模型的draggable和中间区域的droppable事件。
cshtml页面代码,b5bede2f1a11ddd318880267d8ccf85d这个是左边模型的容器,b0970a1dbc6f13230850edee7214d8fc16b28748ea4df4d9c2150843fecfba68表示中间区域容器。
<div id="divContentLeftMenu">
      <div class="sidebar-menu" id="divSidebar">
        <a href="#plantmodel" onclick="Resize()" class="nav-header menu-first collapsed" data-toggle="collapse">工厂模型</a>
        <ul id="plantmodel" class="nav nav-list collapse menu-second">
        </ul>
        <a href="#artlinemodel" onclick="Resize()" class="nav-header menu-first collapsed" data-toggle="collapse">工艺段模型</a>
        <ul id="artlinemodel" class="nav nav-list collapse menu-second">
          <li>
            <a href="#">
              <div class="node radius" id="node4" dbtype="DTO_TM_ART_LINE">
                <label>工段</label>
              </div>
            </a>
          </li>
          <li>
            <a href="#">
              <div class="node" id="node5" dbtype="DTO_TM_ULOC">
                <label>工位</label>
              </div>
            </a>
          </li>
        </ul>
      </div>
    </div>
    <div id="divCenter"></div>
Js代码:
首先我们定义几个点的样式的全局变量
//基本连接线样式
var connectorPaintStyle = {
  strokeStyle: "#1e8151",
  fillStyle: "transparent",
  radius: 5,
  lineWidth: 2
};
// 鼠标悬浮在连接线上的样式
var connectorHoverStyle = {
  lineWidth: 3,
  strokeStyle: "#216477",
  outlineWidth: 2,
  outlineColor: "white"
};
var endpointHoverStyle = {
  fillStyle: "#216477",
  strokeStyle: "#216477"
};
//空心圆端点样式设置
var hollowCircle = {
  DragOptions: { cursor: 'pointer', zIndex: 2000 },
  endpoint: ["Dot", { radius: 7 }], //端点的形状
  connectorStyle: connectorPaintStyle,//连接线的颜色,大小样式
  connectorHoverStyle: connectorHoverStyle,
  paintStyle: {
    strokeStyle: "#1e8151",
    fillStyle: "transparent",
    radius: 5,
    lineWidth: 2
  },    //端点的颜色样式
  //anchor: "AutoDefault",
  isSource: true,  //是否可以拖动(作为连线起点)
  connector: ["Straight", { stub: [0, 0], gap: 10, cornerRadius: 5, alwaysRespectStubs: true }], //连接线的样式种类有[Bezier],[Flowchart],[StateMachine ],[Straight ]
  isTarget: true,  //是否可以放置(连线终点)
  maxConnections: -1,  // 设置连接点最多可以连接几条线
  connectorOverlays: [["Arrow", { width: 10, length: 10, location: 1 }]]
};
然后再页面初始化完成之后注册事件
        $(function(){
        //左边区域的draggable事件
        $("#divContentLeftMenu .node").draggable({
          helper: "clone",
          scope: "plant"
        });

        //中间拖拽区的drop事件
        $("#divCenter").droppable({
          scope: "plant",
          drop: function (event, ui) {
            // 创建工厂模型到拖拽区
            CreateModel(ui, $(this));
          }
        });
        });

//1.创建模型(参数依次为:drop事件的ui、当前容器、id、当前样式)
 function CreateModel(ui, selector) {
    //1.1 添加html模型
    var modelid = $(ui.draggable).attr("id");
    i++;
    var id = modelid + i;
    var cur_css = modelid;
    var type = $(ui.helper).attr("dbtype");
    $(selector).append('<div class="node ' + cur_css + '" id="' + id + '" dbtype="' + type + '" parentid="' + $(selector).attr("id") + '" onclick="oInitElement.GetPropertiesByType(\'' + type + '\',this)" ondblclick="InitStation().DbClick(\'' + type + '\',this)" >' + $(ui.helper).html() + '</div>');
    var left = parseInt(ui.offset.left - $(selector).offset().left);
    var top = parseInt(ui.offset.top - $(selector).offset().top);
    $("#" + id).css("left", left).css("top", top);
    //jsPlumb.setContainer($("#divCenter"));
    //1.2 添加连接点
    jsPlumb.addEndpoint(id, { anchors: "RightMiddle" }, hollowCircle);
    jsPlumb.addEndpoint(id, { anchors: "LeftMiddle" }, hollowCircle);
    jsPlumb.addEndpoint(id, { anchors: "TopCenter" }, hollowCircle);
    jsPlumb.addEndpoint(id, { anchors: "BottomCenter" }, hollowCircle);
    jsPlumb.draggable(id);

    //1.3 注册实体可draggable和resizable
    $("#" + id).draggable({
      containment: "parent",
      start: function () {
        startMove();
      },
      drag: function (event, ui) {
        MoveSelectDiv(event, ui, id);
        jsPlumb.repaintEverything();
      },
      stop: function () {
        jsPlumb.repaintEverything();
      }
    });

    $("#" + id).resizable({
      resize: function () {
        jsPlumb.repaintEverything();
      },
      stop: function () {
        jsPlumb.repaintEverything();
        //oInitElement.SendPropRequest("DTO_TM_PLANT", $(this));
      }
    });
    return id;
  };
重点来看看这一句:
jsPlumb.addEndpoint(id, { anchors: "RightMiddle" }, hollowCircle);
调用了JsPlumb里面的addEndpoint方法,第一个参数表示页面标签的id,第一个表示连线点的位置(RightMiddle、LeftMiddle、TopCenter、BottomCenter四个选项);第三参数表示点的样式以及连线的样式。没调用依次addEndpoint方法,元素上面就会多一个连线的节点。关于hollowCircle里面各个参数的意义,可以查看api。
还有一句多个地方都看到了:
jsPlumb.repaintEverything();
看字面意思大概能知道这句是干什么的,修复所有。当在中间区域拖动元素的时候,如果不带这一句,节点不会跟着元素一起移动。加上之后节点才会跟随标签移动。至此,最基础的JsPlumb连线就完成了。
以上就是本文的全部内容,希望能够帮助大家学习掌握流程图的核心技术JsPlumb。
Related articles
See more- An in-depth analysis of the Bootstrap list group component
- Detailed explanation of JavaScript function currying
- Complete example of JS password generation and strength detection (with demo source code download)
- Angularjs integrates WeChat UI (weui)
- How to quickly switch between Traditional Chinese and Simplified Chinese with JavaScript and the trick for websites to support switching between Simplified and Traditional Chinese_javascript skills