
Home >Operation and Maintenance >Linux Operation and Maintenance >VMWare installation Centos 6.9 method tutorial
VMWare installation Centos 6.9 method tutorial
- 巴扎黑Original
- 2017-06-23 14:45:072606browse
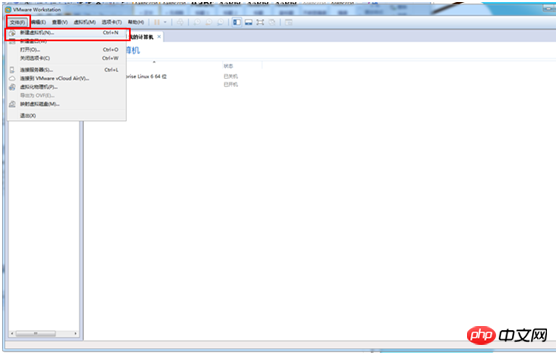
1. Create a new virtual machine
(1) Click File-->New Virtual Machine
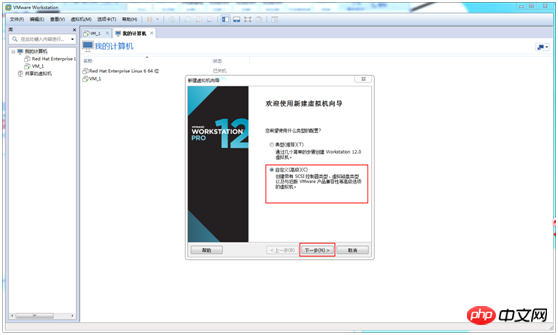
(2) Select Custom (Advanced) --> Next step
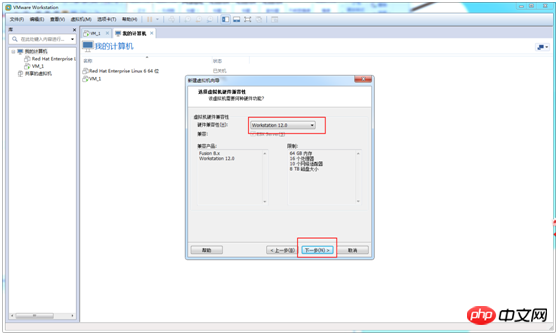
(3) Select Workstation 12.0 --> Next step
(4 ) Choose to install the operating system later --> Next step

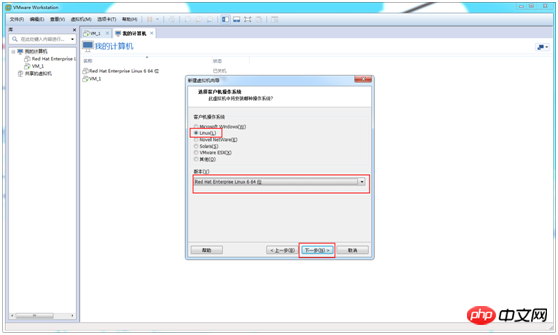
(5) Select Linux à Red Hat Enterprise Linux 6 64-bit --> Next step
(6) Modify the virtual machine name --> Next step
This virtual machine name is the name you will see in the left column in the future
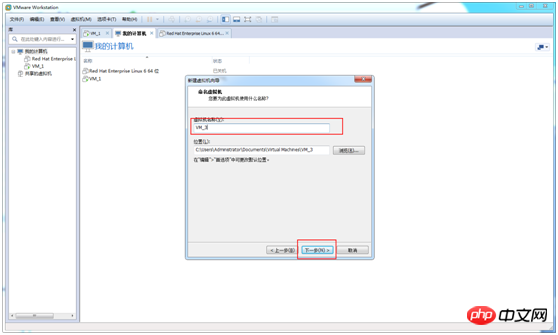
(7) Click next
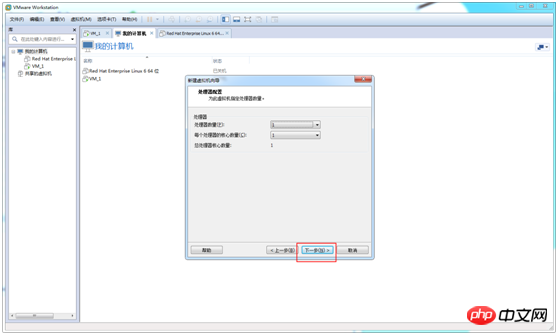
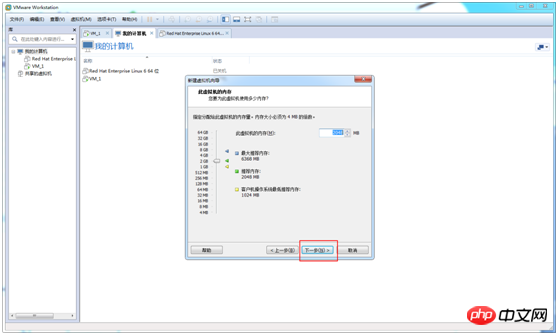
(8) Directly use the recommended memory, click next step
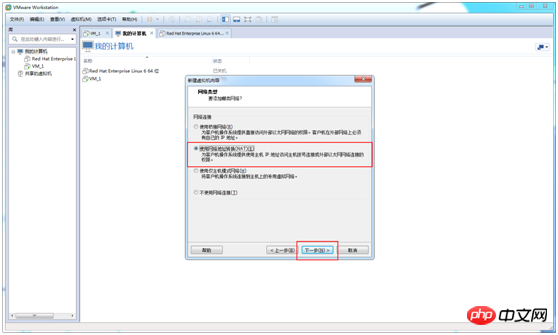
(9) Choose to use Network Address Translation (NAT) --> Next step
This step is to select the network type, which can be changed at any time after installing the virtual machine.
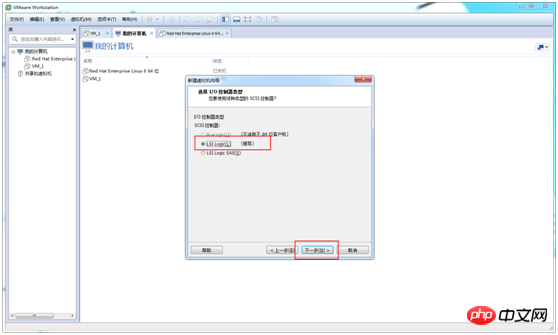
(10) Select LSI Logic --> Next step
(11)Select SCSI(S) --> Next step
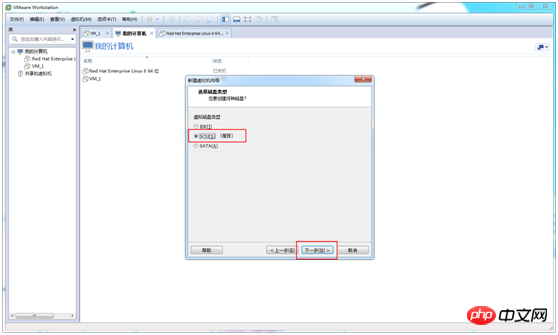
(12) Select to create a new virtual disk--> Next step

(13) Modify the maximum disk size --> Split the virtual disk into multiple files --> Next step
The maximum disk size is generally 20G, but here it is changed to 40G due to my own needs.

(14) The default disk file is enough, just click Next

(15)Click Finish

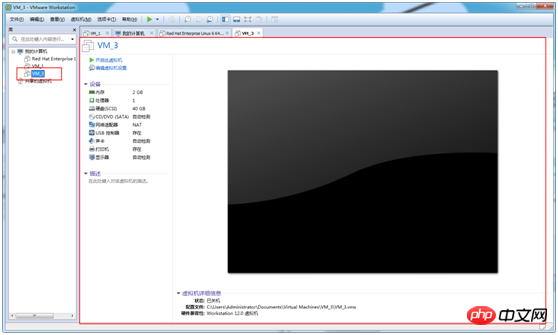
Final result: One more virtual machine named VM_3
2. Install on the VM_3 virtual machine Centos 6.9 (without desktop)
First download CentOS-6.9-x86_64-bin-DVD.iso, I put the file to
F:\soft_install\job_software\VMWare\CentOS-6.9- x86_64-bin-DVD1.iso
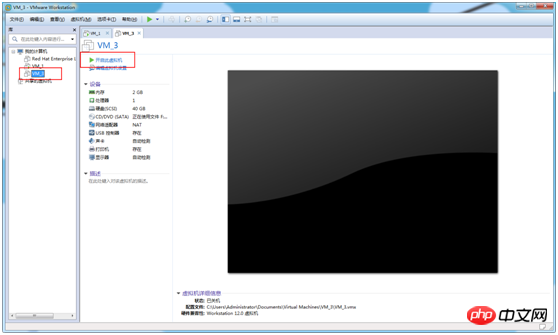
(1) Open the settings panel
Select virtual machine VM_3 --> Virtual Machine--> Settings

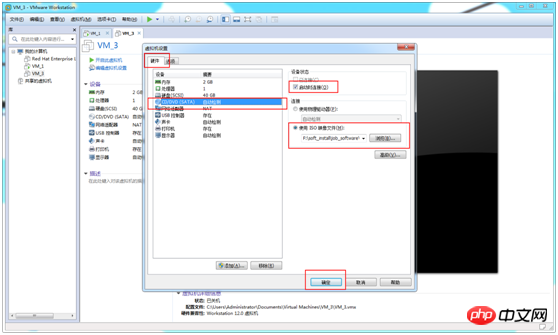
(2) Select the image file
Select the hardware--> CD/DVD(SATA)--> Check the connection during startup--> Select to use the ISO image file--> ; Browse--> Select the path to store CentOS-6.9-x86_64-bin-DVD.iso--> Confirm
(3) Start the virtual machine
Select VM_3 --> Start this virtual machine
(4) Install system
Select Install or upgrade an existing system

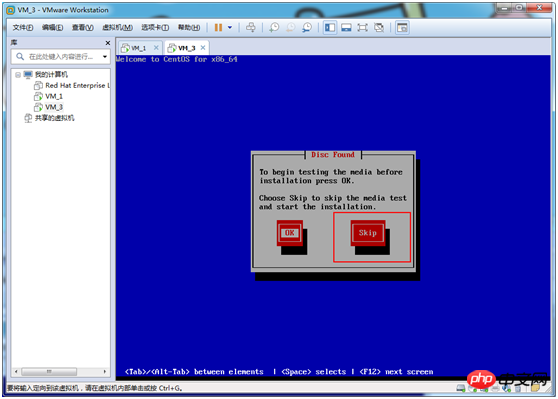
(5) Skip disk detection
Select skip
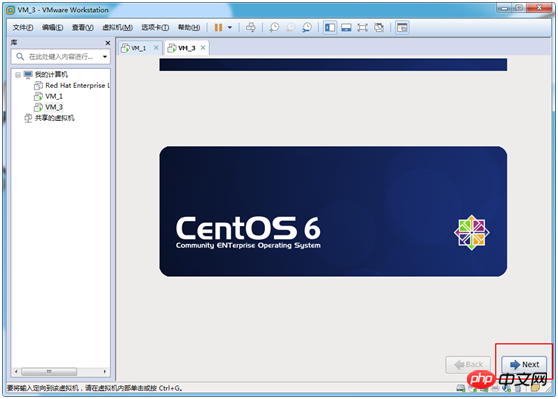
(6) Click Next
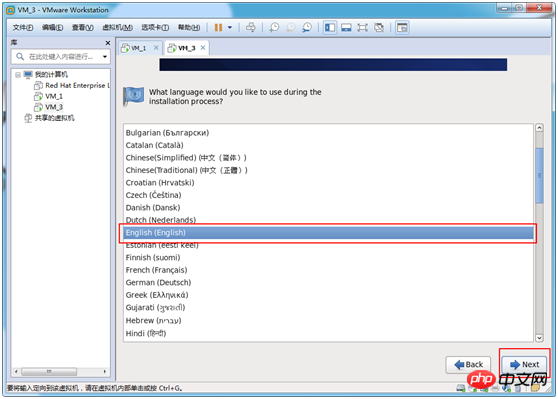
(7)Select language
Select English --> Next
(8) Select keyboard type
Select U.S.English --> Next

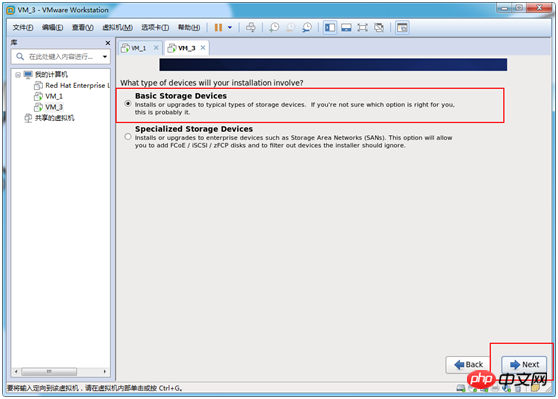
(9)Select the disk type
Select Basic Storage Devices --> Next
(10)Format Disk
Click Yes, discard any data

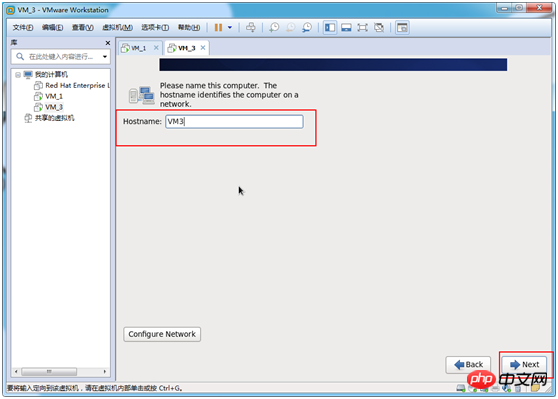
(11) Modify the host name (the host name is the host name you will see in the linux system in the future )
Modify to VM3 --> Next
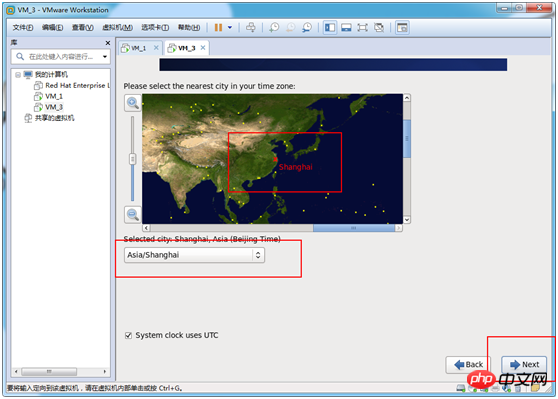
(12) Select time zone
Select Asia/Shanghai --> Next
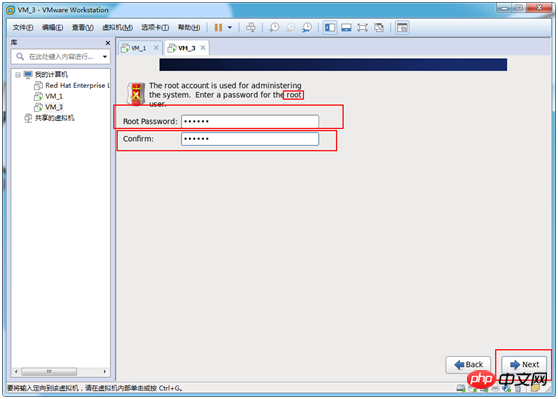
(13) Modify the password of the root super administrator
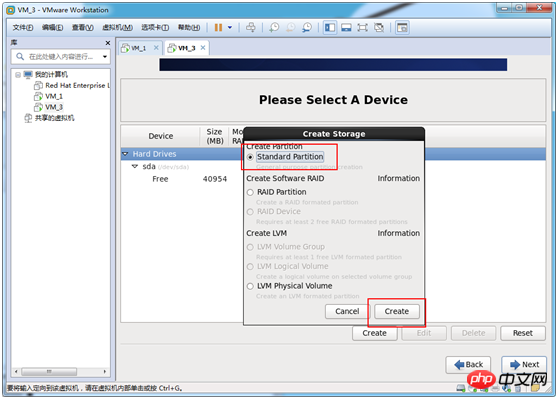
(14) Choose how to partition, here is the choice Custom partition
Select Create Custom Layout --> Next
Note: The first is to use all the space, the second is to replace the existing Linux system, and the third is to reduce the current system, the fourth is to use unused space, and the fifth is to customize the partition;
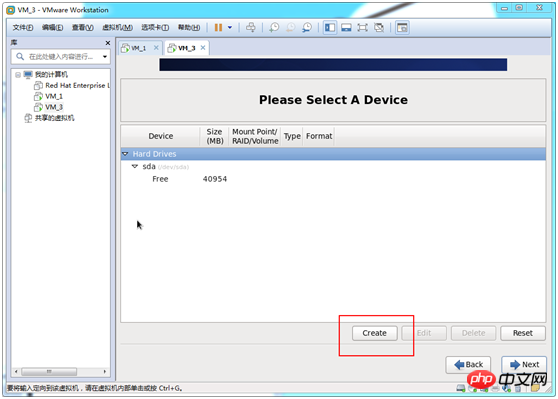
## Create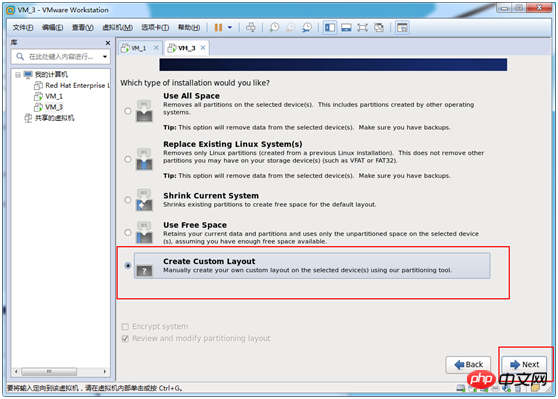
#
##  # oko itself
#
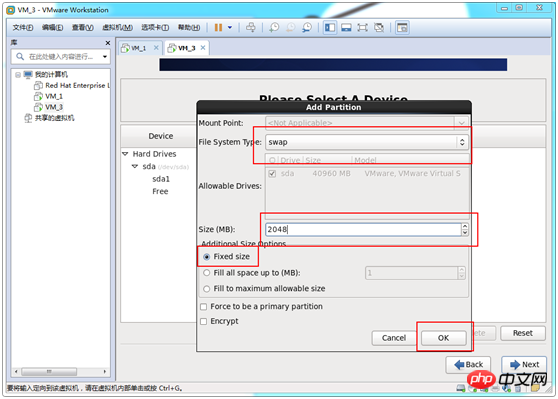
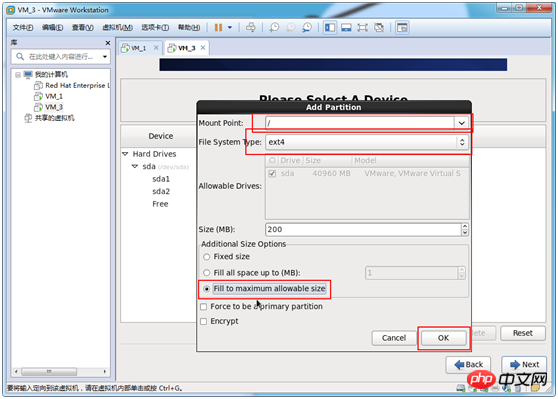
; ext4 --> 200 --> Fixed size --> Ok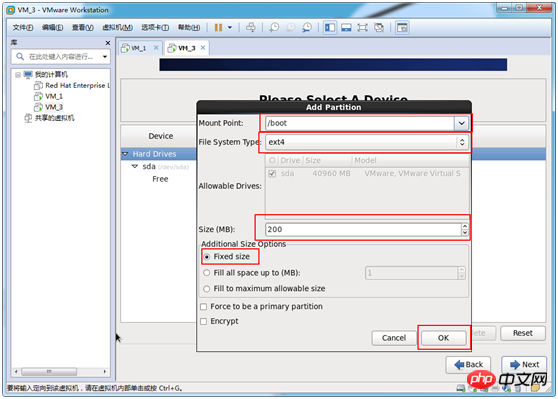
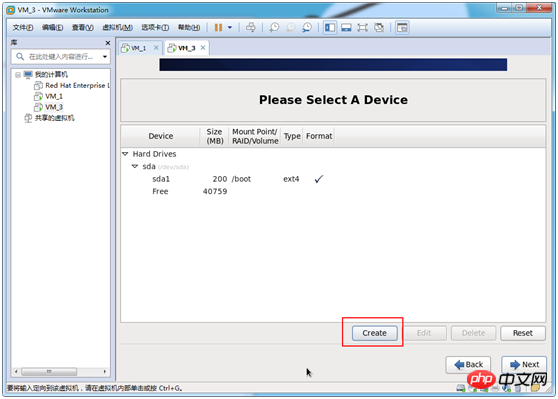


(18) Format partition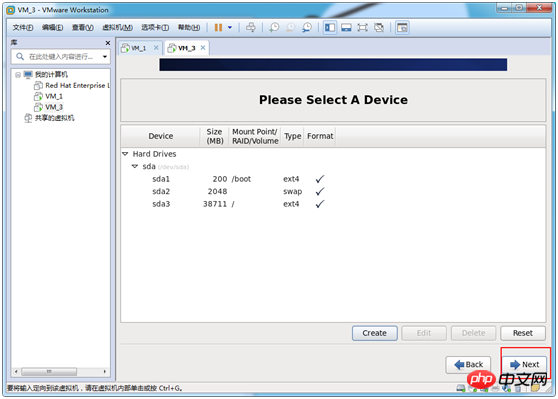
( 19) The system loads the settings and the default settings are sufficient. 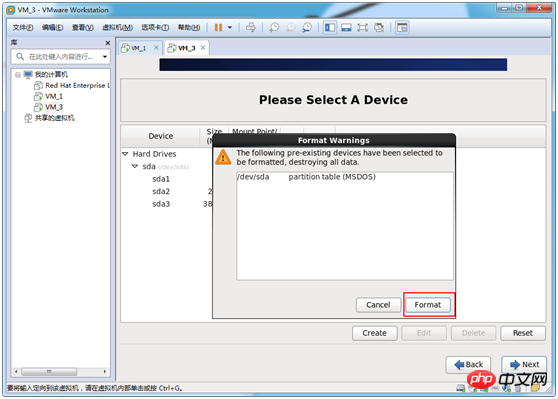
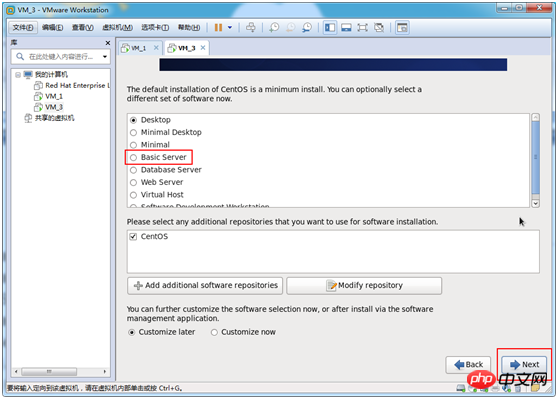
(20) Select the system, here select Basic Server, you can choose as needed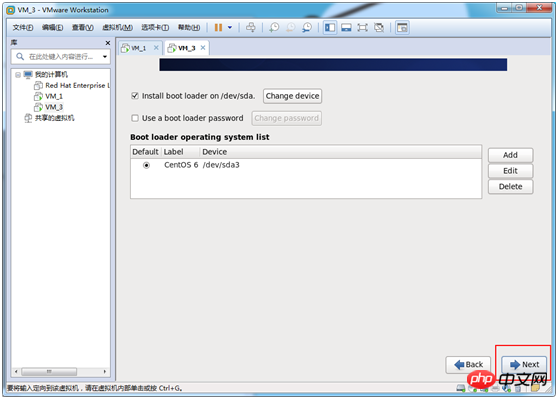
Desktop: Basic desktop system, including commonly used desktop software, such as document viewing tools
Minimal Desktop: Basic desktop system, including less software
Minimal: Basic system, does not include any optional Software package
Basic Server: Platform support for the installed basic system, excluding desktop
Database Server: Basic system platform, plus clients for MySQL and PostgreSQL databases, no desktop Web Server: Basic system platform, plus PHP, Web server, and MySQL and PostgreSQL database clients, no desktop
Virtual Host: basic system plus virtualization platform
Software Development Workstation: contains more software packages, basic system, virtualization Platform desktop environment, development tools
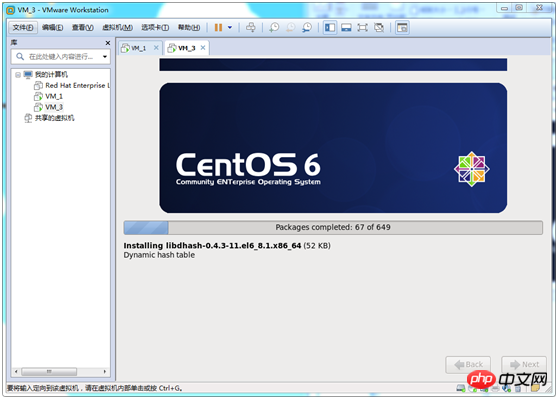
(21) The next step is to wait for the system installation to be completed
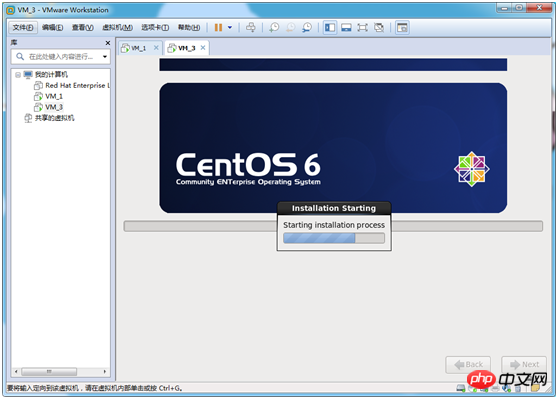
Continue to wait
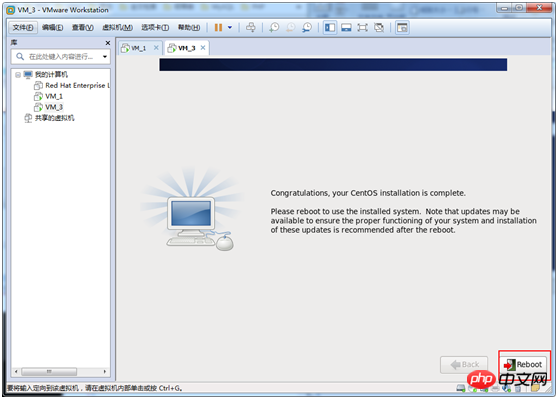
(22) Congratulations, the installation is completed! ! ! Just restart and leave the rest to the machine to do the rest
Reboot
The above is the detailed content of VMWare installation Centos 6.9 method tutorial. For more information, please follow other related articles on the PHP Chinese website!