Home >Web Front-end >H5 Tutorial >Detailed explanation of using HTML5+Javascript to create PPT on the browser (pictures and text)
Detailed explanation of using HTML5+Javascript to create PPT on the browser (pictures and text)
- 黄舟Original
- 2018-05-29 11:03:4210077browse
<span style="font-size:18px;">
</span>
Html5 has been a bit hot in the IT field recently, causing some turmoil among large companies such as Google, Adobe and Microsoft. The enthusiasm for HTML5 may be just a gimmick, but it may also be a real technological revolution for the Web. It might actually bring the web back to being a desktop application, with the browser being the platform.
Regarding the future Internet, I don’t know if you have this idea: web pages are like applications on the desktop today, and browsers are like operating systems such as Windows, so the future PC mechanism will need For basic applications and devices such as browsers and storage devices, PC users can request the server to download the corresponding application through the web page or even run it directly on the server and return the results to the client.
I recently need to give a presentation about the new features and application prospects of HTML5. We originally planned to use Powerpoint, but in order to show the actual graphical interface capabilities of HTML5, our team decided to directly use HTML5 to write an application to run in the browser to achieve the effect of PPT. Since the production time was only three days, there were a total of five to six hundred lines. The code is relatively rough, and although it is not as professional and powerful as Powerpoint, it is still a small sense of accomplishment as the first attempt of my own team, and I hope everyone can correct me. The following can be briefly explained. This is the main interface of the program.
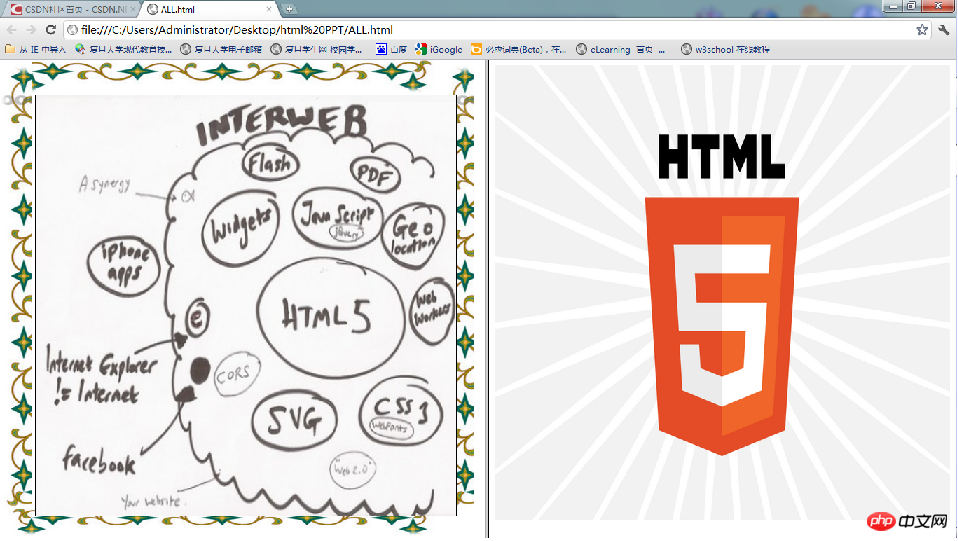
The presentation is basically the same as PPT, and the display of content is controlled by pressing the direction keys. The left side is used to display text content, and the right Frame is used to display pictures, games, hyperlinks and other auxiliary content. The demonstration process also includes some special effects, such as gradual display and text shadow. , color gradient, etc.
For each content that is about to be displayed, you can Create an object:
function UNITE()
{
  this.type=-1; //0表示文本,1表示矩形,2表示将要表演动画,3表示移去节点,4表示圆
  this.rx=-1;
  this.ry=-1;
  this.r=-1;
  this.rw=-1;
  this.rh=-1;
  this.style1="";
  this.style2="";
  this.rflag=1;//表示举行的类型.默认的时候是1类型
  this.tx=-1;
  this.ty=-1;
  this.tstyle="";
  this.tfont="";
  this.tvalue="";
  this.tflag=1;//1表示需要延时,0表示不需要延时
  this.url="";
}
This is how to create each object An object needs to be assigned and initialized in advance, for example:
var My=new Array();
function CreatePage1()
{
   My[0]=new UNITE();
   My[0].type=0; My[0].tx=50;My[0].ty=50;
   My[0].tstyle="blue";My[0].tfont="50px 隶书";
   My[0].tflag=0; My[0].tvalue="HTML5+CSS3+Javascript";
}
This is a script. The demonstration area requires a 3856173a0eceb679792f65a38e1fcb00 tag to create a canvas:
<canvas id="first" width=600 height=600 style="border:1px solid black;"></canvas>
It is relatively simple to obtain this canvas through ID without duplication. The following introduces several special effects. The first one is shadow text: 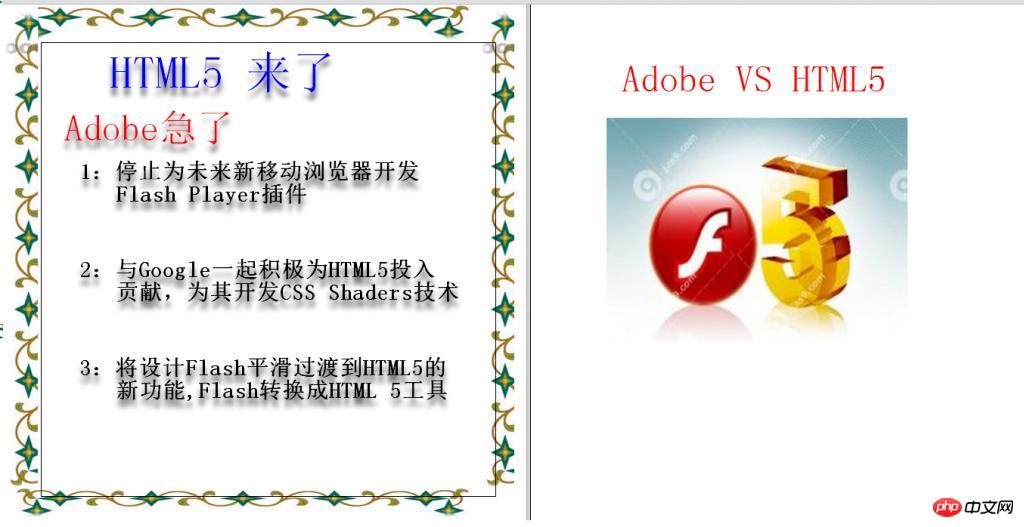
You can see that HTML’s color processing capabilities are as good as SVG’s. The specific code is as follows, including two types of text display. Type
function  draw_text(x,y,font,style,value,flag)
 {
   tx=x; ty=y;tfont=font;tstyle=style;tvalue=value;
     if(flag==2)//表示需要延时
    in_ID2=setTimeout("inte3()",200);
     else
     in_ID2=setTimeout("inte2()",20);
  }
 function inte2()
 { cxt.beginPath();
   cxt.font=tfont;
   cxt.shadowColor = "rgba(50, 50, 50, 0)";
   cxt.fillStyle=tstyle;
   cxt.fillText(tvalue,tx,ty);
   cxt.closePath();
   clearTimeout(in_ID2);
  }
function inte3()
{ cxt.beginPath();
   cxt.fillStyle =tstyle;
   cxt.shadowOffsetX = 0;
  cxt.shadowOffsetY = 10;
  cxt.shadowBlur = 10;
    cxt.font=tfont;
  cxt.shadowColor = "rgba(50, 50, 50, 1)";
   cxt.fillText(tvalue,tx,ty);
   cxt.closePath();
   clearTimeout(in_ID2);
}
Secondly, regarding the animation of the rectangle, there are several animations:
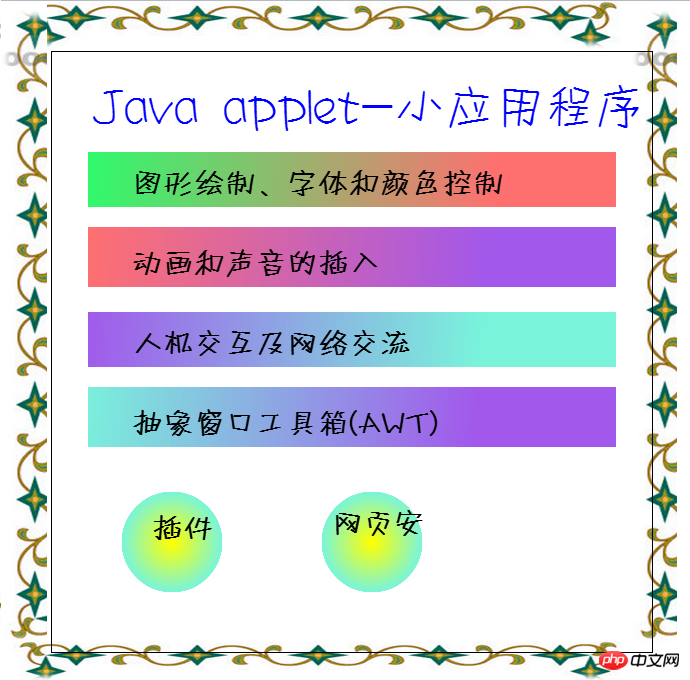
The appearances of the shapes are all animated, but the pictures are not easy to display:
/*************绘制收缩矩形的函数***********************/
   function  inte1()
   {
      var gradient = cxt.createLinearGradient(0, 0, 500, 40);
      gradient.addColorStop(0.1, style1);
      gradient.addColorStop(0.9, style2);
          if(count>10.0)
         clearInterval(in_ID1);
           count=count+1.0;
      var s,x1,y1,w1,h1;
      s=count/10.0;  x1=rx+0.5*rw*(1-s);  y1=ry+0.5*rh*(1-s);
       w1=s*rw; h1=rh*s;  cxt.fillStyle=gradient;
        cxt.fillRect(x1,y1,w1,h1);
    }
    function  draw_rect_scale(x,y,w,h,style11,style21,flag)
    { count=0.0;
      rx=x; ry=y; rw=w; rh=h; style1=style11;style2=style21;
     switch(flag)//选择动画的类型
     {
      case 1:in_ID1=setInterval("inte1()",50);break;
      case 2:in_ID1=setInterval("rflag2()",50);  break;
      case 3:in_ID1=setInterval("rflag3()",50);  break;
      }
    }
function rflag2() //表示建立动画效果是2类型的函数
{
      var gradient = cxt.createLinearGradient(0, 0, 500, 40);
       gradient.addColorStop(0.1, style1);
       gradient.addColorStop(0.9, style2);
       if(count>10.0)
          clearInterval(in_ID1);
       count=count+1.0; cxt.fillStyle=gradient;
    cxt.fillRect(rx-0.5*rw*0.2,ry,rw*count/10.0,rh*1.1);
}
function rflag3()//表示建立第三个效果是3类型的函数
{
      if(count>10.0)
          clearInterval(in_ID1);
       count=count+1.0;
 var gradient = cxt.createLinearGradient(0, 0, 500, 40);
       gradient.addColorStop(0.1, style1);
       gradient.addColorStop(0.9, style2);
       cxt.fillStyle=gradient;
       cxt.fillRect(rx-0.5*rw*0.2,ry,rw*1.2,rh*1.1);
      cxt.clearRect(rx-0.5*rw*0.2+count/10.0*0.5*rw,ry,rw*1.2*(1.2-count/10.0),rh*1.1);
}
/*********************************/
/***********建立淡出的圆**************************/
function circle1()
{
if(count>9.0)
clearInterval(in_ID3);
count=count+1.0;
var gradient = cxt.createRadialGradient(rx,ry,0,rx,ry,rr);
gradient.addColorStop(count/10.0, style1);
gradient.addColorStop(1-count/10.0, style2);
cxt.beginPath();
cxt.fillStyle=gradient;
//cxt.fillStyle="red";
cxt.arc(rx,ry,rr,0,Math.PI*2,true);
cxt.closePath();
cxt.fill();
}
function draw_circle(x,y,r,style11,style12,flag)
{
count=0.0;
rx=x; ry=y; style1=style11;style2=style12; rr=r;
in_ID3=setInterval("circle1()",50);}
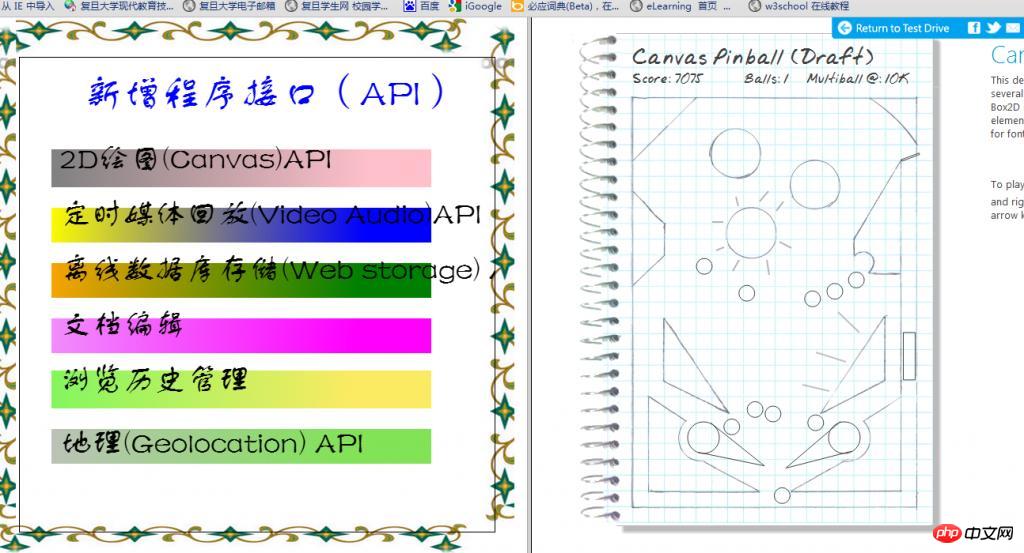
The last is the event processing function, due to time I was in a hurry and didn’t design it well at the beginning:
function event1()
{
     if(num==179)
        num=-1;
  if(event.keyCode==40)
   {  num+=1;
     if(num==100||num==9||num==18||num==29||num==42||num==109||num==115||num==121||num==123||num==133||num==148||num==164||num==0)
        cxt.clearRect(0,0,600,600);
    switch(My[num].type)
    {
     case 1:draw_rect_scale(My[num].rx,My[num].ry,My[num].rw,My[num].rh,My[num].style1,My[num].style2,My[num].rflag); break;
     case 0: draw_text(My[num].tx,My[num].ty,My[num].tfont,My[num].tstyle,My[num].tvalue,My[num].tflag); break;
     case 2: donghua(num); break;
     case 3: removeNode(num);break;
     case 4: draw_circle(My[num].rx,My[num].ry,My[num].r,My[num].style1,My[num].style2,My[num].rflag);break;
     }
   }

}
In the end, since the production time was only three days, the whole program was rough and the design was not perfect, but the overall effect was pretty good. The evaluation from teachers and classmates is pretty good. Interested students can discuss it with me. 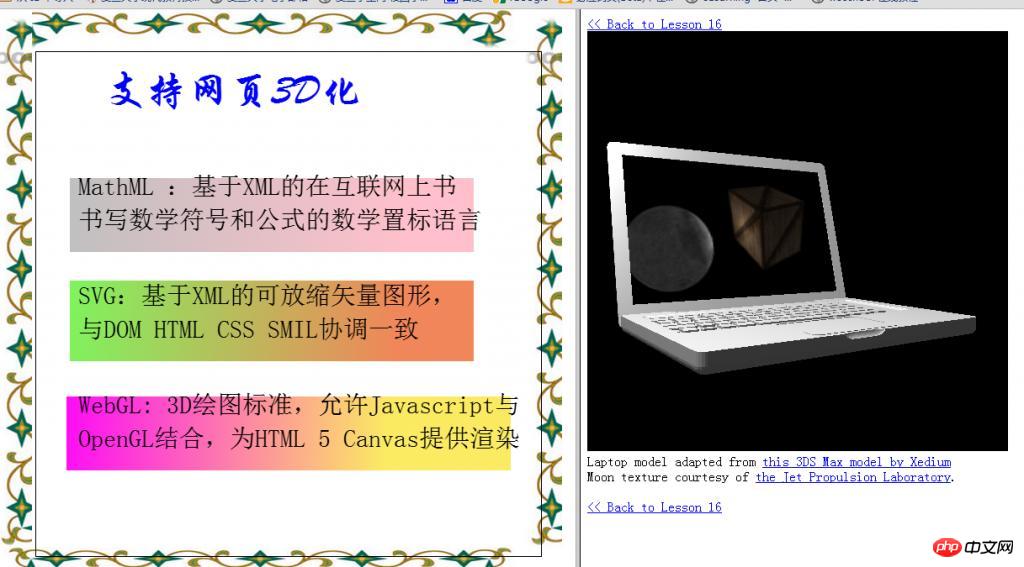
The above is the detailed content of Detailed explanation of using HTML5+Javascript to create PPT on the browser (pictures and text). For more information, please follow other related articles on the PHP Chinese website!
Related articles
See more- AlloyTouch full-screen scrolling plug-in creates a smooth H5 page in 30 seconds
- HTML5 actual combat and analysis of touch events (touchstart, touchmove and touchend)
- Detailed explanation of image drawing examples in HTML5 canvas 9
- Regular expressions and new HTML5 elements
- How to combine NodeJS and HTML5 to drag and drop multiple files to upload to the server

