

 System TutorialWindows SeriesThe Definitive Guide to Installing Windows 11 Update Without Hassle
The Definitive Guide to Installing Windows 11 Update Without Hassle
This guide will walk you through a smooth Windows 11 installation, minimizing potential problems. The key to a hassle-free upgrade lies in preparation. Before you even think about downloading the installer, ensure your system meets the minimum requirements. These include a compatible processor (check Microsoft's official website for the latest list), sufficient RAM (at least 4GB, but 8GB is recommended), a secure boot-enabled UEFI firmware, and a TPM 2.0 module. You'll also need at least 64GB of storage space, although more is always better.
Once you've confirmed your system's compatibility, back up your important data (we'll discuss this in detail later). Then, download the Windows 11 installation media from Microsoft's official website. Choose the appropriate version (64-bit is almost always the correct choice for modern systems) and create a bootable USB drive or ISO file. If using a USB drive, ensure it's at least 8GB in size and formatted to NTFS. Finally, restart your computer and boot from the installation media. Follow the on-screen instructions carefully. Remember to select the "Keep personal files and applications" option during the installation process if you're performing an in-place upgrade (we'll discuss this option further below). Regularly check for updates after the installation is complete to ensure your system is running the latest version and patched against vulnerabilities.
Common Windows 11 Installation Errors and Prevention
Several common errors can hinder a Windows 11 installation. Let's address some of the most frequent ones and how to prevent them:
- Incompatibility Issues: This is the most common error. Ensure your hardware meets the minimum requirements. Specifically, check your CPU, TPM, and Secure Boot settings in your BIOS. If your hardware is incompatible, you may need to upgrade components or consider a clean installation.
- Boot Errors: These often stem from issues with the installation media or BIOS settings. Verify the integrity of your installation media by creating it again or using a different USB drive. Ensure your BIOS is configured to boot from the USB drive or DVD. Incorrect boot order settings in the BIOS are a common culprit.
- Driver Issues: Outdated or incompatible drivers can cause problems. Update your drivers to the latest versions before attempting the upgrade. You can usually find these on the manufacturer's website.
- Storage Space Issues: Insufficient storage space is another frequent problem. Ensure you have at least 64GB of free space on your system drive before starting the installation.
- System File Corruption: Corrupted system files can prevent a successful installation. Running System File Checker (SFC) and Deployment Image Servicing and Management (DISM) tools before attempting the upgrade can help resolve this.
- Windows Update Errors: If you're updating through Windows Update, ensure your connection is stable and that there are no pending updates. Restart your computer and try again if necessary.
Backing Up Your Data Before Upgrading
Data loss is a significant concern during any operating system upgrade. Backing up your data before upgrading to Windows 11 is crucial. There are several methods:
- External Hard Drive or USB Drive: This is the simplest method. Connect an external drive, and use the built-in Windows backup tool or third-party software like Macrium Reflect or EaseUS Todo Backup to create a complete image backup or back up individual files and folders.
- Cloud Storage: Services like OneDrive, Google Drive, or Dropbox allow you to store your files online. This offers an offsite backup, protecting against physical damage to your computer. However, ensure you have sufficient cloud storage space.
- Network Share: If you have a network attached storage (NAS) device, you can back up your data to it.
Remember to test your backups after creation to ensure they are restorable. Don't rely solely on a single backup method; consider using a combination for redundancy.
In-Place Upgrade vs. Clean Install
You can choose between an in-place upgrade and a clean install when upgrading to Windows 11.
- In-place Upgrade: This method installs Windows 11 over your existing installation. It's generally faster and simpler, and it aims to preserve your files and programs. However, it may not resolve underlying system issues, and some applications might require reconfiguration.
- Clean Install: This involves completely wiping your hard drive and installing Windows 11 from scratch. It's more time-consuming but provides a fresh, clean system and can resolve many persistent problems. You'll need to reinstall all your applications and restore your data from a backup.
For most users, an in-place upgrade is sufficient, provided your system meets the requirements and you've backed up your data. However, if you're experiencing significant system issues or want a completely fresh start, a clean install is the better option. Choose the method that best suits your needs and comfort level.
The above is the detailed content of The Definitive Guide to Installing Windows 11 Update Without Hassle. For more information, please follow other related articles on the PHP Chinese website!

 How to Enable the Group Policy Editor in Windows 11 HomeApr 15, 2025 pm 06:01 PM
Enable the Group Policy Editor (gpedit.msc) on Windows 11 Home: A Step-by-Step Guide Many users, especially in shared office environments, rely on the Group Policy Editor (gpedit.msc) for managing multiple user accounts and preventing unauthorized ac
 Windows kb5054979 update information Update content listApr 15, 2025 pm 05:36 PM
KB5054979 is a cumulative security update released on March 27, 2025, for Windows 11 version 24H2. It targets .NET Framework versions 3.5 and 4.8.1, enhancing security and overall stability. Notably, the update addresses an issue with file and directory operations on UNC shares using System.IO APIs. Two installation methods are provided: one through Windows Settings by checking for updates under Windows Update, and the other via a manual download from the Microsoft Update Catalog.
 Creating an Encrypted Backup Drive That Works on Windows, Mac, and LinuxApr 15, 2025 am 06:13 AM
Protecting Your Digital Life: Creating Encrypted Backups with VeraCrypt Our digital lives are brimming with irreplaceable memories, crucial documents, and essential work files. The loss of these due to device failure, theft, or ransomware attacks co
 How (and Why) to Turn Off Mouse Acceleration on Windows 11Apr 15, 2025 am 06:06 AM
Improve mouse accuracy: Disable Windows 11 mouse acceleration function The mouse cursor moves too fast on the screen, even if you only move the mouse a few centimeters? This is what the mouse acceleration function is. This article will guide you on how to disable this feature to better control mouse movement. Is it wise to disable mouse acceleration? There is no direct "Mouse Acceleration" option in Windows systems. Instead, it is the "Enhanced Pointer Precision" setting, which Microsoft sees as a mouse acceleration feature. When this feature is enabled, the mouse's DPI (dots per inch) setting takes effect. It controls the relationship between the physical movement speed of the mouse and the distance the cursor moves on the screen. Move the mouse slowly, Windows will reduce the effective DPI and the cursor moves shorter
 GPD Duo Laptop Review: Dual-Screen Productivity For Experienced UsersApr 15, 2025 am 06:05 AM
The GPD Duo: A Powerful Dual-Screen Laptop Hampered by Software Issues Mobile productivity gets a boost with the GPD Duo's innovative dual-screen design. However, significant software shortcomings prevent it from reaching its full potential. Rating
 Razer's Remote Play May Be Better Than Steam LinkApr 15, 2025 am 06:04 AM
Razer's new remote play app offers a compelling alternative to established services like Steam Link. Integrating seamlessly with Razer Cortex, the app allows users to launch PC games with a single tap. Android users benefit from haptic feedback whe
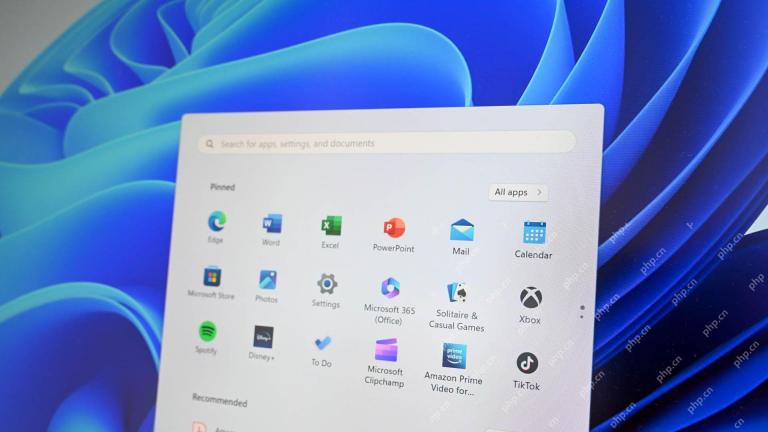 10 Ways to Customize the Windows 11 Start MenuApr 15, 2025 am 06:02 AM
Customize Your Windows 11 Start Menu: A Comprehensive Guide The Windows 11 Start Menu is your gateway to apps and settings. If the default setup isn't to your liking, personalization options let you tailor it to your needs. This guide explores vari
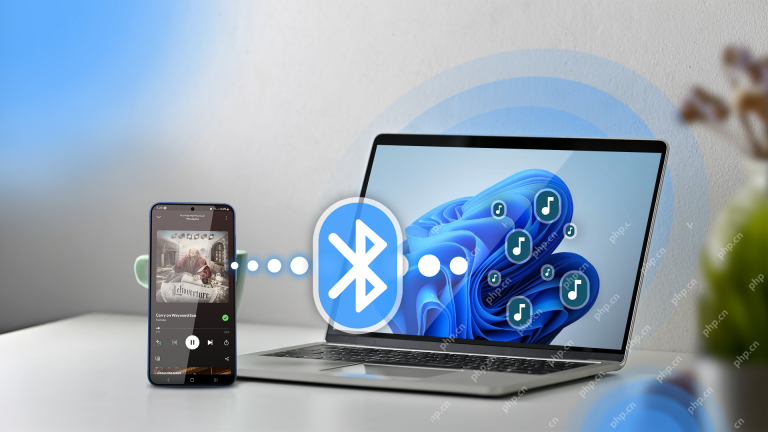 How to Use Windows 11 as a Bluetooth Audio ReceiverApr 15, 2025 am 03:01 AM
Turn your Windows 11 PC into a Bluetooth speaker and enjoy your favorite music from your phone! This guide shows you how to easily connect your iPhone or Android device to your computer for audio playback. Step 1: Pair Your Bluetooth Device First, pa


Hot AI Tools

Undresser.AI Undress
AI-powered app for creating realistic nude photos

AI Clothes Remover
Online AI tool for removing clothes from photos.

Undress AI Tool
Undress images for free

Clothoff.io
AI clothes remover

AI Hentai Generator
Generate AI Hentai for free.

Hot Article
Hot Tools

SublimeText3 Chinese version
Chinese version, very easy to use

Atom editor mac version download
The most popular open source editor

VSCode Windows 64-bit Download
A free and powerful IDE editor launched by Microsoft

Zend Studio 13.0.1
Powerful PHP integrated development environment

DVWA
Damn Vulnerable Web App (DVWA) is a PHP/MySQL web application that is very vulnerable. Its main goals are to be an aid for security professionals to test their skills and tools in a legal environment, to help web developers better understand the process of securing web applications, and to help teachers/students teach/learn in a classroom environment Web application security. The goal of DVWA is to practice some of the most common web vulnerabilities through a simple and straightforward interface, with varying degrees of difficulty. Please note that this software

