


This guide details legitimate Windows 11 ISO acquisition from Microsoft's website, system requirement verification (CPU, RAM, storage, UEFI, TPM, display), and bootable USB drive creation using the Media Creation Tool. It emphasizes avoiding unoffi

Complete Walkthrough for Acquiring and Installing Windows 11 ISO
This guide provides a comprehensive walkthrough for acquiring a legitimate Windows 11 ISO file, checking system requirements, and creating a bootable USB drive for installation. Let's begin with acquiring the ISO.
Where can I find a legitimate Windows 11 ISO file for download?
The only legitimate source for downloading a Windows 11 ISO file is the official Microsoft website. Downloading from unofficial sources carries significant risks, including malware infection and obtaining a pirated copy, which is illegal. To download legally, follow these steps:
- Visit the Microsoft Software Download Website: Go to the official Microsoft website dedicated to Windows 11 downloads. The exact URL may change, but a web search for "Download Windows 11 ISO" will usually lead you to the correct page.
- Select Your Edition and Language: You'll be presented with options to choose the edition of Windows 11 (e.g., Home, Pro, Education) and the language. Select the appropriate options for your needs.
- Accept the License Terms: Carefully read and accept the Microsoft Software License Terms.
- Download the ISO File: Once you've accepted the terms, the download will begin. The ISO file will be quite large (several gigabytes), so ensure you have sufficient bandwidth and storage space. The download may take some time depending on your internet connection speed.
- Verify the Download: After downloading, it's crucial to verify the integrity of the ISO file. Microsoft often provides checksums (MD5, SHA-1, or SHA-256) that you can compare against the calculated checksum of your downloaded file using a checksum utility. This ensures the file hasn't been corrupted during the download process.
What are the system requirements I need to check before installing Windows 11?
Before attempting to install Windows 11, it's essential to verify that your system meets the minimum and recommended system requirements. Failing to do so may result in an unsuccessful installation or poor performance. Key requirements include:
- Processor: A compatible 64-bit processor with 2 or more cores at 1 GHz or faster. Check Microsoft's website for the complete list of supported processors; some older CPUs, even if 64-bit, may not be compatible.
- Memory (RAM): At least 4 GB of RAM, although 8 GB or more is recommended for a smoother experience.
- Storage: 64 GB or larger storage device (SSD is recommended for significantly faster boot times and overall performance).
- System Firmware: UEFI, Secure Boot capable. This is a critical requirement; Windows 11 will not install on systems without UEFI and Secure Boot enabled.
- TPM: Trusted Platform Module (TPM) version 2.0. This is a security chip that helps protect your system.
- Display: A display that meets a minimum resolution of 800 x 600 pixels. Higher resolutions are recommended.
- Graphics Card: Microsoft specifies DirectX 12 compatible graphics card, but in practice, most modern graphics cards will work.
- Internet Connection: An internet connection is required for some aspects of the installation and activation process.
To check your system specifications, you can use the system information tool built into Windows (search for "System Information" in the Start menu) or use third-party system monitoring software. Microsoft also provides a PC Health Check application (though its accuracy has been debated) that can assess your system's compatibility with Windows 11.
How do I create a bootable USB drive for Windows 11 installation?
Creating a bootable USB drive allows you to install Windows 11 from the ISO file. You'll need a USB flash drive with at least 8 GB of storage space. Here's how to create a bootable USB drive using the Media Creation Tool:
- Download the Media Creation Tool: Download the official Media Creation Tool from the Microsoft website. This tool simplifies the process of creating bootable installation media.
- Run the Media Creation Tool: Run the downloaded executable file. Accept the license terms.
- Choose Your Options: Select "Create installation media (USB flash drive, DVD, or ISO file) for another PC."
- Select Language, Edition, and Architecture: Choose the language, edition (Home, Pro, etc.), and architecture (64-bit is almost always recommended unless you have a very old system) of Windows 11 you want to install.
- Select USB Flash Drive: Connect your USB flash drive to your computer. The Media Creation Tool will detect it. Select the USB drive as the destination.
- Create the Bootable USB Drive: Click the "Next" button and the tool will format the USB drive and copy the necessary files to create a bootable Windows 11 installer. This process may take some time.
- Verify Bootability: After the process completes, you can verify the bootability of the USB drive by booting your computer from it (usually by pressing a key like F12, F10, or Del during startup – the key depends on your computer's BIOS/UEFI). If the Windows 11 setup screen appears, the USB drive is bootable.
Now you're ready to boot from the USB drive and begin the Windows 11 installation process. Remember to back up your important data before proceeding, as installing Windows will erase all existing data on the target drive.
The above is the detailed content of Complete Walkthrough for Acquiring and Installing Windows 11 ISO. For more information, please follow other related articles on the PHP Chinese website!

 6 Tasks You Should Do Regularly on Your Windows ComputerApr 19, 2025 am 03:01 AM
Maintaining a Windows computer requires regular upkeep to ensure smooth operation and prevent performance issues, security risks, and unnoticed hardware problems. Here's a routine maintenance checklist to keep your computer running smoothly: 1. Run
 How to Right-Click With No MouseApr 18, 2025 pm 12:03 PM
The mouse is a vital component to getting work done on your PC. But when you’re stuck with a faulty mouse, you can run into a few problems including the inability to right-click. But the good news is that there are definitely ways t
 5 Mistakes That Can Ruin Your Windows ExperienceApr 18, 2025 am 06:01 AM
Maintaining a clean and efficient Windows experience is crucial for optimal performance. Here are some common pitfalls to avoid: 1. Overloading Startup Apps: Too many startup applications significantly slow down boot times and overall system perfor
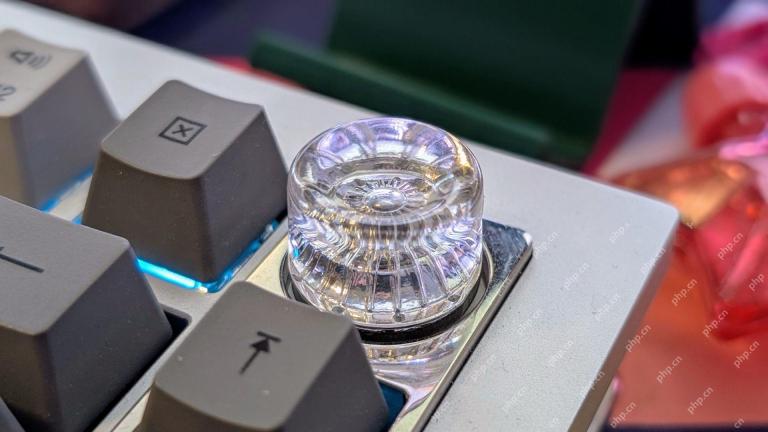 Your Keyboard Needs a Big Ol' Volume KnobApr 18, 2025 am 03:04 AM
In today's touchscreen world, the satisfying tactile feedback of physical controls is a welcome change. That's why a keyboard with a large volume knob is surprisingly appealing. I recently experienced this firsthand, and it's been a revelation. For
 Windows 11 Will Let You Copy Any Text on Your ScreenApr 18, 2025 am 03:01 AM
Windows 11 Snipping Tool Gains Powerful New OCR Feature: Say Goodbye to Manual Text Selection! Windows 11's Snipping Tool just received a major upgrade, adding Optical Character Recognition (OCR) capabilities. This allows users to select text from v
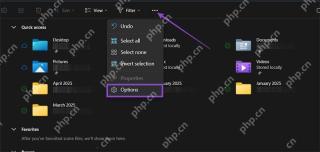 How and Why to Change Default File Explorer FolderApr 17, 2025 pm 10:01 PM
This guide explains how to change the default opening location of File Explorer in Windows 11 and 10. The default "Home" view, while convenient for some, may compromise privacy or workflow efficiency. This tutorial offers three methods to
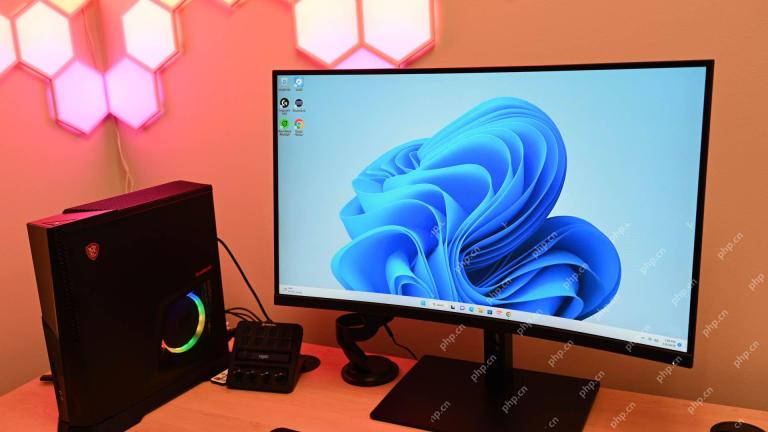
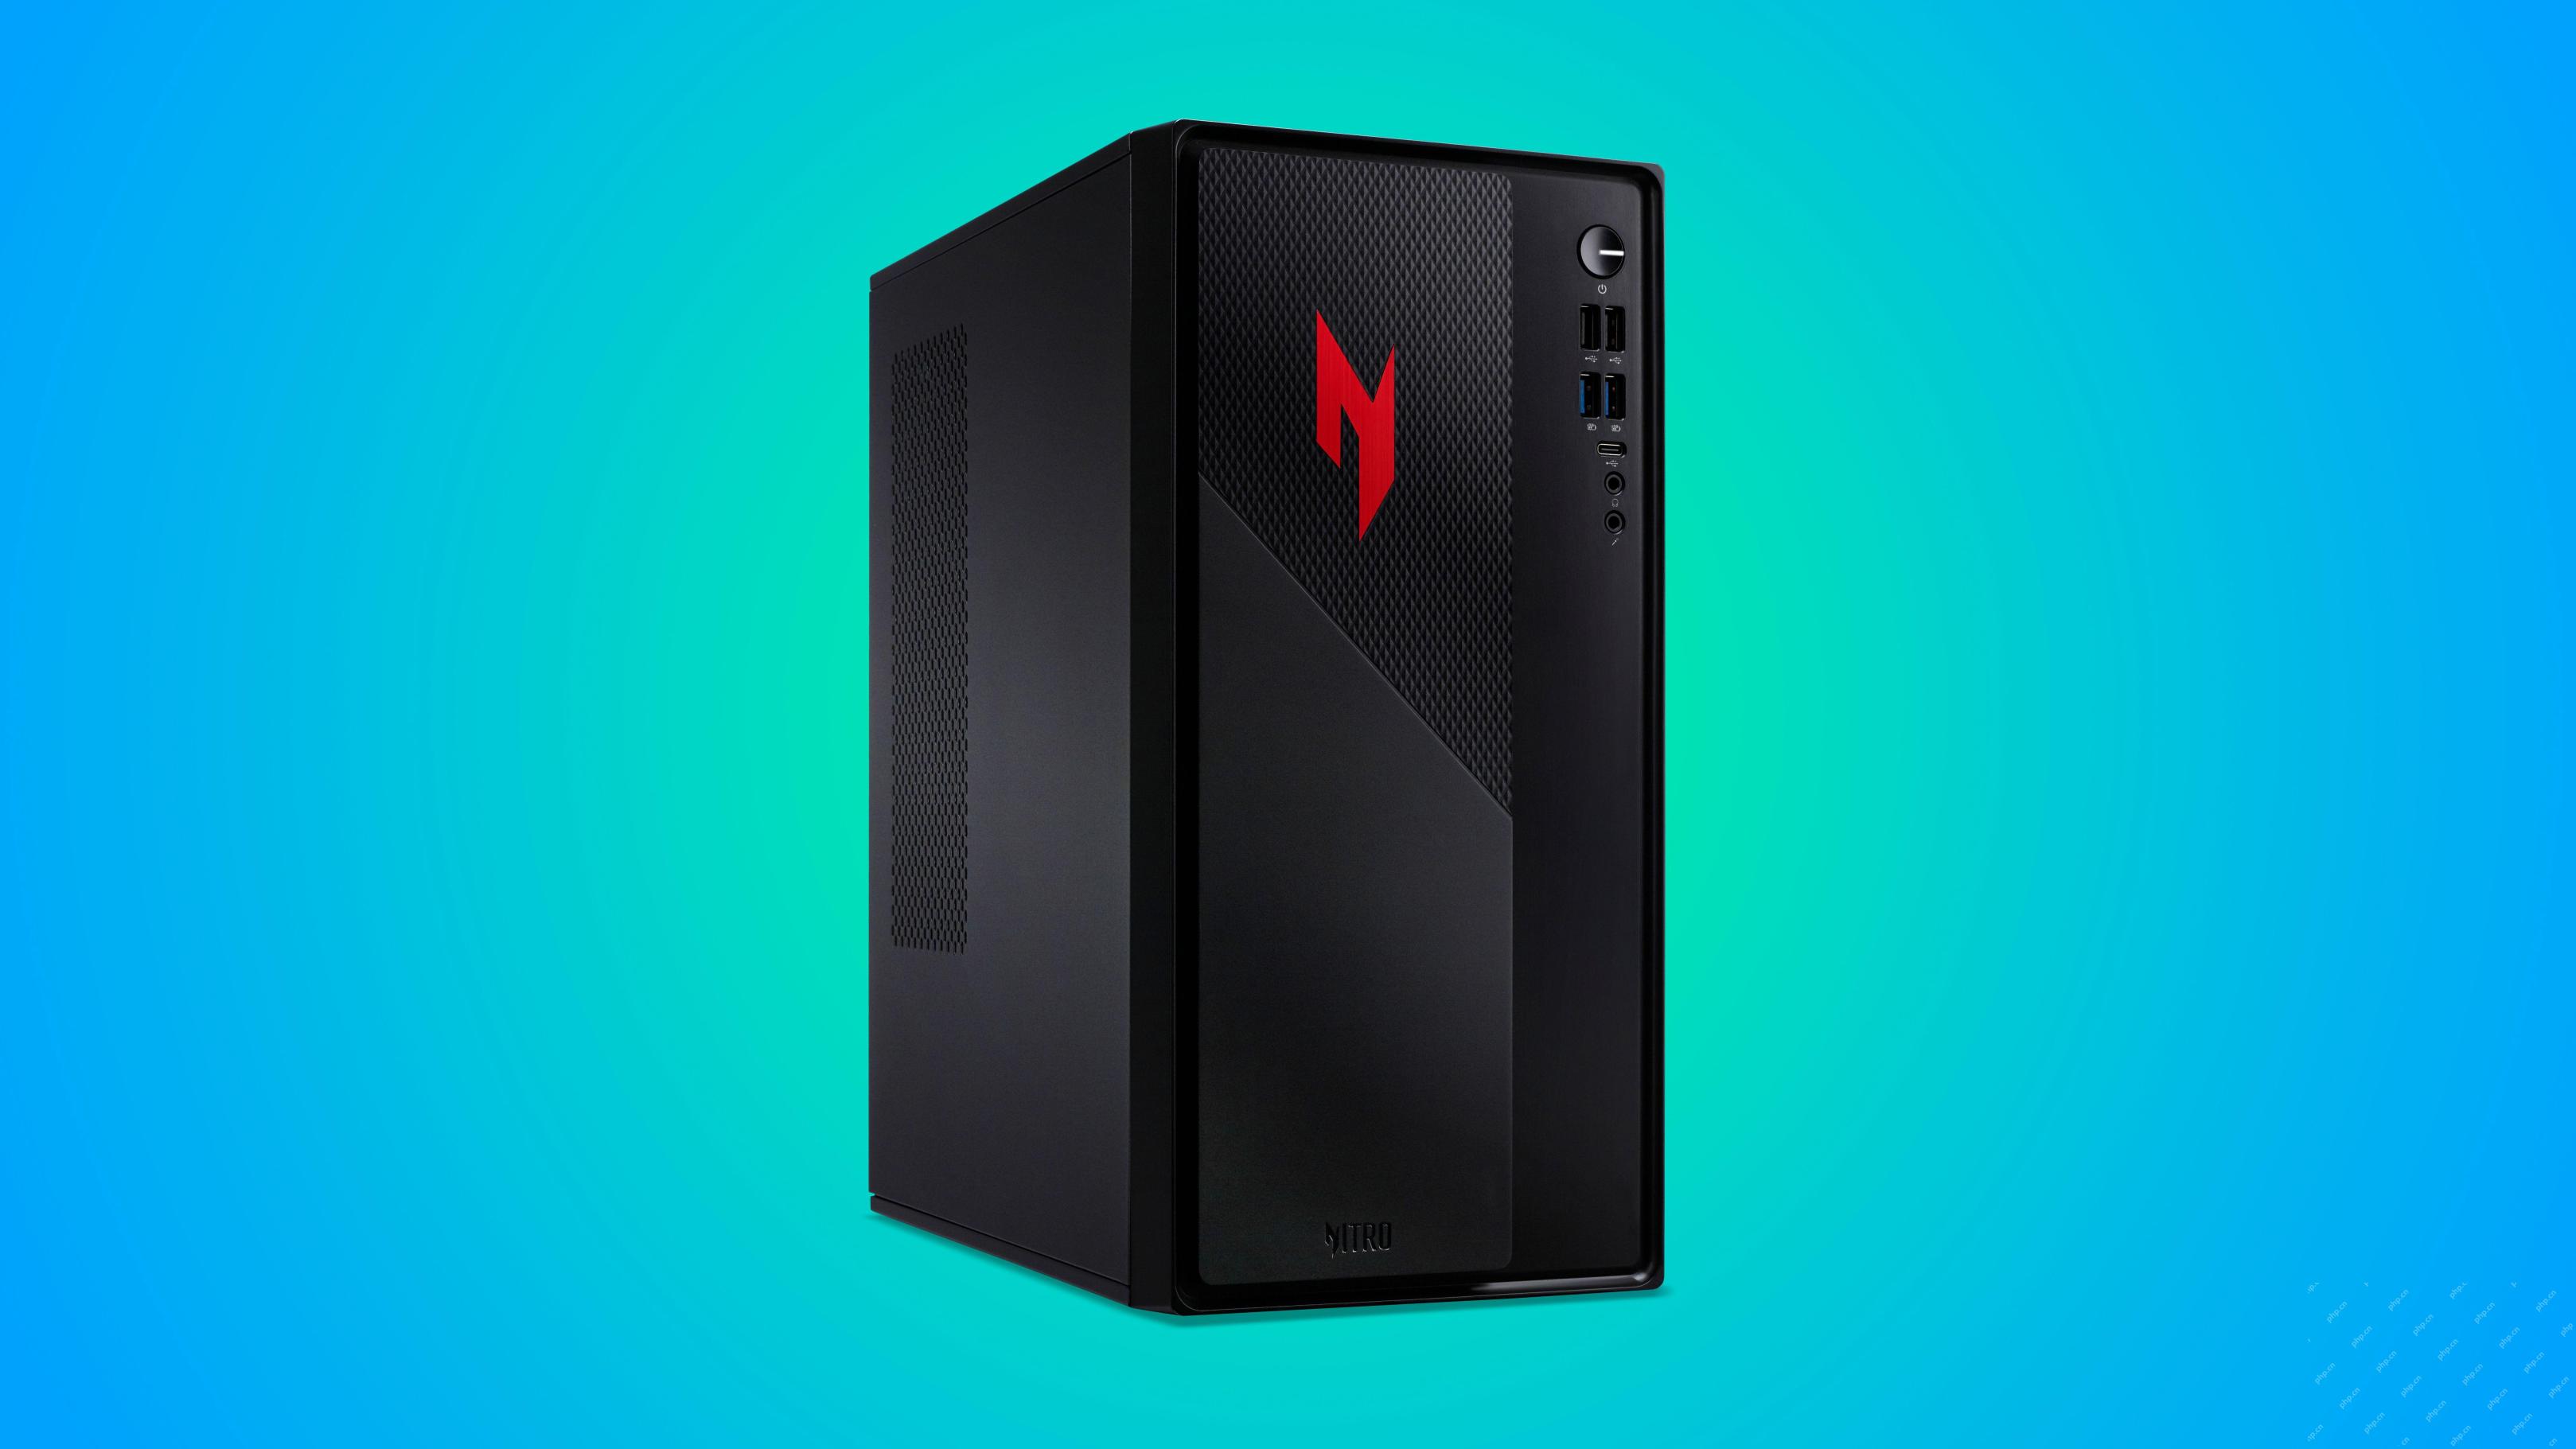 This Acer Desktop PC Has Laptop Specs, For Some ReasonApr 17, 2025 am 06:03 AM
Acer's latest gaming laptop series is stunning, but the company has also launched a desktop computer that is awkward in Acer's product line and has its own advantages and disadvantages compared to other small desktop computers. Acer today added four new laptops and a redesigned compact desktop to its popular Nitro gaming lineup. However, let's talk about desktop computers first, because it's the most unique. What makes it unique is that it uses laptop specifications. The Nitro 20 N20-100 uses an AMD Ryzen AI 9 365 processor, or the Intel Core i5-13420H desktop processor is also available. Graphics card can be equipped with up to
 This Limited-Edition 'DOOM' Release Comes In a Box That Runs 'DOOM'Apr 17, 2025 am 06:02 AM
Limited Run Games is releasing a limited-edition DOOM DOOM II: Will It Run Edition box set, a playful nod to the enduring "Can it run DOOM?" meme. This extravagant set includes remastered versions of the first two DOOM games, playable ac


Hot AI Tools

Undresser.AI Undress
AI-powered app for creating realistic nude photos

AI Clothes Remover
Online AI tool for removing clothes from photos.

Undress AI Tool
Undress images for free

Clothoff.io
AI clothes remover

Video Face Swap
Swap faces in any video effortlessly with our completely free AI face swap tool!

Hot Article
Hot Tools

MinGW - Minimalist GNU for Windows
This project is in the process of being migrated to osdn.net/projects/mingw, you can continue to follow us there. MinGW: A native Windows port of the GNU Compiler Collection (GCC), freely distributable import libraries and header files for building native Windows applications; includes extensions to the MSVC runtime to support C99 functionality. All MinGW software can run on 64-bit Windows platforms.

Dreamweaver Mac version
Visual web development tools

Safe Exam Browser
Safe Exam Browser is a secure browser environment for taking online exams securely. This software turns any computer into a secure workstation. It controls access to any utility and prevents students from using unauthorized resources.

SublimeText3 Mac version
God-level code editing software (SublimeText3)

ZendStudio 13.5.1 Mac
Powerful PHP integrated development environment

