


Deploying the DeepSeek R1 Model on Databricks: A Step-by-Step Guide
Databricks, a popular data engineering platform, is increasingly used for AI and machine learning tasks. This tutorial guides you through deploying the distributed DeepSeek R1 model on Databricks, a powerful large language model often preferred for on-premise deployment. This avoids sending data to external servers. For a deeper dive into DeepSeek R1's features and comparisons, see the DeepSeek-R1: Features, Comparison, Distilled Models & More blog.
This guide covers account setup, model registration using the UI, and access via the playground and local CURL commands. New to Databricks? The Introduction to Databricks course provides a comprehensive overview of the Databricks Lakehouse platform and its data management capabilities. For a deeper understanding of data management within Databricks, consider the Data Management in Databricks course.
Registering the DeepSeek R1 Model
- Launch a Notebook: After creating your Databricks workspace, click " New" and select a notebook.

- Install Packages: Install necessary Python libraries:
%%capture
!pip install torch transformers mlflow accelerate torchvision
%restart_python
- Load Model and Tokenizer: Load the DeepSeek R1 model and tokenizer from Hugging Face:
import pandas as pd
import mlflow
import mlflow.transformers
import torch
from mlflow.models.signature import infer_signature
from transformers import AutoModelForCausalLM, AutoTokenizer, AutoConfig, pipeline

model_name = "deepseek-ai/DeepSeek-R1-Distill-Llama-8B"
tokenizer = AutoTokenizer.from_pretrained(model_name)
config = AutoConfig.from_pretrained(model_name)
model = AutoModelForCausalLM.from_pretrained(model_name, config=config, torch_dtype=torch.float16)

- Test the Model: Test with a sample prompt and generate a signature for model registration:
text_generator = pipeline("text-generation", model=model, tokenizer=tokenizer)
example_prompt = "How does a computer work?"
example_inputs = pd.DataFrame({"inputs": [example_prompt]})
example_outputs = text_generator(example_prompt, max_length=200)
signature = infer_signature(example_inputs, example_outputs)
print(example_outputs)
Expected output (may vary slightly):
<code>[{'generated_text': "How does a computer work? What is the computer? What is the computer used for? What is the computer used for in real life?\n\nI need to answer this question, but I need to do it step by step. I need to start with the very basic level and build up from there. I need to make sure I understand each concept before moving on. I need to use a lot of examples to explain each idea. I need to write my thoughts as if I'm explaining them to someone else, but I need to make sure I understand how to structure the answer properly.\n\nOkay, let's start with the basic level. What is a computer? It's an electronic device, right? And it has a central processing unit (CPU) that does the processing. But I think the central processing unit is more efficient, so maybe it's the CPU. Then, it has memory and storage. I remember that memory is like RAM and storage is like ROM. But wait, I think"}]</code>
- Conda Environment: Define a conda environment:
conda_env = {
    "name": "mlflow-env",
    "channels": ["defaults", "conda-forge"],
    "dependencies": [
        "python=3.11",
        "pip",
        {"pip": ["mlflow", "transformers", "accelerate", "torch", "torchvision"]}
    ]
}
-
Register the Model: Register the model using
mlflow.transformers.log_model:
with mlflow.start_run() as run:
    mlflow.transformers.log_model(
        transformers_model=text_generator,
        artifact_path="deepseek_model",
        signature=signature,
        input_example=example_inputs,
        registered_model_name="deepseek_r1_llama_8b",
        conda_env=conda_env
    )

Deploying DeepSeek R1
-
Navigate to Models: In the Databricks dashboard, go to the "Models" tab.
-
Serve the Model: Select your model and click "Serve this model."

- Configure Endpoint: Name your endpoint, choose compute options, set concurrency, and click "Create."


For fine-tuning on a custom dataset, refer to the Fine-Tuning DeepSeek R1 tutorial.
Accessing the Deployed Model
- Databricks Playground: Test directly in the Databricks playground.

-
CURL Command: Generate a Databricks API key (Settings > Developer), set it as an environment variable (
$DATABRICKS_TOKEN), and use CURL:
%%capture
!pip install torch transformers mlflow accelerate torchvision
%restart_python


For information on DeepSeek R1 vs. V3, see the DeepSeek R1 vs V3 blog. New to LLMs? The Introduction to LLMs in Python course is a great starting point. Remember that while CPU deployment is possible, it might be slower.
The above is the detailed content of Deploying DeepSeek R1 on Databricks: A Step-by-Step Guide. For more information, please follow other related articles on the PHP Chinese website!

 Meta's New AI Assistant: Productivity Booster Or Time Sink?May 01, 2025 am 11:18 AM
Meta has joined hands with partners such as Nvidia, IBM and Dell to expand the enterprise-level deployment integration of Llama Stack. In terms of security, Meta has launched new tools such as Llama Guard 4, LlamaFirewall and CyberSecEval 4, and launched the Llama Defenders program to enhance AI security. In addition, Meta has distributed $1.5 million in Llama Impact Grants to 10 global institutions, including startups working to improve public services, health care and education. The new Meta AI application powered by Llama 4, conceived as Meta AI
 80% Of Gen Zers Would Marry An AI: StudyMay 01, 2025 am 11:17 AM
Joi AI, a company pioneering human-AI interaction, has introduced the term "AI-lationships" to describe these evolving relationships. Jaime Bronstein, a relationship therapist at Joi AI, clarifies that these aren't meant to replace human c
 AI Is Making The Internet's Bot Problem Worse. This $2 Billion Startup Is On The Front LinesMay 01, 2025 am 11:16 AM
Online fraud and bot attacks pose a significant challenge for businesses. Retailers fight bots hoarding products, banks battle account takeovers, and social media platforms struggle with impersonators. The rise of AI exacerbates this problem, rende
 Selling To Robots: The Marketing Revolution That Will Make Or Break Your BusinessMay 01, 2025 am 11:15 AM
AI agents are poised to revolutionize marketing, potentially surpassing the impact of previous technological shifts. These agents, representing a significant advancement in generative AI, not only process information like ChatGPT but also take actio
 How Computer Vision Technology Is Transforming NBA Playoff OfficiatingMay 01, 2025 am 11:14 AM
AI's Impact on Crucial NBA Game 4 Decisions Two pivotal Game 4 NBA matchups showcased the game-changing role of AI in officiating. In the first, Denver's Nikola Jokic's missed three-pointer led to a last-second alley-oop by Aaron Gordon. Sony's Haw
 How AI Is Accelerating The Future Of Regenerative MedicineMay 01, 2025 am 11:13 AM
Traditionally, expanding regenerative medicine expertise globally demanded extensive travel, hands-on training, and years of mentorship. Now, AI is transforming this landscape, overcoming geographical limitations and accelerating progress through en
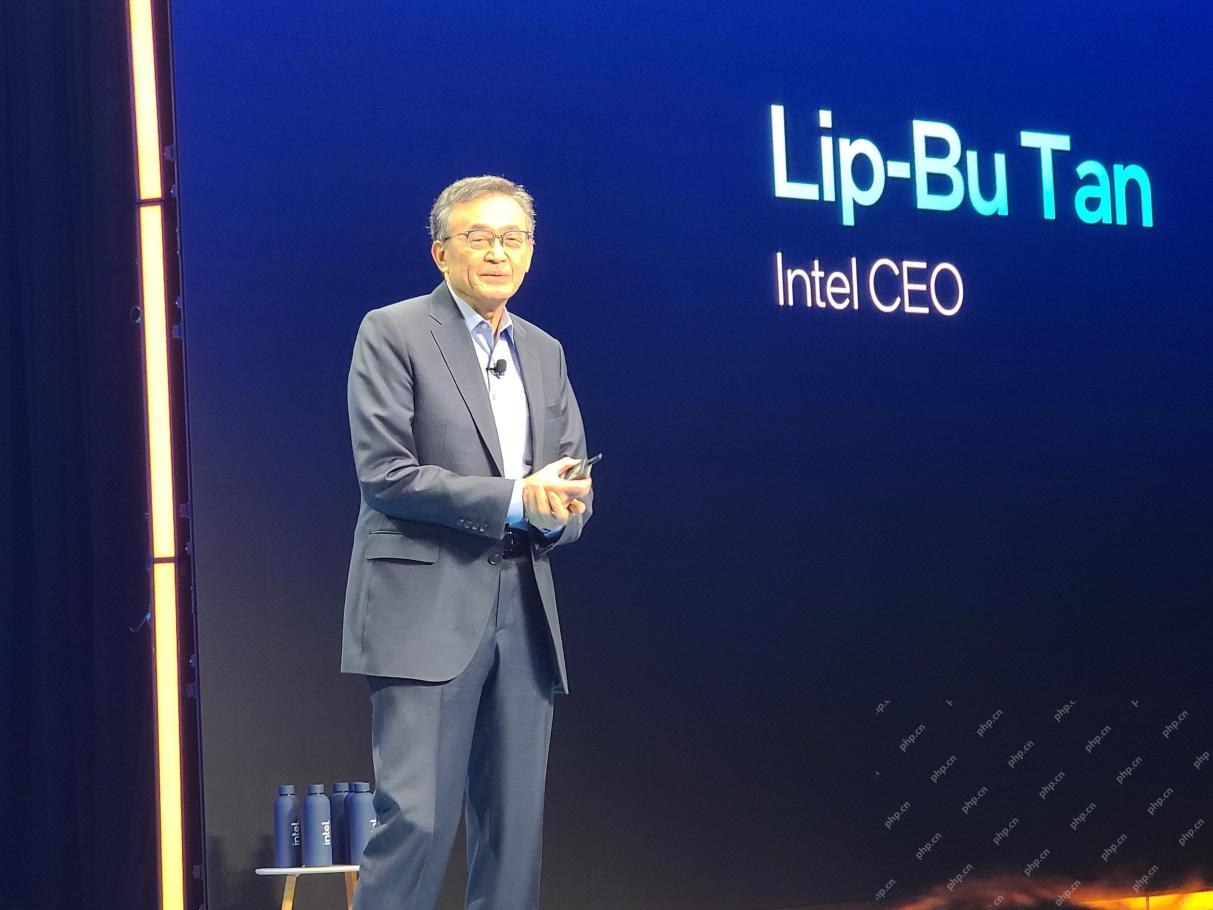 Key Takeaways From Intel Foundry Direct Connect 2025May 01, 2025 am 11:12 AM
Intel is working to return its manufacturing process to the leading position, while trying to attract fab semiconductor customers to make chips at its fabs. To this end, Intel must build more trust in the industry, not only to prove the competitiveness of its processes, but also to demonstrate that partners can manufacture chips in a familiar and mature workflow, consistent and highly reliable manner. Everything I hear today makes me believe Intel is moving towards this goal. The keynote speech of the new CEO Tan Libo kicked off the day. Tan Libai is straightforward and concise. He outlines several challenges in Intel’s foundry services and the measures companies have taken to address these challenges and plan a successful route for Intel’s foundry services in the future. Tan Libai talked about the process of Intel's OEM service being implemented to make customers more
 AI Gone Wrong? Now There's Insurance For ThatMay 01, 2025 am 11:11 AM
Addressing the growing concerns surrounding AI risks, Chaucer Group, a global specialty reinsurance firm, and Armilla AI have joined forces to introduce a novel third-party liability (TPL) insurance product. This policy safeguards businesses against


Hot AI Tools

Undresser.AI Undress
AI-powered app for creating realistic nude photos

AI Clothes Remover
Online AI tool for removing clothes from photos.

Undress AI Tool
Undress images for free

Clothoff.io
AI clothes remover

Video Face Swap
Swap faces in any video effortlessly with our completely free AI face swap tool!

Hot Article
Hot Tools

Atom editor mac version download
The most popular open source editor

VSCode Windows 64-bit Download
A free and powerful IDE editor launched by Microsoft

WebStorm Mac version
Useful JavaScript development tools

MantisBT
Mantis is an easy-to-deploy web-based defect tracking tool designed to aid in product defect tracking. It requires PHP, MySQL and a web server. Check out our demo and hosting services.

Zend Studio 13.0.1
Powerful PHP integrated development environment

