


PaliGemma 2 Mix is a multimodal AI model developed by Google. It is an improved version of the PaliGemma vision language model (VLM), integrating advanced capabilities from the SigLIP vision model and Gemma 2 language models.
In this tutorial, I’ll explain how to use PaliGemma 2 Mix to build an AI-powered bill scanner and spending analyzer capable of:
- Extracting and categorizing expenses from bill receipts.
- Performing optical character recognition (OCR) to retrieve key information.
- Summarizing spending based on provided images.
While our focus will be on building a financial insights tool, you can use what you learn in this blog to explore other use cases of PaliGemma 2 Mix, such as image segmentation, object detection, and question answering.
What Is PaliGemma 2 Mix?
PaliGemma 2 Mix is an advanced vision-language model (VLM) that processes both images and text as input and generates text-based outputs. It is designed to handle a diverse range of multimodal AI tasks while supporting multiple languages.
PaliGemma 2 is designed for a wide array of vision-language tasks, including image and short video captioning, visual question answering, optical character recognition (OCR), object detection, and segmentation.

Source of the images used in the diagram: Google
PaliGemma 2 Mix model is designed for:
- Image & short video captioning: Generating accurate and context-aware captions for static images and short videos.
- Visual question answering (VQA): Analyzing images and answering text-based questions based on visual content.
- Optical character recognition (OCR): Extracting and interpreting text from images, making it useful for documents, receipts, and scanned materials.
- Object detection & segmentation: It identifies, labels, and segments objects within an image for structured analysis.
- Multi-language support: The model also enables text generation and understanding in multiple languages for global applications.
You can find more information about the PaliGemma 2 Mix model in the official release article.
Project Overview: Bill Scanner and Spending Analyzer With PaliGemma 2 Mix
Let’s outline the main steps that we’re going to take:
- Load and prepare the dataset: The process begins by loading and preparing receipt images as input.
- Initialize the PaliGemma 2 Mix Model: We configure and load the model for processing vision-language tasks.
- Process input images: Then, convert images to an appropriate format (RGB) and prepare them for analysis.
- Extract key information: Perform optical character recognition (OCR) to retrieve the total amount.
- Categorize expenses: Classify purchases into categories like grocery, clothing, electronics, and others.
- Generate spending insights: We summarize the categorized expenses and generate a spending distribution chart.
- Build an interactive Gradio interface: Finally, we create a UI where users can upload multiple bills, extract data, and analyze spending visually.
Step 1: Prerequisites
Before we start, let’s ensure that we have the following tools and libraries installed:
- Python 3.8
- torch
- Transformers
- PIL
- Matplotlib
- Gradio
Run the following commands to install the necessary dependencies:
pip install gradio -U bitsandbytes -U transformers -q
Once the above dependencies are installed, run the following import commands:
import gradio as gr
import torch
import pandas as pd
import matplotlib.pyplot as plt
from transformers import PaliGemmaForConditionalGeneration, PaliGemmaProcessor, BitsAndBytesConfig
from transformers import BitsAndBytesConfig
from PIL import Image
import re
Step 2: Model Initialization
We configure and load the PaliGemma 2 Mix model with quantization to optimize performance. For this demo, we’ll be using the 10b parameter model with 448 x 448 input image resolution. You need a minimum of T4 GPU with 40GB memory (Colab configuration) to run this model.
device = "cuda" if torch.cuda.is_available() else "cpu"
# Model setup
model_id = "google/paligemma2-10b-mix-448"
bnb_config = BitsAndBytesConfig(
    load_in_8bit=True,  # Change to load_in_4bit=True for even lower memory usage
    llm_int8_threshold=6.0,
)

# Load model with quantization
model = PaliGemmaForConditionalGeneration.from_pretrained(
    model_id, quantization_config=bnb_config
).eval()

# Load processor
processor = PaliGemmaProcessor.from_pretrained(model_id)
# Print success message
print("Model and processor loaded successfully!")
BitsAndBytes quantization helps to reduce memory usage while maintaining performance, making it possible to run large models on limited GPU resources. In this implementation, we use 4-bit quantization to further optimize memory efficiency.
We load the model using the PaliGemmaForConditionalGeneration class from the transformers library by passing in the model ID and quantization configuration. Similarly, we load the processor, which preprocesses the inputs into tensors before passing it to the model.
Step 3: Image Processing
Once the model shards are loaded, we process the images before passing them to the model to maintain image format compatibility and gain uniformity. We convert images to RGB format:
def ensure_rgb(image: Image.Image) -> Image.Image:
    if image.mode != "RGB":
        image = image.convert("RGB")
    return image
Now, our images are ready for inference.
Step 4: Inference with PaliGemma
Now, we set up the main function for running inference with the model. This function takes in input images and questions, incorporates them into prompts, and passes them to the model via the processor for inference.
def ask_model(image: Image.Image, question: str) -> str:
    prompt = f"<image> answer en {question}"
    inputs = processor(text=prompt, images=image, return_tensors="pt").to(device)
    with torch.inference_mode():
        generated_ids = model.generate(
            **inputs,
            max_new_tokens=50,
            do_sample=False
        )
    result = processor.batch_decode(generated_ids, skip_special_tokens=True)
    return result[0].strip()</image>
Step 5: Extracting Key Information
Now that we have the main function ready, we’ll work next on extracting the key parameters from the image—in our case, these are the total amount and goods category.
pip install gradio -U bitsandbytes -U transformers -q
The extract_total_amount() function processes an image to extract the total amount from a receipt using OCR. It constructs a query (question) instructing the model to extract only numerical values, and then it calls the ask_model() function to generate a response from the model.
import gradio as gr
import torch
import pandas as pd
import matplotlib.pyplot as plt
from transformers import PaliGemmaForConditionalGeneration, PaliGemmaProcessor, BitsAndBytesConfig
from transformers import BitsAndBytesConfig
from PIL import Image
import re
The categorize_goods() function classifies the type of goods in an image by prompting the model with a predefined question listing possible categories: grocery, clothing, electronics, or other. The ask_model() function then processes the image and returns a textual response. If the processed response matches any of the predefined valid categories, it returns that category—otherwise, it defaults to the "Other" category.
Step 6: Analyzing Information
We have all the key functions ready, so let’s analyse the outputs.
device = "cuda" if torch.cuda.is_available() else "cpu"
# Model setup
model_id = "google/paligemma2-10b-mix-448"
bnb_config = BitsAndBytesConfig(
    load_in_8bit=True,  # Change to load_in_4bit=True for even lower memory usage
    llm_int8_threshold=6.0,
)

# Load model with quantization
model = PaliGemmaForConditionalGeneration.from_pretrained(
    model_id, quantization_config=bnb_config
).eval()

# Load processor
processor = PaliGemmaProcessor.from_pretrained(model_id)
# Print success message
print("Model and processor loaded successfully!")
The above function creates a pie chart to visualize spending distribution across different categories. If no valid spending data exists, it generates a blank figure with a message indicating "No Spending Data." Otherwise, it creates a pie chart with category labels and percentage values, ensuring a proportional and well-aligned visualization.
Step 6: Analyzing Multiple Bills Simultaneously
We typically have multiple bills to analyze, so let’s create a function to process all our bills simultaneously.
def ensure_rgb(image: Image.Image) -> Image.Image:
    if image.mode != "RGB":
        image = image.convert("RGB")
    return image
For analyzing multiple bills at once, we perform the following steps:
- Initialize storage: We create lists for storing results and images, set total_spending to 0, and define a dictionary for category-wise totals.
- Process each bill:
- Open and convert the image to RGB.
- Append the image to the list.
- Extract the total amount from the receipt.
- Categorize the goods in the receipt.
- Update total spending and category-wise totals.
- Store the extracted data in a results list.
- Generate insights: We create a spending distribution pie chart along with a summary of total spending.
- Return results: Finally, we return the list of images, a DataFrame of bill summaries, the total spending summary, and the spending chart.
Step 7: Build the Gradio Interface
Now, we have all key logic functions in place. Next, we work on building interactive UI with Gradio.
def ask_model(image: Image.Image, question: str) -> str:
    prompt = f"<image> answer en {question}"
    inputs = processor(text=prompt, images=image, return_tensors="pt").to(device)
    with torch.inference_mode():
        generated_ids = model.generate(
            **inputs,
            max_new_tokens=50,
            do_sample=False
        )
    result = processor.batch_decode(generated_ids, skip_special_tokens=True)
    return result[0].strip()</image>
The above code creates a structured Gradio UI with a file uploader for multiple images and a submit button to trigger processing. Upon submission, uploaded bill images are displayed in a gallery, extracted data is shown in a table, total spending is summarized in text, and a spending distribution pie chart is generated.
The function connects user inputs to the process_multiple_bills() function, ensuring seamless data extraction and visualization. Finally, the demo.launch() function starts the Gradio app for real-time interaction.

I also tried this demo with two image-based bills (Amazon shopping invoice) and got the following results.
Note: VLMs find it difficult to extract numbers, which may lead to incorrect results at times. For instance, it extracted the wrong total amount for the second bill below. This is correctable with the use of larger models or simply fine-tuning the existing ones.


Conclusion
In this tutorial, we built an AI-powered multiple bill scanner using PaliGemma 2 Mix, which can help us extract and categorize our expenses from receipts. We used PaliGemma 2 Mix’s vision-language capabilities for OCR and classification to analyze spending insights effortlessly. I encourage you to adapt this tutorial to your own use case.
The above is the detailed content of PaliGemma 2 Mix: A Guide With Demo OCR Project. For more information, please follow other related articles on the PHP Chinese website!

 Meta's New AI Assistant: Productivity Booster Or Time Sink?May 01, 2025 am 11:18 AM
Meta has joined hands with partners such as Nvidia, IBM and Dell to expand the enterprise-level deployment integration of Llama Stack. In terms of security, Meta has launched new tools such as Llama Guard 4, LlamaFirewall and CyberSecEval 4, and launched the Llama Defenders program to enhance AI security. In addition, Meta has distributed $1.5 million in Llama Impact Grants to 10 global institutions, including startups working to improve public services, health care and education. The new Meta AI application powered by Llama 4, conceived as Meta AI
 80% Of Gen Zers Would Marry An AI: StudyMay 01, 2025 am 11:17 AM
Joi AI, a company pioneering human-AI interaction, has introduced the term "AI-lationships" to describe these evolving relationships. Jaime Bronstein, a relationship therapist at Joi AI, clarifies that these aren't meant to replace human c
 AI Is Making The Internet's Bot Problem Worse. This $2 Billion Startup Is On The Front LinesMay 01, 2025 am 11:16 AM
Online fraud and bot attacks pose a significant challenge for businesses. Retailers fight bots hoarding products, banks battle account takeovers, and social media platforms struggle with impersonators. The rise of AI exacerbates this problem, rende
 Selling To Robots: The Marketing Revolution That Will Make Or Break Your BusinessMay 01, 2025 am 11:15 AM
AI agents are poised to revolutionize marketing, potentially surpassing the impact of previous technological shifts. These agents, representing a significant advancement in generative AI, not only process information like ChatGPT but also take actio
 How Computer Vision Technology Is Transforming NBA Playoff OfficiatingMay 01, 2025 am 11:14 AM
AI's Impact on Crucial NBA Game 4 Decisions Two pivotal Game 4 NBA matchups showcased the game-changing role of AI in officiating. In the first, Denver's Nikola Jokic's missed three-pointer led to a last-second alley-oop by Aaron Gordon. Sony's Haw
 How AI Is Accelerating The Future Of Regenerative MedicineMay 01, 2025 am 11:13 AM
Traditionally, expanding regenerative medicine expertise globally demanded extensive travel, hands-on training, and years of mentorship. Now, AI is transforming this landscape, overcoming geographical limitations and accelerating progress through en
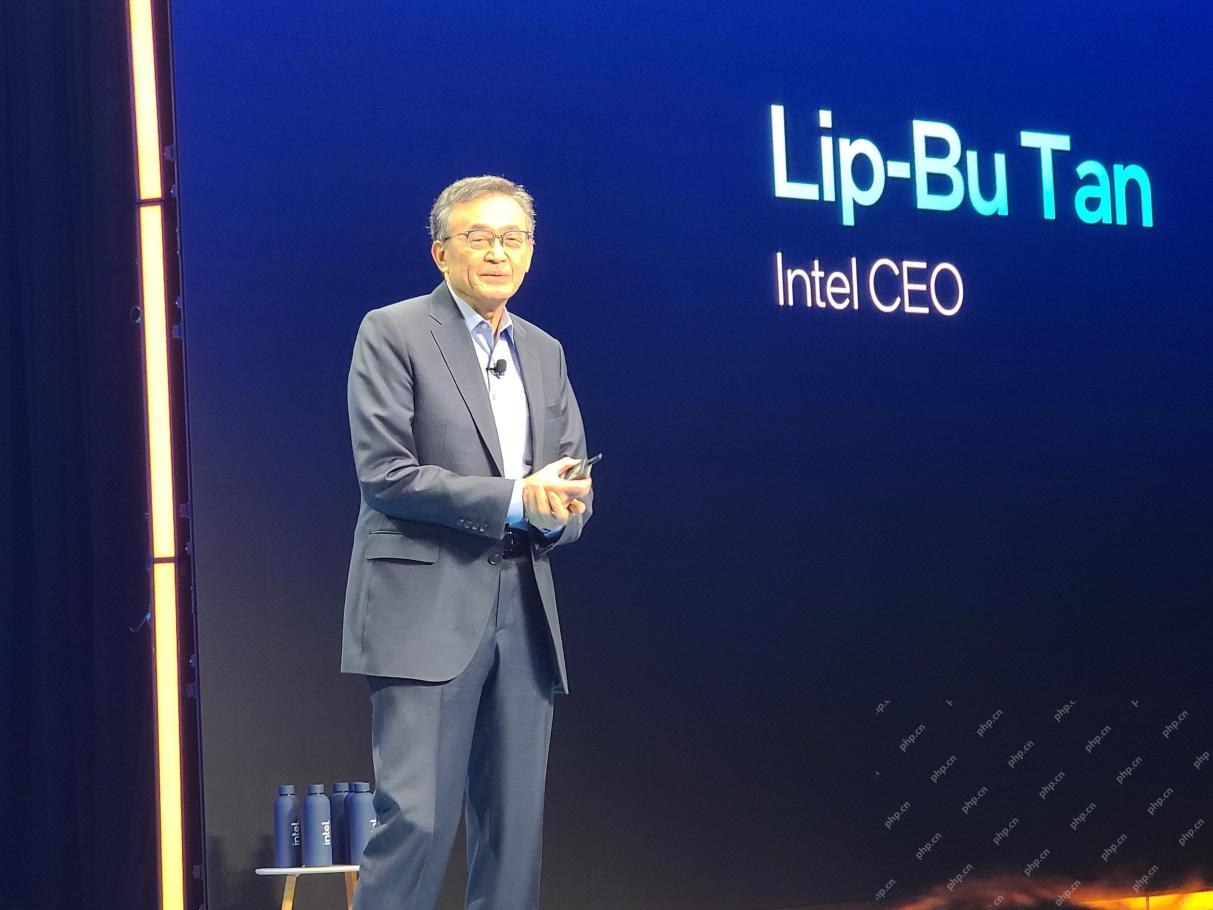 Key Takeaways From Intel Foundry Direct Connect 2025May 01, 2025 am 11:12 AM
Intel is working to return its manufacturing process to the leading position, while trying to attract fab semiconductor customers to make chips at its fabs. To this end, Intel must build more trust in the industry, not only to prove the competitiveness of its processes, but also to demonstrate that partners can manufacture chips in a familiar and mature workflow, consistent and highly reliable manner. Everything I hear today makes me believe Intel is moving towards this goal. The keynote speech of the new CEO Tan Libo kicked off the day. Tan Libai is straightforward and concise. He outlines several challenges in Intel’s foundry services and the measures companies have taken to address these challenges and plan a successful route for Intel’s foundry services in the future. Tan Libai talked about the process of Intel's OEM service being implemented to make customers more
 AI Gone Wrong? Now There's Insurance For ThatMay 01, 2025 am 11:11 AM
Addressing the growing concerns surrounding AI risks, Chaucer Group, a global specialty reinsurance firm, and Armilla AI have joined forces to introduce a novel third-party liability (TPL) insurance product. This policy safeguards businesses against


Hot AI Tools

Undresser.AI Undress
AI-powered app for creating realistic nude photos

AI Clothes Remover
Online AI tool for removing clothes from photos.

Undress AI Tool
Undress images for free

Clothoff.io
AI clothes remover

Video Face Swap
Swap faces in any video effortlessly with our completely free AI face swap tool!

Hot Article
Hot Tools

VSCode Windows 64-bit Download
A free and powerful IDE editor launched by Microsoft

SublimeText3 English version
Recommended: Win version, supports code prompts!

MantisBT
Mantis is an easy-to-deploy web-based defect tracking tool designed to aid in product defect tracking. It requires PHP, MySQL and a web server. Check out our demo and hosting services.

Atom editor mac version download
The most popular open source editor

SublimeText3 Chinese version
Chinese version, very easy to use

